I Went to VMUG Connect 2025
This year, I attended the first-ever VMUG Connect. VMUG Connect is a multiday VMUG (VMware User Group) conference in Saint Louis, Missouri, USA, from April 23rd to April 25th.
If you haven’t heard of VMUG. VMUG is a community of IT people who want to talk and nerd out about VMware products and features. There are around 150,000 VMUG members in 73 countries, and I am one of them.
VMUG hosts an extensive array of events. The events range from local meetups to virtual ones and webcasts. In Calgary, we have a local chapter called VMUG Calgary, which hosts all the local Calgary VMUG meetups.
VMUG also hosts larger, local, full-day events called UserCons. VMUG Connect is like a VMUG UserCon but bigger and longer. It’s almost like a smaller version of VMware Explore.
In this post, I will recap my experience at VMUG Connect 2025.
Traveling Day
The first day of my VMUG Connect adventure was a full day dedicated to travel. I had to take two flights to get to Saint Louis, Missouri, USA, from Calgary, Alberta, Canada. The first flight was from Calgary to Dallas, Texas, USA and then to Saint Louis.
Once I made it to the hotel, I checked in and decided to find food. I’ve heard of a fast food place called White Castle but have never tried it. Google Maps told me it would be a 10-minute walk from the hotel, so I decided to venture into Saint Louis to find a White Castle.
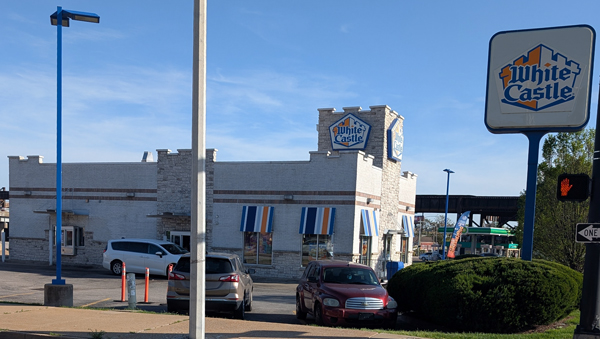
The adventure to White Castle was uneventful, and White Castle was pretty good. It’s basically a whole fast-food chain dedicated to sliders.
Day 1
The first day of VMUG Connect began with registering and collecting my badge.
After getting registered, I attended the two sessions that were part of PreConnect, a couple of sessions before VMUG Connect fully started. The sessions were about Private AI and VCF in general. Both sessions were very informative.
…