Deploy Omnissa UAG on VMware vCenter
Deploying the Omnissa UAG (Unified Access Gateway) on VMware vCenter can be a daunting task if you’ve never done it before.
In this post, I will show you step-by-step how to deploy the Omnissa Horizon UAG on VMware vCenter.
The Process
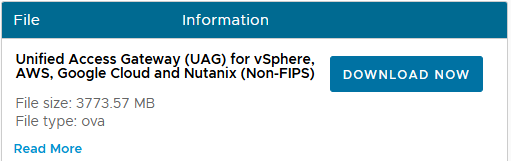
- Download the UAG OVA from Omnissa.
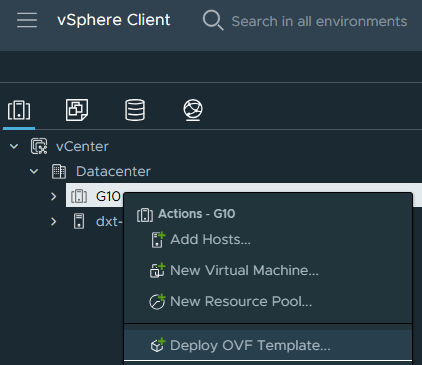
- Right-click in VMware vCenter on the cluster or host you want to deploy the UAG to, and click on Deploy OVF Template.
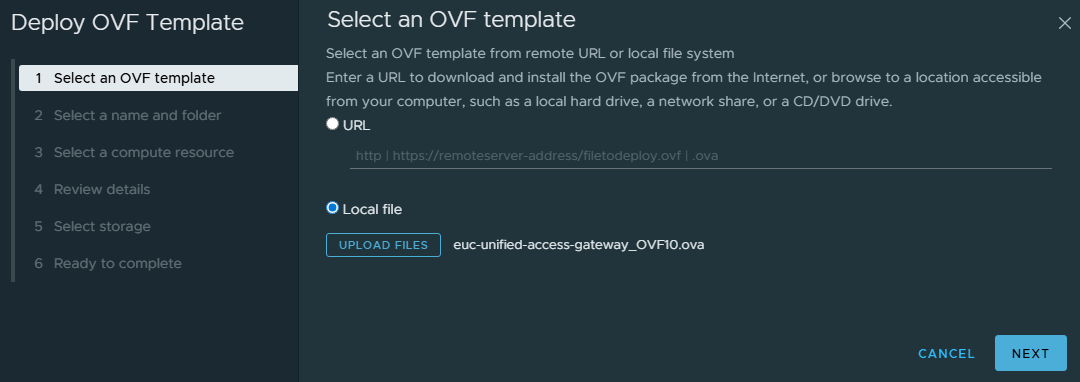
- Select Local file, click Upload Files, select the UAG OVA you downloaded, then click Next.
- Give the VM a name that will be displayed in vCenter, select where you want the UAG VM deployed in your vCenter, and click Next.
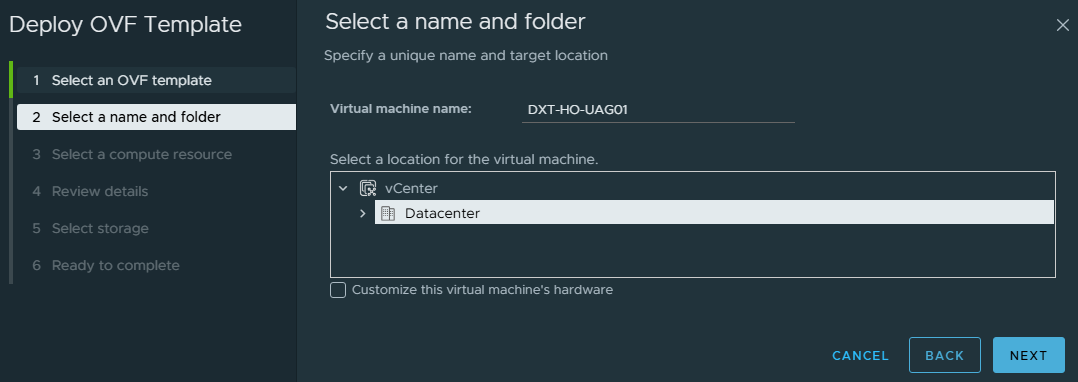
In my example, I will name it DXT-HO-UAG01 and select the location named Datacenter.
- Select the cluster or host where you want to run the UAG VM, then click Next.
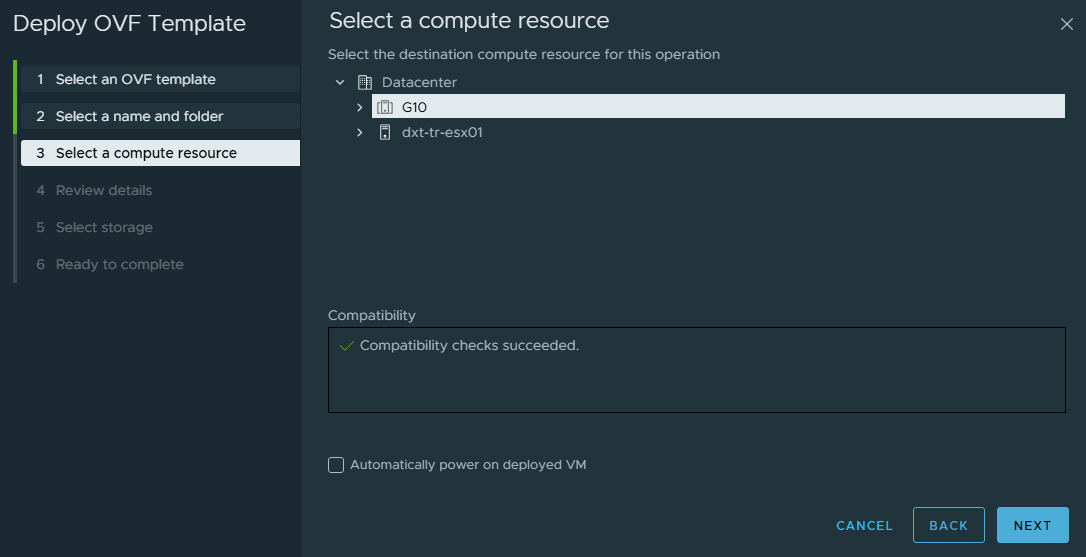
In my example, I will select my G10 cluster.
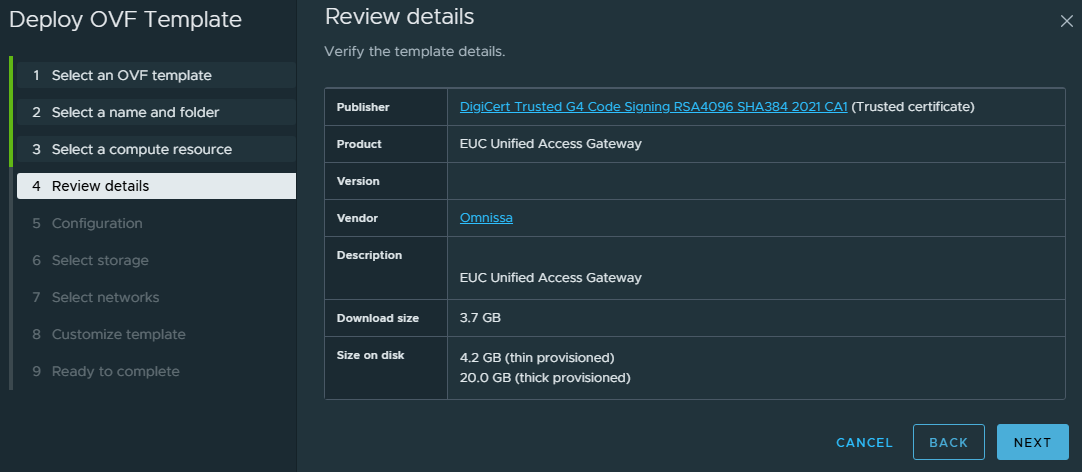
- Review the details and click Next.
You may get a certificate not trusted warning message. You can click ignore, or resolve this warning message by following the steps in my blog post, VMware vCenter OVA Certificate Trust.
- Select the deployment configuration for your environment and click Next.

The most common deployment option is Single NIC.
In my example, I will use a Single NIC deployment.
…