Deploy Claude Desktop on Non-Persistent VDI
In this post, I will show you step by step how to deploy Claude Desktop on Non-Persistent VDI.
The Process
The entire setup is split into a few stages.
- Install Claude Desktop
- Disable Claude Desktop Updates
- Manually Update Claude Desktop
- Claude Desktop User Settings Capture
Install Claude Desktop
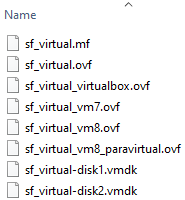
To deploy Claude Desktop for Non-Persistent VDI, you need to use the Claude Desktop MSIX.
- Go to the Deploy Claude Desktop for Windows page.
- Download the MSIX file.
- Install the Claude Desktop MSIX on your gold image with the following PowerShell command
Add-AppxProvisionedPackage -Online -PackagePath "Claude.msix" -SkipLicense -Regions "all"Code language: PowerShell (powershell)
Now, when a user uses the updated non-persistent VDI desktop, Claude Desktop will be installed.
Disable Claude Desktop Updates
Claude Desktop gets updates very frequently, but you do not need to install them right away. Fortunately, Anthropic provides a way to disable updates on Claude Desktop. It’s also recommended to disable application auto-updates when used on non-persistent VDI.
- Create the following registry key
HKLM:\SOFTWARE\Policies\Claude - Create a DWORD named
disableAutoUpdateswith the value of1
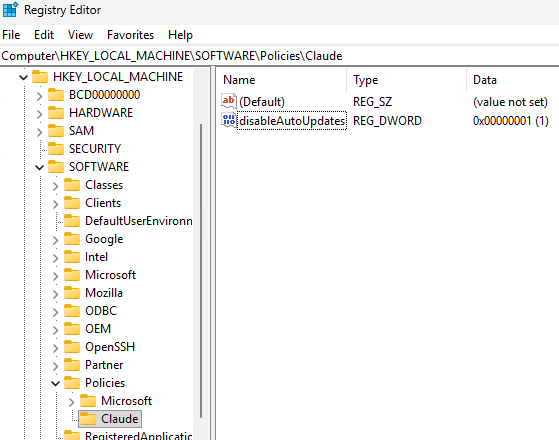
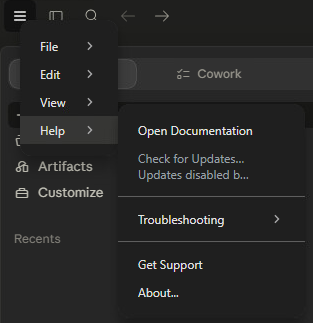
When you launch Claude Desktop, it will no longer automatically check for updates, and the option to check for updates will be disabled.
Manually Update Claude Desktop
When you want to update Claude Desktop on your non-persistent VDI gold image, you need to remove it first.
- Run the following PowerShell command to remove the Claude Desktop MSIX deployment.
Get-AppxProvisionedPackage -online | where DisplayName -like *Claude* | Remove-AppxProvisionedPackage -OnlineCode language: PowerShell (powershell)
- Run the following PowerShell command to remove the Claude Desktop MSIX installation.
Get-AppxPackage *Claude* -allusers | Remove-AppxPackage -allusersCode language: PowerShell (powershell)
- Now you can download the updated MSIX from Claude and install the new version using the same process as Install Claude Desktop.
Claude Desktop User Settings Capture
When a user launches Claude Desktop for the first time, their settings are stored in the MSIX redirected location %LOCALAPPDATA%\Packages\Claude_pzs8sxrjxfjjc\LocalCache\Roaming\Claude and %LOCALAPPDATA%\Packages\Claude_pzs8sxrjxfjjc\LocalCache\Roaming\Claude-3p

Depending on how you capture the user’s AppData, the default MSIX redirected location can cause issues. Solutions such as FSLogix ignore the %LOCALAPPDATA%\Packages\*\LocalCache folders regardless of your configuration.