Sometimes, you have a certificate in PEM format as a CRT file (also called a CER file) with a key file (also called a PEM file), and you need to combine and convert them into a PFX certificate.
In this post, I will show you step-by-step how to convert a PEM certificate into a PFX file.
Prerequisites
OpenSSL binary installed. You can find the OpenSSL binaries on the OpenSSL wiki.
Private key file
SSL Certificate
The Process
Place everything in a working directory.
I will be using C:\SSL as my working directory.
Open the command line. You can use Linux or Windows. The commands are all the same regardless of which OS you are using.
I will be using Microsoft Windows with Windows Terminal and PowerShell.
To convert the certificate using OpenSSL, we will need to use a few options to create our command.
The options we will use are
pkcs12 to tell OpenSSL that we will be working with a PKCS#12 file. PKCS#12 is another name for a PFX file.
inkey to tell OpenSSL which private key to use.
in to tell OpenSSL which certificate file to use.
export to tell OpenSSL we want to export a PKCS#12 file.
out to tell OpenSSL where to save the converted certificate.
There are many ways to generate a CSR (Certificate Signing Request). In this post, I will show you step-by-step how to generate a CSR using OpenSSL.
Prerequisites
OpenSSL binary installed. You can find the OpenSSL binaries on the OpenSSL wiki.
The Process
Create a working directory.
I will be using C:\SSL as my working directory.
Open command line. You can use Linux or Windows. The commands are all the same regardless of which OS you are using.
I will be using Microsoft Windows with Windows Terminal and PowerShell.
We will use the following options to create our OpenSSL command.
req to let OpenSSL know that we want to make a CSR.
newkey to tell Open SSL that we want a new private key.
rsa:2048 to tell Open SSL we want the private key encoded with RSA and 2048 bits.
keyout to tell OpenSSL where to save the private key.
out to tell OpenSSL where to save the CSR.
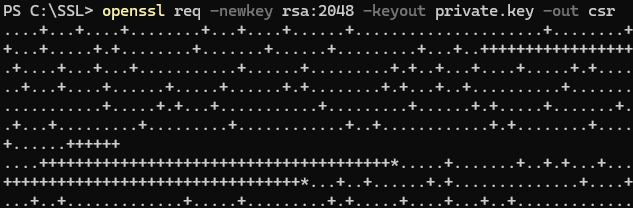
Using those options, we can create the OpenSSL command to generate a new private key and create the CSR. Replace PATH_TO_KEY and PATH_TO_CSR with the location where you want the private key and CSR saved. openssl req -newkey rsa:2048 -keyout PATH_TO_KEY -out PATH_TO_CSR
In my example, I will name my private key private.key, and my CSR will be named csr. The command for me will look like openssl req -newkey rsa:2048 -keyout private.key -out csr
There are a few ways to grant external access to an internal application without doing any port forwarding. The way to do this in Microsoft’s world is through an Entra Application Proxy.
The name is a bit of a mess, as Microsoft renamed the Microsoft Entra application proxy program to Microsoft Entra private network connector. The Microsoft Entra private network connector is part of Microsoft Entra Private Access, which is part of Microsoft Global Secure Access.
Basically, Microsoft Entra Enterprise Applications can be configured with an Application Proxy, which will use the Microsoft Entra private network connector to proxy the connection.
In this post, I will show you step-by-step how to set up a Microsoft Entra private network connector, configure an internal web application to use an Entra Enterprise application proxy, and add authentication before access is granted to the web application.
Prerequisites
Microsoft Entra ID P1 or higher license.
External domain added to Microsoft 365.
Windows Server for the Private Network Connector.
Internal DNS name for the application.
Access to the external DNS records.
SSL certificate in PFX format with a password.
The Process
The process will be broken up into the following sections.
Certain situations can arise where you no longer know a Windows user account password and need to reset it or make a new one. Third-party tools can assist, but in my experience, many of them have been hit-and-miss.
In this post, I will show you step-by-step how to reset a Windows password using Windows install media with the help of Utilman and cmd. I will also show you a way to prevent this.
Utilman is the executable name for the Utility Manager in Windows. Utility Manager allows for easy access to accessibility features in Windows. You can call Utility Manager right from Windows by pressing the Windows key and the letter U simultaneously.
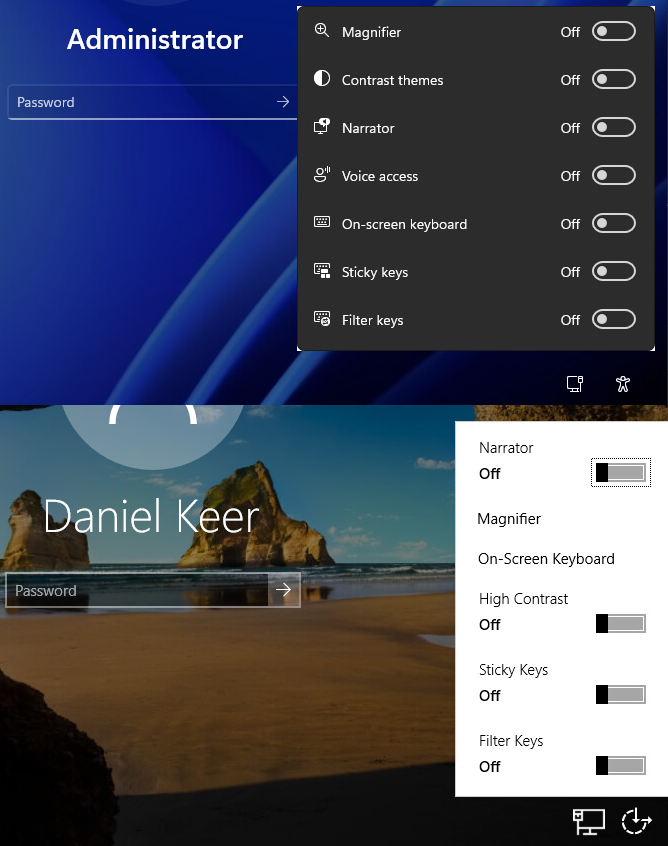
On the Windows login screen, you can invoke Utilman by clicking on the Ease of access or the Accessibility icon in the bottom right beside the network icon.
Utility Manager running on the Windows login screen.
If we make Utilman launch CMD instead, we can get a command prompt window running with system-level permissions.
Prerequisites
Physical access to the system.
Bootable Windows install media.
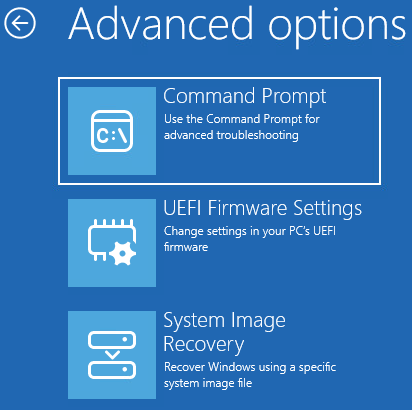
The Process
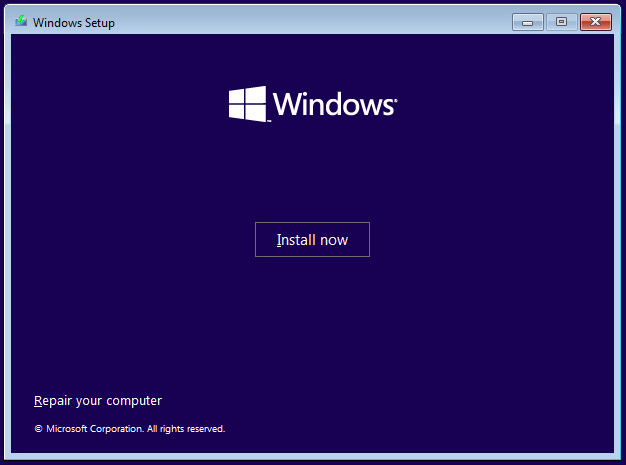
Boot off of the Windows install media.
It doesn’t matter if the Windows install media matches the target OS.
The net user and group commands are very powerful tools for managing local and domain users and groups.
In this post, I will show you how to use the net user command locally and on a domain to create a user account, reset a user account password, and view general info about a user account. I will also show you how to use the net group and net localgroup commands to manage local groups and domain groups, and how to view group members.
Net User
Create User Account
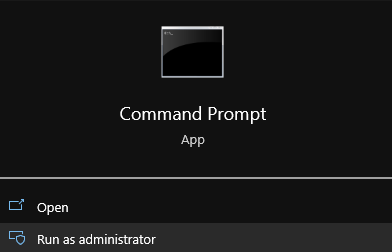
Open CMD as admin or as an account that can create a domain user account.
New Local User
Enter the following command to create a new local user account and replace USERNAME_HERE and PASSWORD_HERE with the username and password you would like to use net user USERNAME_HERE PASSWORD_HERE /add
For example, if I want to make a new local account named NewUser with a password of NewP@ssword1, the command will be net user NewUser NewP@ssword1 /add
New Domain User
Enter the following command to create a new domain user account and replace USERNAME_HERE and PASSWORD_HERE with the username and password you would like to use net user USERNAME_HERE PASSWORD_HERE /add /domain
For example, if I want to make a new domain user account named NewUser1 with a password of NewP@ssword1, the command will be net user NewUser1 NewP@ssword1 /add /domain
Change User Password
Open CMD as admin or as an account that can change a domain user password.
Change Local User Password
Enter the following command to change a local user account’s password and replace USERNAME_HERE and PASSWORD_HERE with the username and password you would like to use net user USERNAME_HERE PASSWORD_HERE
For example, if I want to change the password of the local account named NewUser to the password of NewP@ssword2, the command will be net user NewUser NewP@ssword2
Change Domain User Password
Enter the following command to change a domain user account’s password and replace USERNAME_HERE and PASSWORD_HERE with the username and password you would like to use net user USERNAME_HERE PASSWORD_HERE /domain
For example, if I want to change the password of a domain account named NewUser1 to the password of NewP@ssword2, the command will be net user NewUser1 NewP@ssword2 /domain
I write a lot of PowerShell scripts for application installations, and many download the install files from a URL. Because the URL is hardcoded in the scripts, if the URL changes, I need to update all the scripts. This exact issue happened to me a few years ago, and my solution at the time was to write a Python script to update the PowerShell scripts. You can read about that solution in my blog post, Script to make Scripts.
However, if my scripts had used a URL shortener instead, I could’ve edited the short URL to resolve the issue. The problem with most URL shorteners is that you can make short URLs all day long, but you can’t edit them, and if they let you edit them, it’s a paid feature, and they also start limiting how many hits your short URL can get. I am not a fan of any of that.
Fortunately, a URL shortener named Shlink exists. Shlink is a self-hosted open-source URL shortener. With Shlink, you can do whatever you want with your short URL, including editing them.
Once I got Shlink set up, I re-wrote my PowerShell scripts to use my Shlink short URLs. Now, if an install URL changes, I can edit the Shlink short URL, and I don’t need to update my PowerShell scripts.
In this post, I will show you step-by-step how to set up Shlink with Docker and Cloudflare Tunnels.
The Shlink setup will use a Cloudflare tunnel for external access and a MariaDB database for the Shlink database. I selected MariaDB as I am more familiar with it. However, Shlink does support other databases. We will also use the Shlink web client as a UI to easily manage the short links.
Prerequisites
Domain for the short links.
DNS for the domain hosted in Cloudflare.
Docker host.
The Process
Make a folder to store your docker configurations for Shlink.
You will need to define the variables in the .env file.
The variables are:
CONTAINER_NAME is the name of your Shlink stack. There will be 4 containers spawned.
The one with _app appended to it is the Shlink application image that runs all of Shlink.
The one with _db appended to it is the MariaDB image for Shlink to store all the configurations.
The one with _web_client append to it is the Shlink web client image that gives you a nice UI to manage your short URLs.
The one with _cf appended to it is the Cloudflare tunnel image for the Shlink application.
DB_NAME is the name of the MariaDB database that Shlink will use.
DB_ROOT_PWD is the MariaDB root password.
DB_USER is the database user that Shlink will use.
DB_USER_PWD is the password for the database user that Shlink will use.
SHORT_DOMAIN is the domain you will be using for your short URLs. (only include the FQDN (Fully Qualified Domain Name))
REDIRECT_DOMAIN is where invalid short links, direct visits to the short domain, or 404 pages will be sent. (this needs to start with https://)
APP_PORT is the port that the Shlink application will run on and the port you will use with the Cloudflare tunnel.
ADMIN_API is the initial API key that will be used to configure your Shlink and will be preloaded to the Shlink Web Client.
WEB_CLIENT_PORT is the port the Shlink web client will use.
CF_TUNNEL_B64 is the Base64 of your Cloudflare tunnel for Shlink.
For example, I will use the domain dxt.zip as the primary domain for Shlink. I will be redirecting all non-short URL traffic to my blog, thedxt.ca. I will use port 8788 for the Shlink application and port 8787 for the Shlink web client to manage Shlink.
Microsoft Windows Server 2025 has just reached general availability. I decided to install it and see what’s changed compared to Windows Server 2022.
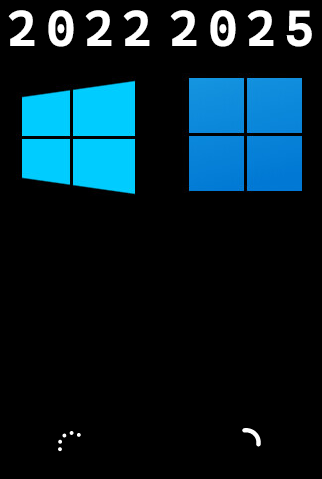
Right off the bat, the installer loading screen is slightly different.
Windows Server installer loading
With Windows Server 2025, there are two setups the new setup UI, which is the default, and the previous setup UI, which I will call the old setup UI, as it is very much like the Windows setup UI we are all used to.
In this post, I will compare the install screens from Windows Server 2022 with the Windows Server 2025 new setup UI and the Windows Server 2025 old setup UI to see what’s different, along with the initial changes I noticed once Windows Server 2025 was installed.
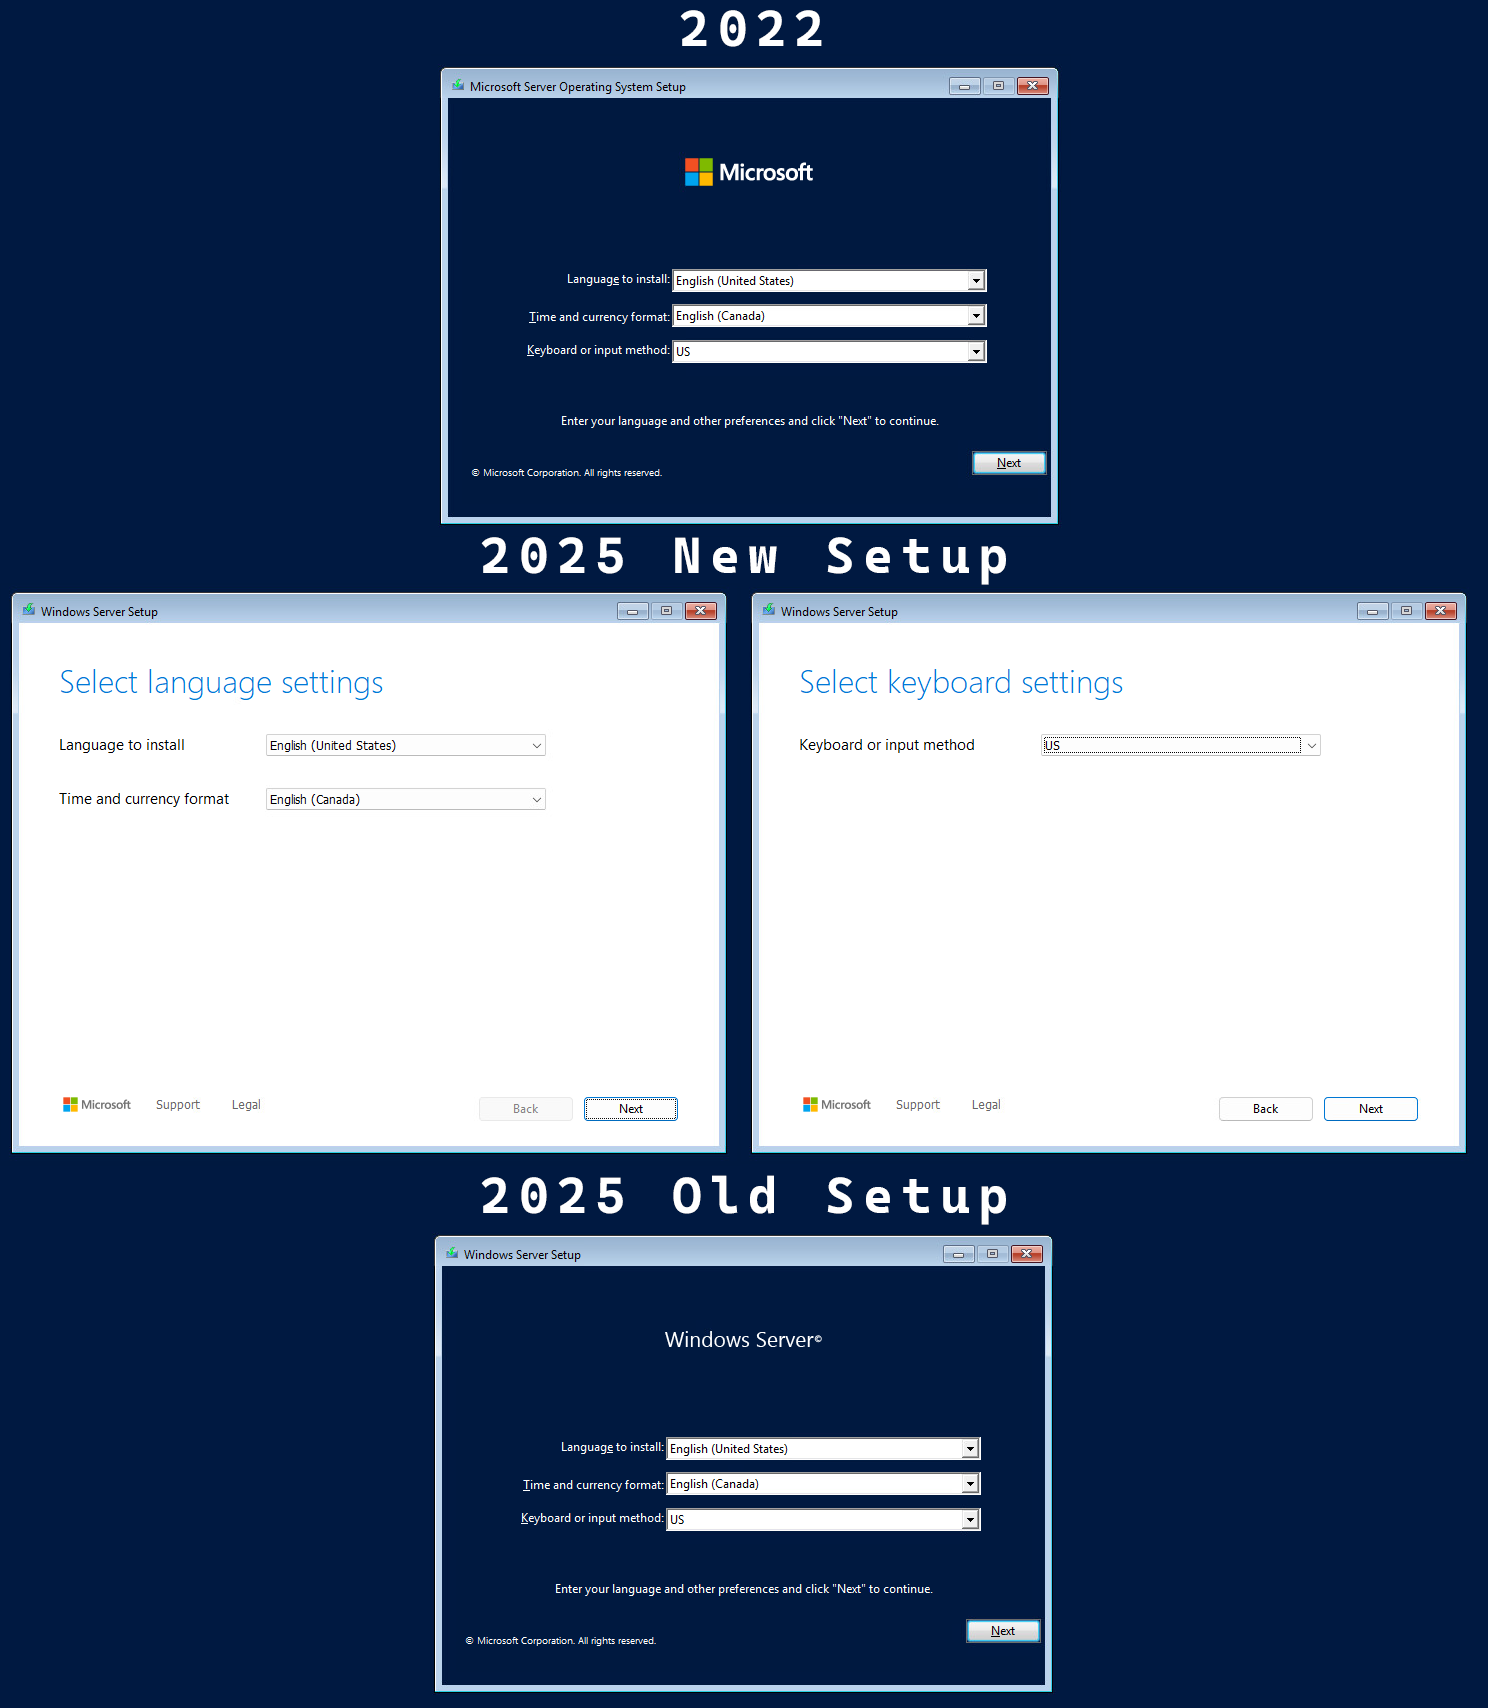
With the Windows Server 2022 setup UI, the first screen is the language, time format, and keyboard selection. In the Windows Server 2025 new setup UI, the whole screen has been redesigned, and the language selection is its own screen, followed by the keyboard settings. Using Windows Server 2025 with the old setup UI is essentially the same as the Windows Server 2022 setup UI.
Windows Server initial settings screen
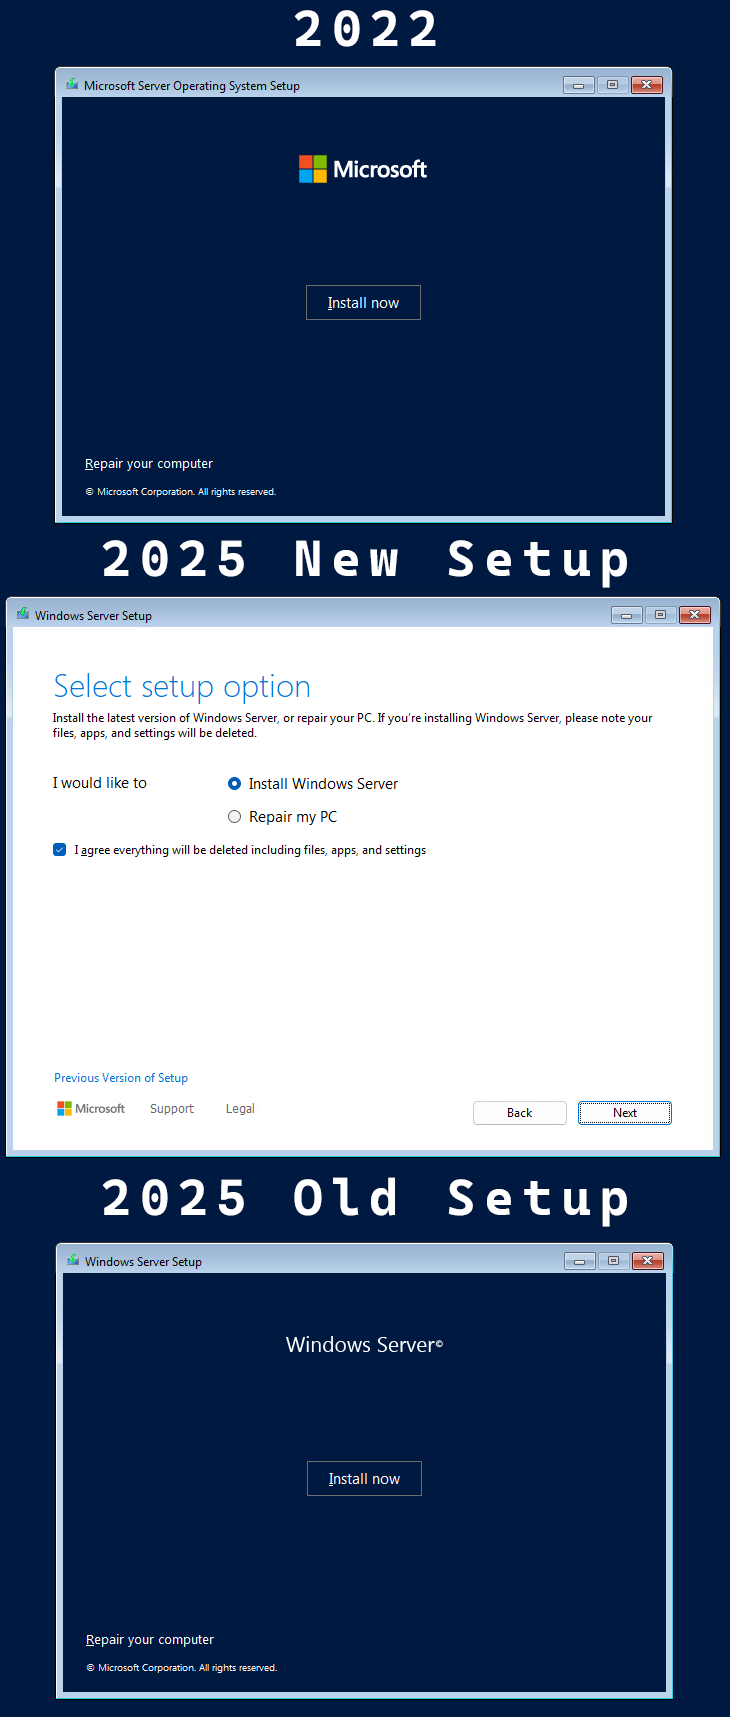
The next screen is the install or repair screen. With the new setup UI on Windows Server 2025, the repair option is much more prominently featured, along with a new required option to select I agree everything will be deleted including files, apps, and settings. This screen also allows you to switch back to the old setup UI.
There are many ways to activate Windows, and a really cool way to activate Windows is with Active Directory-Based Activation.
Active Directory-Based Activation (ADBA) was first introduced in Windows Server 2012 and is only usable if your Microsoft Volume licensing has a KMS host key. If you don’t have a KMS key, you may need to request one from Microsoft.
ADBA works very similarly to KMS (Key Management Services), except it doesn’t have the dependency of 25 activations before it becomes active and doesn’t need DNS or SRV records to work. The systems just need to talk to your domain, and because your domain is highly available, so is ADBA.
Systems that are activated with ADBA remain activated while communicating with the domain. However, if systems cannot communicate with the domain, they will remain activated for 180 days. If a system cannot communicate with the domain for more than 180 days, Windows will deactivate, but it will reactivate once it can communicate with the domain again.
In this post, I will show you step-by-step how to install, configure, and test Active Directory Based Activation.
Prerequisites
An account that is a member of Enterprise Admins and Domain Admins.
Active Directory schema version 56 (Windows Server 2012) or higher.
If you need to learn how to check your schema version, my blog post, Active Directory Schema, covers how.
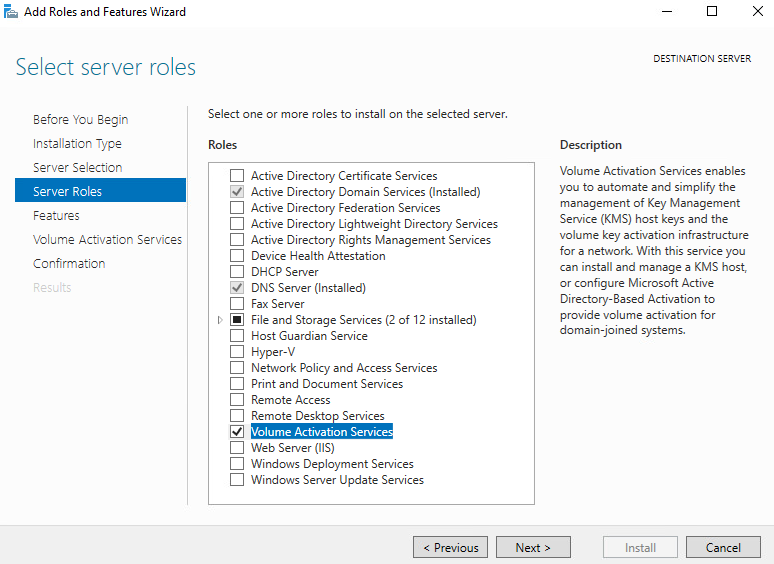
Adding Volume Activation Services Role
GUI
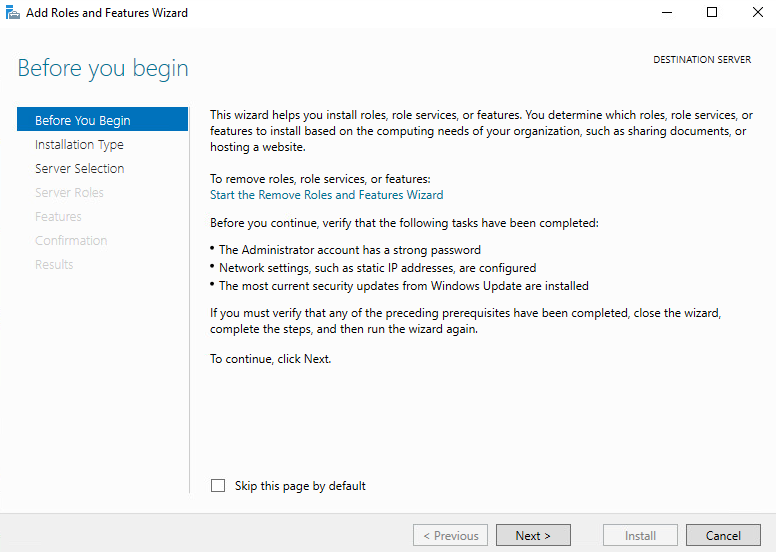
Launch the Add Roles and Features Wizard and click Next.
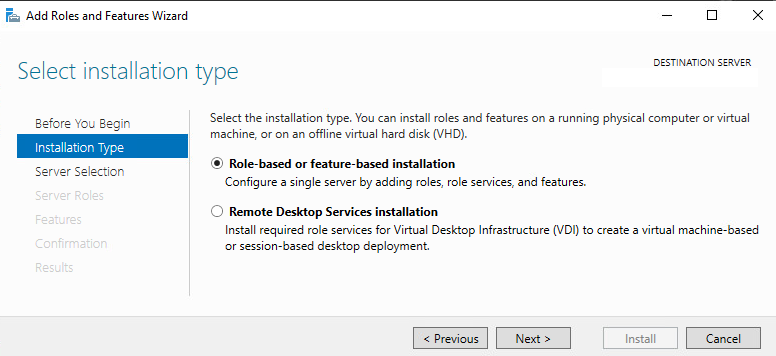
For the installation type, select Role-base or feature-based installation and click Next.
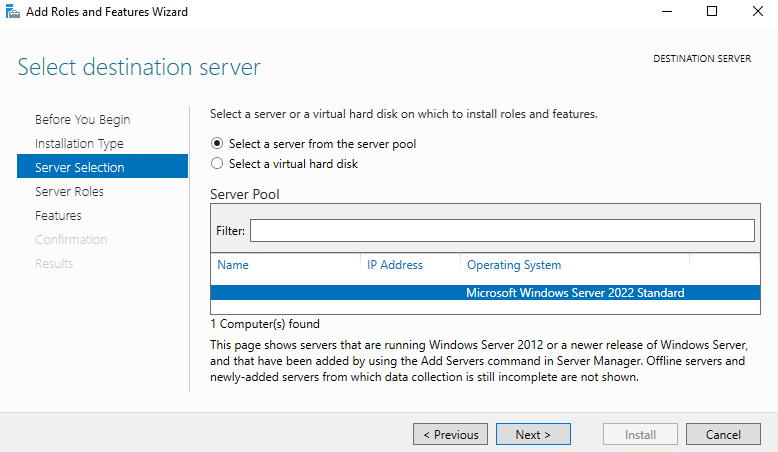
Select the server you want to install the role to and click Next.
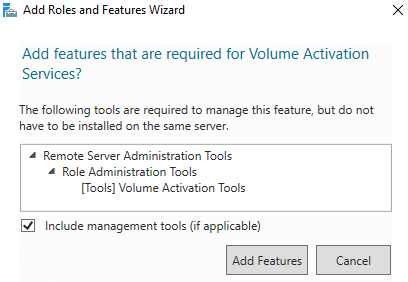
Select Volume Activation Services.
Click on Add Features to add the required features.
If you haven’t heard of SolarWinds Kiwi CatTools, it is a great tool for network automation. I primarily use it to back up network configurations.
Before 2009, Kiwi CatTools (KCT) was developed by Kiwi Enterprises. In 2009, SolarWinds acquired Kiwi Enterprises. SolarWinds continues to develop KCT.
The upgrade process can feel a bit scary if you’ve never upgraded Kiwi CatTools. In this post, I will show you step-by-step how to upgrade SolarWinds Kiwi CatTools.
The Process
First, we should review the release notes to see if there are any changes we need to be aware of. You can view the release notes for Kiwi CatTools here.
Before we begin the upgrade, we should take a backup. A database backup is crucial as sometimes the database is not backward compatible.
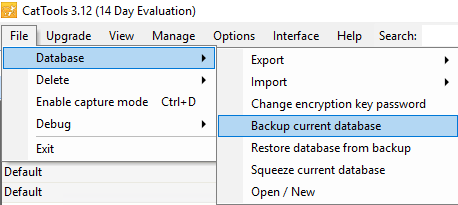
Backup
Open CatTools
Click on File > Database > Backup current database
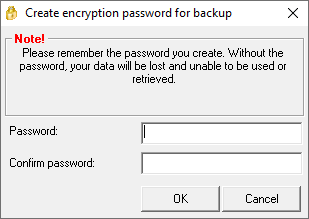
Enter an encryption password for the backup and click ok.
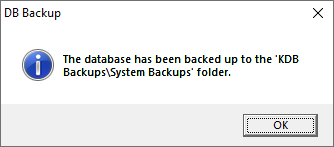
Click ok to confirm that the database backup has been completed.
EUC World Independence is a two-day EUC (End User Computing) conference from October 22nd to October 23rd in Silver Spring, Maryland, USA. This was the world premier of the EUC World conference, and I was able to attend it.
World of EUC hosted EUC World Independence. If you haven’t heard of World of EUC, it is an independent organization that was formed to bridge the gap between all the vendors and technology and community programs in the EUC space. They aim to be a one-stop shop to connect everything and remain independent from all vendors, as there are a lot of vendors in the EUC space.
In this post, I will detail my experience at EUC World 2024.
Getting to Silver Spring
Getting to Silver Spring, Maryland, USA, is a bit challenging when travelling from Calgary, Alberta, Canada. The original plan was a flight from Calgary to Montreal, Quebec, Canada and then a 90-minute layover to a connecting flight from Montreal to Washington, DC, USA.
The morning began with a notification from the airline saying that the flight from Calgary to Montreal was delayed by 2 hours. This presented a problem as the connection flight would be missed, I wouldn’t get to the event until the next day, and I would miss a large chunk of the first day of the event.
Fortunately, I was travelling with my friend Stephen Wagner (who also has a blog), an expert at dealing with airline chaos. He got the airline to transfer things around, and now we’d be flying from Calgary to Toronto, Ontario, Canada, then Toronto to Washington.
We made it to the first flight
On the flight, I got free food. I had never eaten on a plane before, and it was pretty good. I wonder why comedians always make fun of airplane food. I ordered the butter chicken option.
Butter chicken airplane food.
By the time we reached the hotel, it was 11:30 pm Maryland time.
Day 1
The first day of the conference started with complimentary breakfast, registration, and then the EUC World conference started.
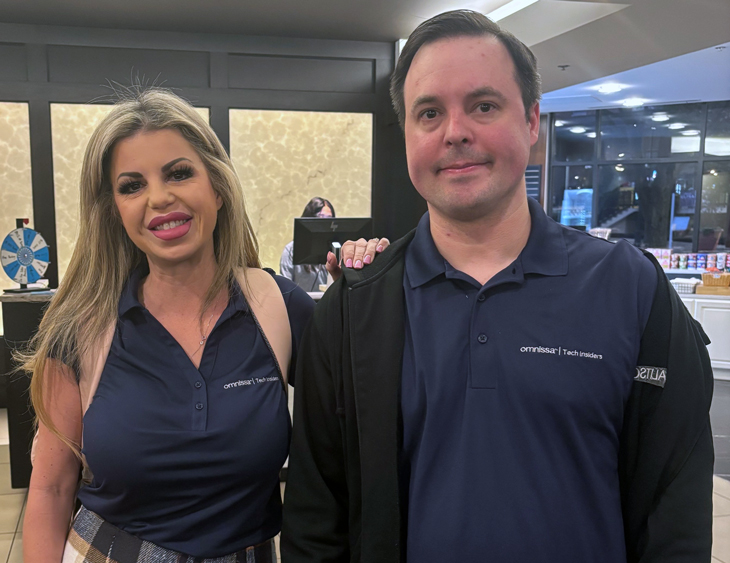
On my way to the event, I ran into Holly Lehman, one of the people who runs the Omnissa Tech Insider program that I am a part of.
The first day of EUC World took place at the AFI Silver Theatre.
The AFI Silver Theatre
I got registered and picked up my badge.
My EUC World badge
It was neat that the day one took place at a theatre. I thought a theatre was an odd place to host a conference, but when you think about it, it makes sense as every room has many seats and projectors. The only thing you need to bring is the presentation. I suspect that helps simplify a lot.