Sometimes, you need to do a quick factory reset on a Palo Alto Networks firewall. If you aren’t decommissioning the firewall, a Private Data Reset can be a faster way to accomplish similar results as a factory reset and can be done via CLI directly and could technically be done remotely with some coordination.
In this post, I will show you step-by-step instructions on how to perform a private data reset on a primary Palo Alto Networks firewall in an Active/Passive High Availability Pair using the GUI and the CLI.
The Process
- Confirm local firewall admin access
- Confirm management network access
- Disable HA Preemptive Election via the GUI or CLI
- Export the running config via the GUI or CLI
- Make the primary firewall the Passive firewall via the GUI or CLI
- Perform the Private Data Reset
- Perform the initial configuration of the reset firewall
- Import the exported running config
- Resolve High Availability issues
- Sync the High Availability Running Config via the GUI or CLI
- Test High Availability via the GUI or CLI
- Enable HA Preemptive Election via the GUI or CLI
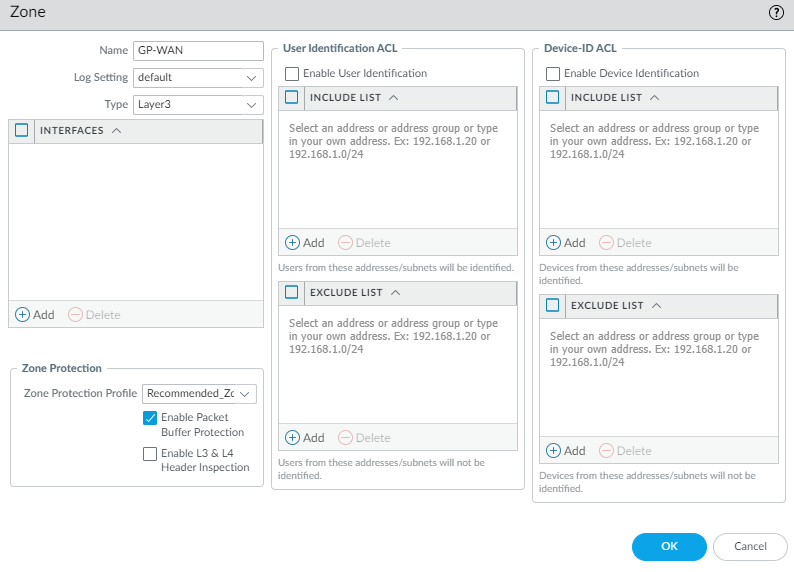
HA Election Settings
If the HA election settings are set to preemptive, we need to disable that.
HA Election Settings GUI
- On the Primary firewall, click on Device.

- Click on High Availability
- Uncheck Preemptive (if it isn’t selected, you don’t need to do anything)
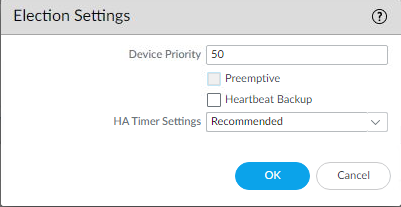
- Commit the changes
HA Election Settings CLI
- SSH into the Primary firewall
- Enter the configuration mode by running the command
configure

- Run the following command to output your HA election settings
show deviceconfig high-availability group election-option

If preemptive is set to yes, make a note of that (if it isn’t selected, you don’t need to do anything)
…