Palo Alto Device Certificate
Palo Alto Networks firewalls often require a device certificate. A device certificate is needed for items like device telemetry and for some of the CDSS (Cloud-Delivered Security Services) items, such as WildFire, DNS and URL filtering, and others.
In this post, I show you step-by-step how to check if a device certificate is installed and how to install a device certificate on a Palo Alto Networks firewall.
Before we proceed with installing the device certificate, we should double-check whether the firewall already has one.
Checking Device Certificate
- Log in to the Palo Alto Networks Firewall
CLI
- To check if a device certificate is installed, run the following command
show device-certificate status
If the result is No device certificate found, move ahead with installing the device certificate.

GUI
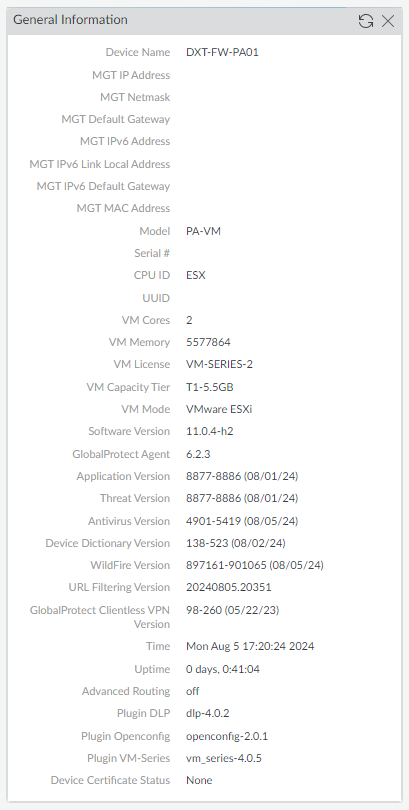
- Click on Dashboard

- The General Information widget will display the Device Certificate Status.
With the GUI, you can also check if a device certificate exists in another place.
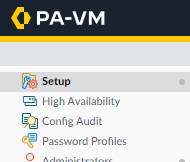
- Click on the Device tab.

- Click on Setup.
- The Management tab will have a widget about the Device Certificate.
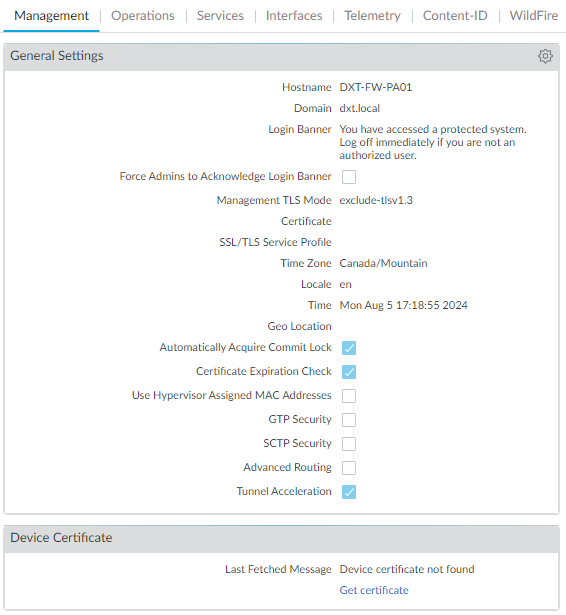
If there is no device certificate installed, we can move ahead with installing the device certificate.
Installing Device Certificate
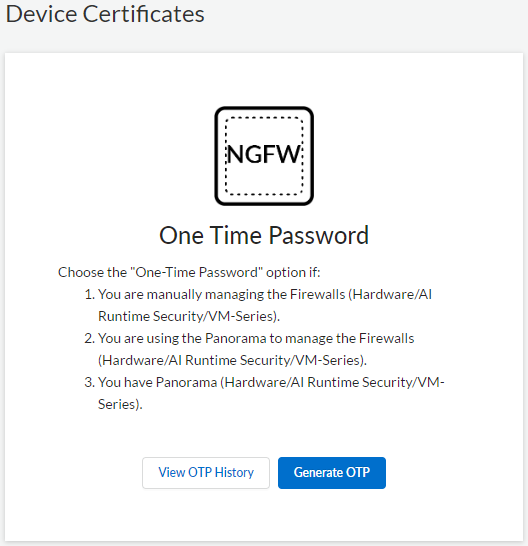
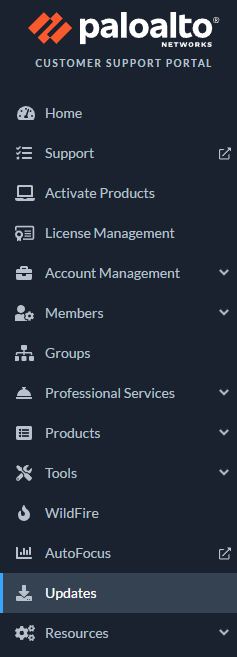
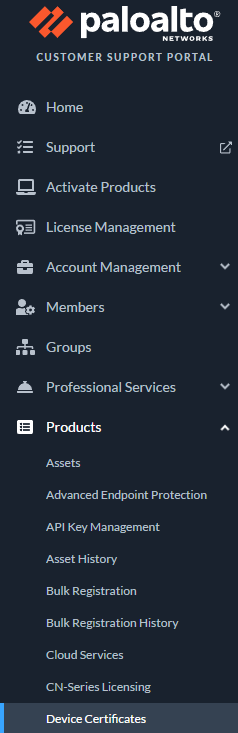
- Log in to the Palo Alto Networks Customer Support Portal.
- Click on Products > Device Certificates.
- Under the One Time Password section, click on Generate OTP.