VMware Tools on Windows Server Core
I’m a fan of using Microsoft Windows Server Core for as many things as possible when it makes sense. In this post, I’ll cover step-by-step how to install VMware Tools on Windows Server Core via the GUI and PowerShell.
The GUI Way
- From ESXi or vCenter mount VMware tools to the VM.
- Login to the Windows Server Core VM.
- Change to the D drive (or whichever drive your disk drive is on your install)
- Enter the following command to being the install
.\setup64.exe

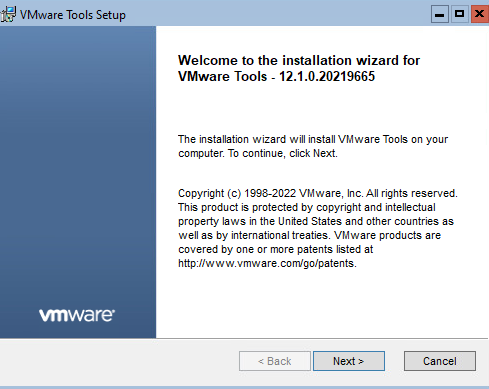
Sometimes the VMware tools install screen hides behind the command line window.
- Click Next
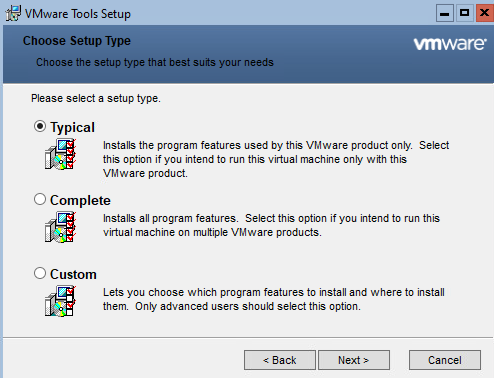
- Select Typical and click Next.
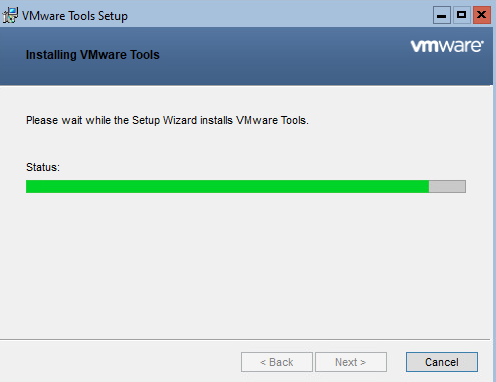
- Click Install.

- Wait for the installation to finish.
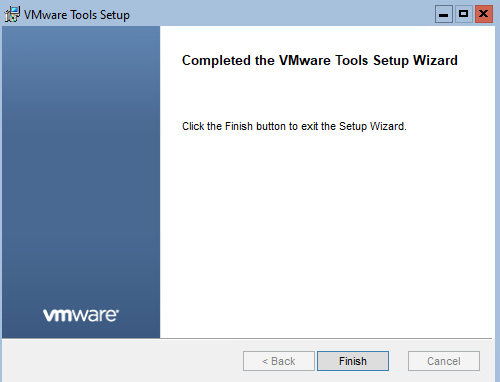
- Click Finish.
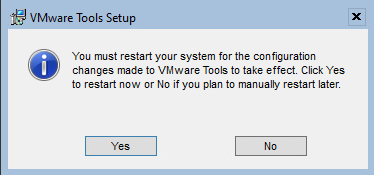
- Click Yes to reboot.
That covers how to install VMware Tools via the GUI on Windows Server Core. What if you wanted to take it further and do it with PowerShell only?
The PowerShell Way
- From ESXi or vCenter mount VMware tools to to the VM.
- Login to the Windows Server Core VM.
- In PowerShell run the following command
Start-Process D:\setup64.exe -Wait -ArgumentList "/s", "/v", "/qn", "REBOOT=R" -WindowStyle Hidden

The parameters we used are:
- -wait tells PowerShell to wait for the installation to complete before considering the installation to be done. This is a nice trick to slow down PowerShell and force it to wait for installation or uninstall to complete before moving on to the next item.
- /s tells the install to be silent.
- /v tells the install to accept more parameters.
- /qn tells it to be quiet and display no UI.
- REBOOT=R tells it not to reboot.
That’s all it takes.
If you want to read more about the silent parameters here is VMware’s documentation on it.
More info about VMware Tools in general here is the VMware documentation about it.