Upgrade Palo Alto Firewall HA Pair (Active/Passive)

Palo Alto has some great documentation about how to do basically everything. Sometimes it’s a bit buried. These are my short and long cheat sheets for upgrading a Palo Alto Networks firewall in an Active/Passive High Availability Pair.
If you want to preform the upgrade using CLI only please see my post Upgrade Palo Alto HA Pair (Active/Passive) with CLI for more details.
Quick Cheat Sheet
- Confirm local firewall admin access
- Confirm management network access
- Confirm upgrade path
- Review release notes
- Review Upgrade/Downgrade Considerations
- Complete upgrade checklist
- Download content updates
- Turn off HA preemptive election if on
- Export running config and tech support files on each firewall
- Download the main version and preferred version of PAN-OS
- Make the Primary firewall the Passive firewall
- Upgrade the Primary firewall
- Make the Primary firewall the Active firewall
- Upgrade the Secondary firewall
- Confirm all works
- Turn on HA preemptive election if it was originally on
Long Cheat Sheet
Upgrade path and sanity checks
- Check your upgrade path with Palo Alto’s Documentation Here is the upgrade path to PAN-OS 10.2
- Check what the preferred releases are for your upgrade path. You can do that here. (You will need a Palo Alto support account to view the link)
- You always need to do every PAN-OS update as in you can’t jump from 8.1 to 9.1 you need to do 8.1 then 9.0 then 9.1
- Review the Upgrade/Downgrade Considerations. Here are the Upgrade/Downgrade Considerations for PAN-OS 10.2.
- Review and complete the PAN-OS Upgrade Checklist. Here is the Upgrade Checklist for PAN-OS 10.2.
- Review the release notes for the version you are upgrading to for each version along your upgrade path. Here are the release notes for PAN-OS 10.2.
- Confirm you have a working local firewall admin access
- Make sure you can access the firewalls via their management IPs
For my example, FW01 is the Primary firewall and currently Active firewall and FW02 is the Secondary firewall and currently Passive firewall and they are both running PAN-OS 10.1 version 10.1.6-h6 which is the current preferred release for that version. We will be upgrading them to PAN-OS 10.2 version 10.2.2-h2 which is the current preferred release for that version.
Checking Content Updates
- Click on Device

- Click on Dynamic Updates

- Click Check Now

- Install the newest Content Updates if there are any

HA Election Settings
If the HA Election Setting is set to Preemptive we need to disable that for the upgrade. In my example FW01 is the Primary and Active firewall so we will change that setting on that firewall. (We only need to change the setting on one of the Firewalls.)
- On the Primary firewall click on Device

- Click on High Availability

- Uncheck Preemptive (if it isn’t selected you don’t need to do anything)

- Commit the changes
Running Config Backup
On each firewall, we need to take a running config backup.
- Click on Device

- Click on Setup

- Click on Operations

- Click on Export named configuration snapshot

- Select running-config.xml

- Repeat the steps on the other firewall
Generate Tech Support File
On each firewall, we need to generate a tech support file.
- Click on Device

- Click on Support

- Click on Generate Tech Support File

- Click Yes

- Wait for the file to generate. It can take a bit.

- Download the Tech Support File

- Repeat the steps on the other firewall
Download PAN-OS Software
- Click on Device

- Click on Software

Because we are going from PAN-OS 10.1.6-h6 to 10.2.2-h2 we need to download two PAN-OS versions 10.2.0 and 10.2.2-h2
- Download the version you need.

- Select Sync to HA Peer

- Wait for the software to download and sync to the HA peer. (This can take a bit.)

- Click Close

- Repeat the steps to download the preferred release. In our example, we will download PAN-OS version 10.2.2-h2
Suspending HA on the Active Firewall
In our example, we have an Active/Passive configuration. FW01 is the Primary firewall and the Active firewall and FW02 is the Secondary firewall and the Passive firewall. We are going to suspend HA on the Primary firewall (FW01) which will cause the Secondary firewall (FW02) to take over. We will then install the PAN-OS version 10.2.2-h2 on the Primary firewall (FW01) which will now be the Passive firewall as the Secondary firewall (FW02) is now the Active firewall due to the HA suspension.

- Click on Device

- Click on High Availability

- Click on Operational Commands

- Click on Suspend local device for high availability

- Click OK

We should now be failed over. FW01 the Primary firewall should now be the Passive firewall and FW02 the Secondary firewall should be the Active firewall.
- On the Primary firewall (FW01) click on Dashboard

- Confirm that the local status says Suspended

- On the Secondary firewall (FW02) confirm that the local status says Active

- Confirm that traffic is still working to confirm that your failover works
Doing the install on the Passive Firewall
Now that the Primary firewall (FW01) has been suspended it is now the Passive firewall, we can begin doing the installation.
- On the Passive firewall click on Device

- Click on Software

- Click Install for PAN-OS version 10.2.2-h2

- Click OK

- Wait for the installation to complete

- Click Yes to reboot the firewall

- Wait for the firewall to come back up. (This can take a while depending on your firewall.)
- Once the Passive firewall is back online login to it
- Confirm that the Primary firewall (FW01) is Passive and not suspended

Secondary Firewall Time
Now that the Primary firewall (FW01) is all upgraded we need to upgrade the Secondary firewall (FW02).
Suspending the HA on the Secondary firewall (FW02) will make the Primary firewall (FW01) the Active firewall again.
- Confirm that the Primary firewall (FW01) is now the Active firewall

- Confirm that traffic is still working to confirm that the failover worked.
- Now that the Secondary firewall (FW02) is the Passive firewall again follow the same steps that we did in the section Doing the install on the Passive Firewall as we will now be doing them on the Secondary firewall (FW02).
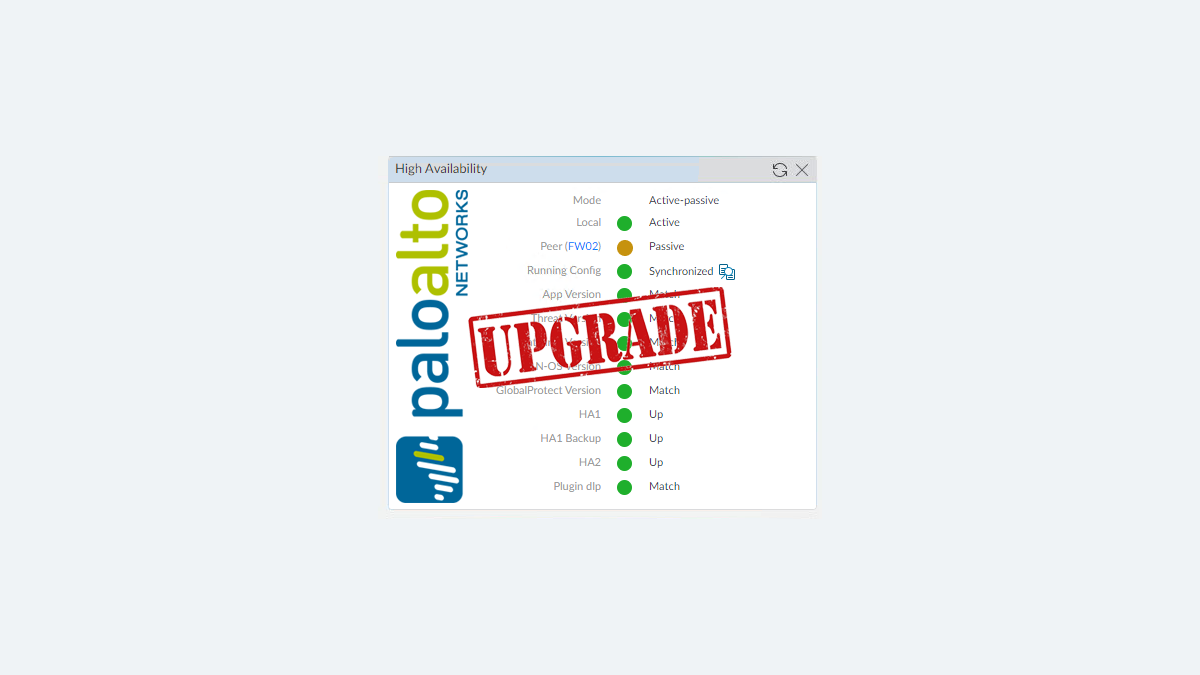
- Once the Secondary firewall (FW02) is online again make sure High Availability is all green again.

Final Step
- If you had to change your HA Election Settings you can now change them back.
That’s all it takes to upgrade a Palo Alto Networks Firewall with an Active/Passive High Availability configuration.
Here is the official documentation from Palo Alto Networks on how to do everything described above. https://docs.paloaltonetworks.com/pan-os/10-2/pan-os-upgrade/upgrade-pan-os/upgrade-the-firewall-pan-os/upgrade-an-ha-firewall-pair


8 responses to “Upgrade Palo Alto Firewall HA Pair (Active/Passive)”
I am at the same version- 10.1.6-h6. Do I need to install 10.1.10 then 10.2.4-h2 (with the necessary 10.2.0 downloaded and not installed)?
Thank you!
From 10.1.6-h5 I would upgrade to 10.1.10 as that is the current preferred release for that version. Technically speaking you shouldn’t have to do that but I would to play it safe.
Also, can I follow the same steps as outlined above with installing 10.1.10, reboot, then 10.2.0 on the primary firewall, then move over to the passive firewall?
The install should be done on a passive firewall. If FW1 is your currently active firewall suspend the HA on it to make FW2 your active firewall. Then do the upgrade on FW1.
Once it’s up suspend HA on FW2 making the newly upgraded FW1 the active firewall again. Then do the upgrade on FW2 that is passive again and still running the old version.
The steps can be followed for any version.
Make sure if you have preemptive HA election you turn that off before doing the upgrade.
Thanks Daniel, I will do that. Thanks for clearing up my confusion with my writing, lol.
So, pretty much, I will follow your instructions, but will also install 10.1.10, reboot, then install 10.2.4-h2 and reboot to quicken the process and lower the number of interruptions.
No problem and good luck!