TrueNAS Install Tweaks
I’m a long-time user of TrueNAS going back to the days when it was still called FreeNAS. I’ll always love the FreeNAS logo. In this post, I’ll go over step-by-step some of the tweaks that I like to make on a fresh install for TrueNAS specifically TrueNAS Core or TrueNAS Enterprise.
The Tweaks
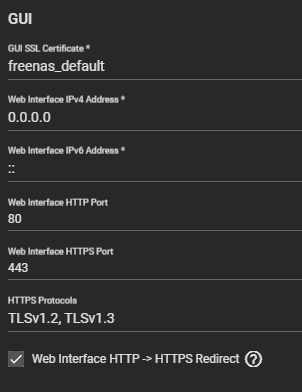
HTTPS Redirection
HTTPS is always a good idea. Here is how to enable HTTP to HTTPS redirection.
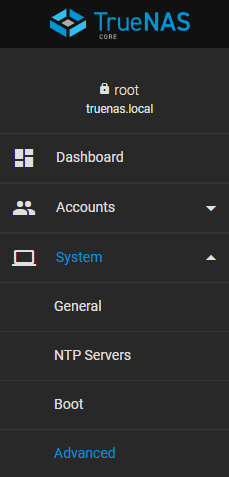
- Click on System > General
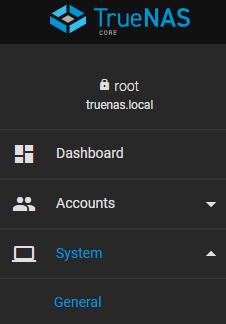
- Select Web Interface HTTP -> HTTPS Redirect and click Save.
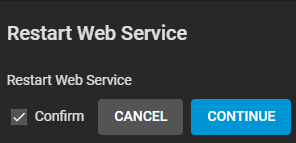
- Confirm that you are restarting the web service by selecting Confirm and click on Continue.
Now if you try to access your TrueNAS on HTTP it will automatically send you over to HTTPS.
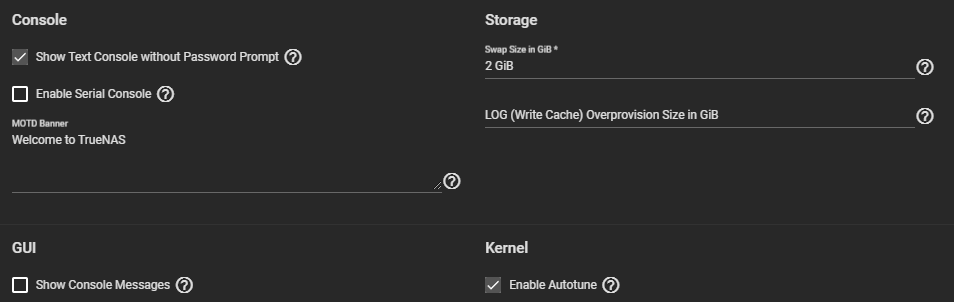
Autotune
Autotune is a Python script that is created by iXsystems that will automatically optimize your TrueNAS. If you want to see what the script is doing here is the location of it /usr/local/bin/autotune this is on by default on systems purchased from iXsystems.
- Click on System > Advanced
- Select Enable Autotune and click Save.
Email Notifications
I would say that email notifications are essential as you need to know what’s happening with your TrueNAS. Emails are sent by default to the root user.
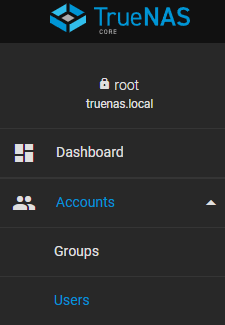
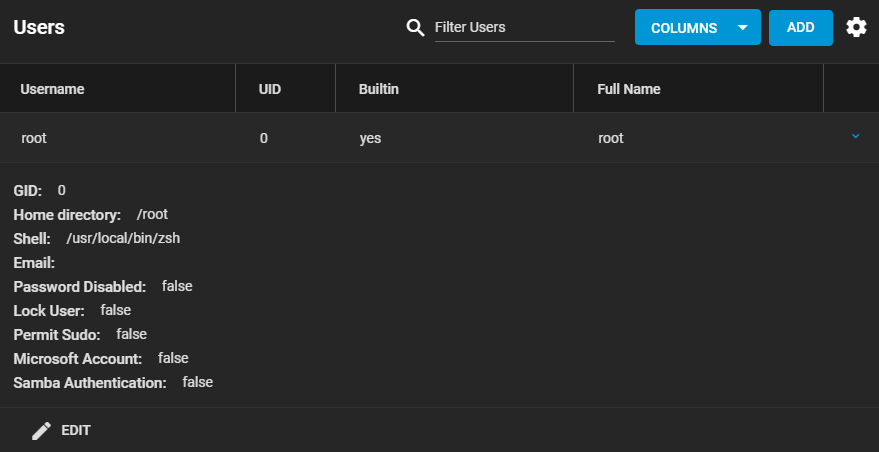
- Click on Accounts > Users
- Expand the root user and click on Edit
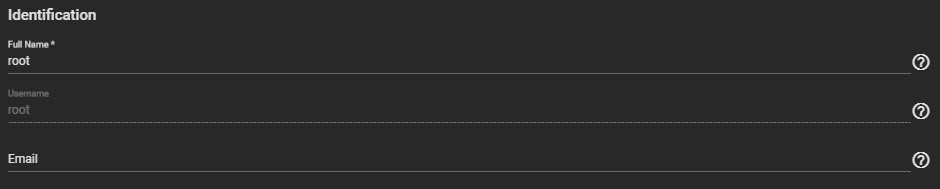
- Enter the email address you’d like email notifications to go to and click save.
Now we need to configure the connection to an email service.
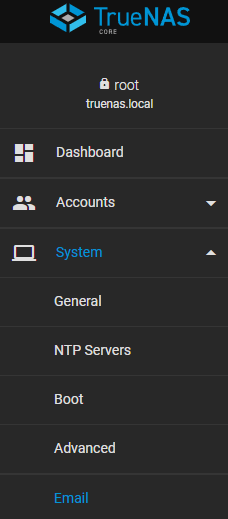
- Click on System > Email
- Configure your email settings and click Save (when you click send test mail it will send a test email to the email address of the root user).
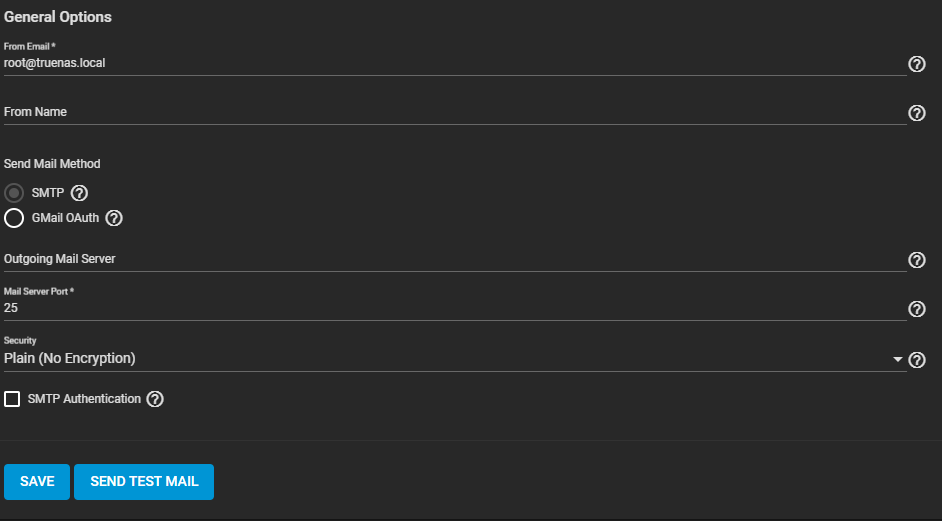
Now if there’s an alert your TrueNAS will send you an email about it.
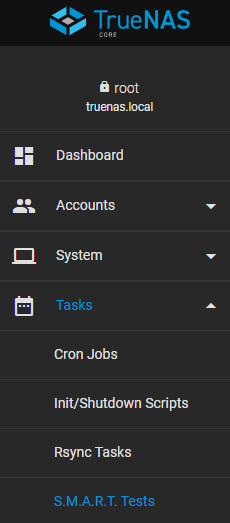
S.M.A.R.T. Testing
S.M.A.R.T. (Self-Monitoring, Analysis, and Reporting Technology) is a wonderful invention it allows you to monitor the SMART status of your drives to help give you notifications about possible falling disks. Let’s configure the SMART testing.
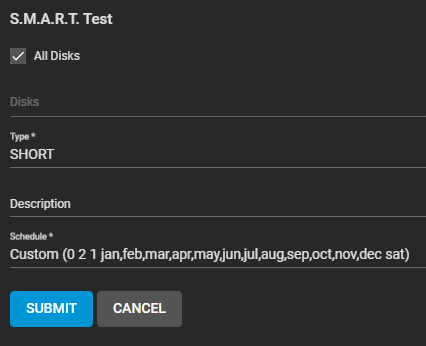
- Click on Tasks > S.M.A.R.T. Tests
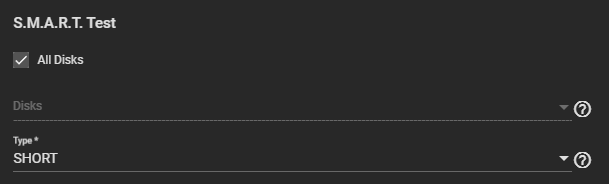
- Click on Add

- Select your disks. Which disks to select will depend on your setup. In my case, I will be selecting All Disks.
- Set the type as SHORT.
- For the Schedule select Custom
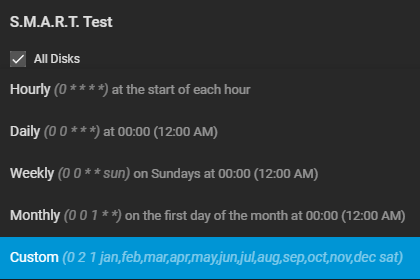
- Set the following options
- For Presets select Daily
- For Hours enter 2 (this means it will run at 2 am)
- For Days enter 1 ( this means it will run on the first of the month)
- For Months select all of them
- For Days of the Week select Sat
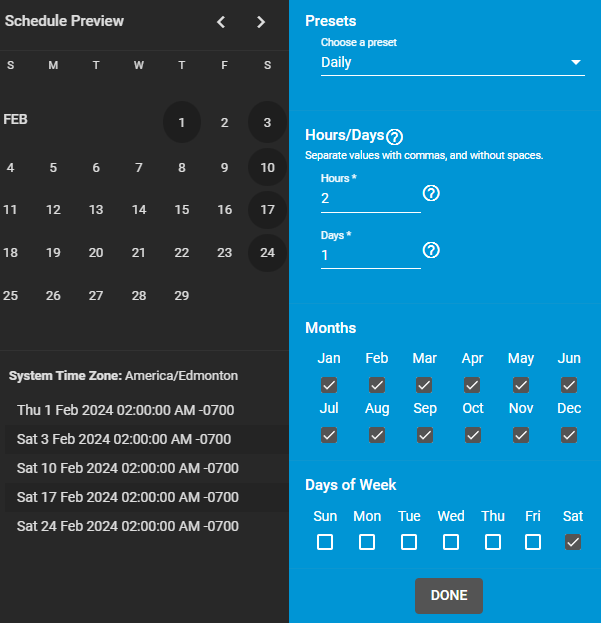
The settings effectively mean that on the 1st of the month and every Saturday at 2 am a SMART short test will run on all the drives.
- Click Submit to save your settings.
Those are all the tweaks I like to make on a TrueNAS install. If you want to read more about TrueNAS here is the TrueNAS documentation.