Install VCSA Updates
Here is how to update VCSA (vCenter Server Appliance specifically version 7) with the web UI

- Make sure you have a backup of your VCSA. I like to have a backup and a snapshot to be extra safe.
- Click on you VCSA server
- Click on the Update tab

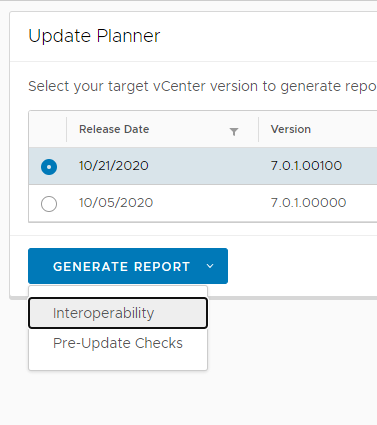
- In Update Planner select the update you want to install and click on Generate Report and select Interoperability. (this will check and make sure everything is compatible in your VCSA setup)
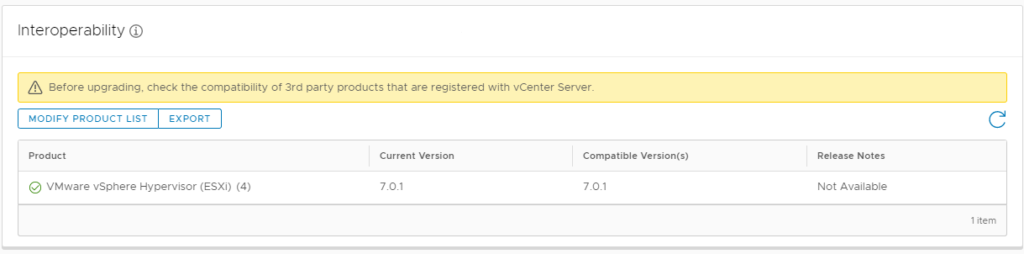
- Double check and make sure everything is good
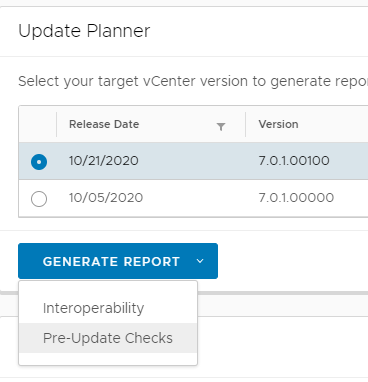
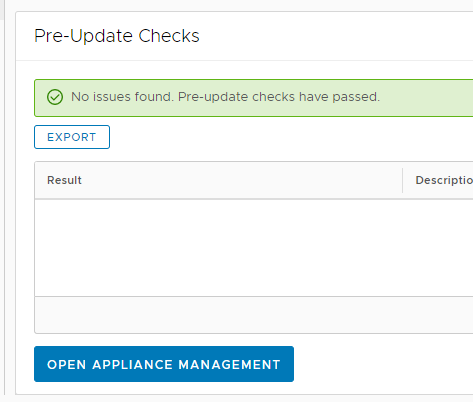
- Go back to Update Planner and click on Generate Report and click on Pre-Update Checks
- If no issues are found then you can click on the like to open Appliance Management
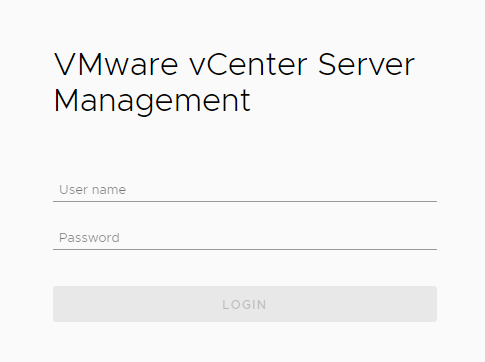
- Login to VMware vCenter Server Management (this will likely be your VCSA root username and password)
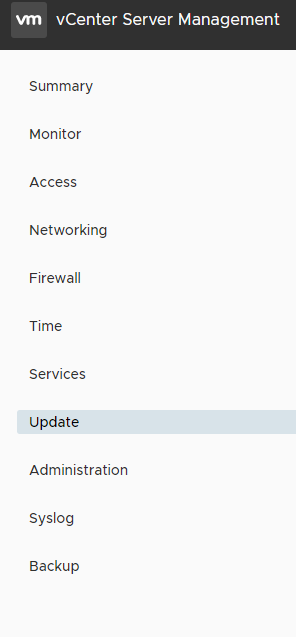
- Click on Update
- Select the update and expand it and click on run Pre-update checks
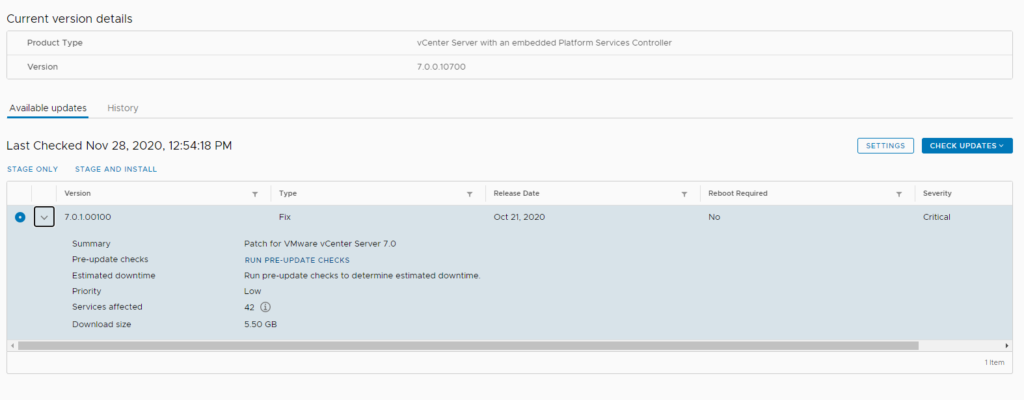
- If the Pre-update checks passed then click on Stage Only (Staging will pre load the update to VCSA to reduce downtime.)
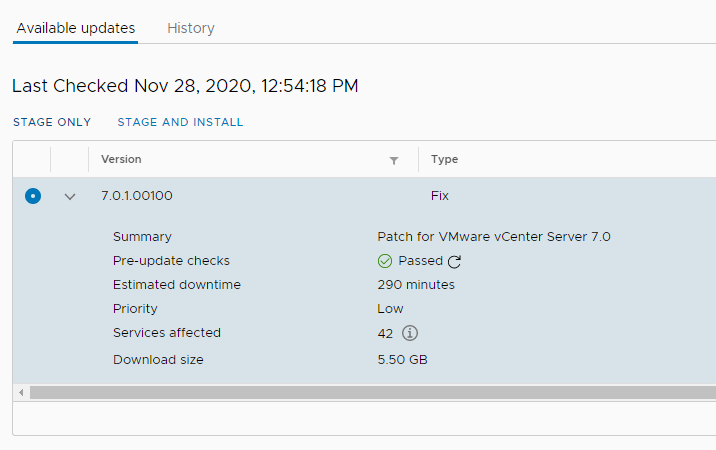
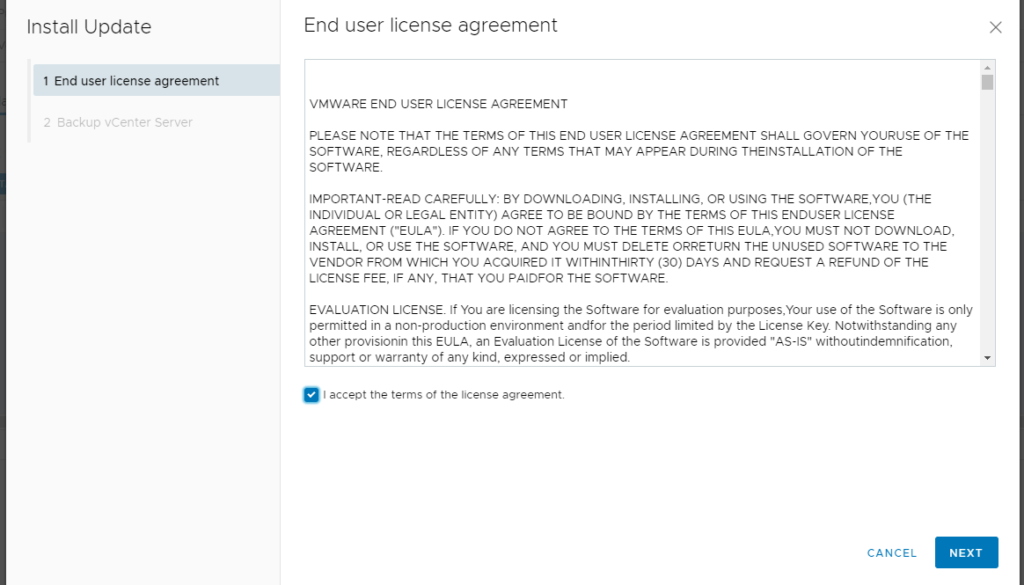
- After the update has been staged you can now click on Install

- Agree to the stuff
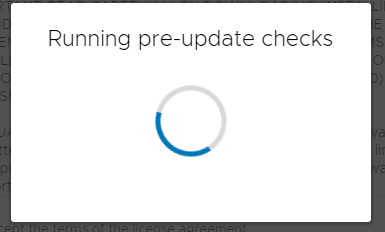
It will run some pre update checks
- Give it your VCSA Administrator password

- Make sure you have a backup.
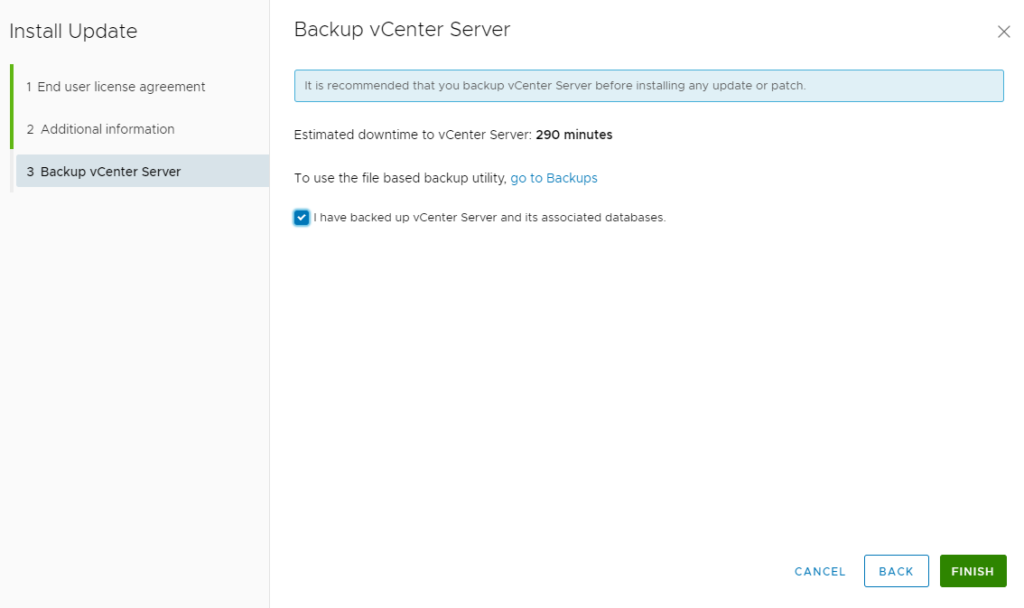
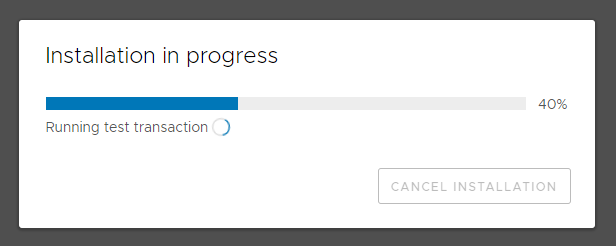
Now the install with do it’s thing
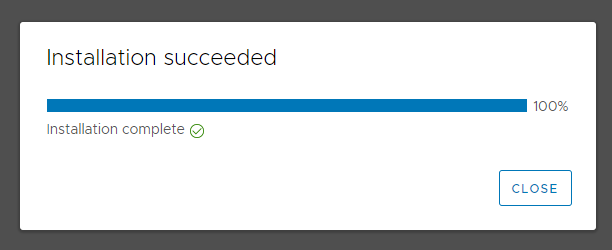
After the install is done you can now login to your updated VCSA


One thought on “Install VCSA Updates”