Microsoft 365 Remove Stay Signed In Option
Microsoft 365’s Stay signed in option is designed for user convenience but can increase security risks when used on public or non-corporately owned devices. The risk is due to the potential for unauthorized access to the user’s account and the resources they have access to.
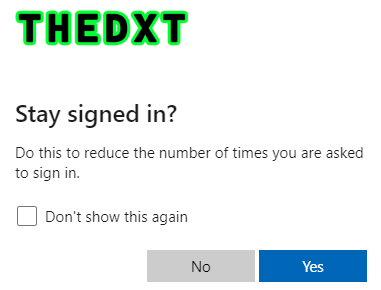
The stay signed in option, also known as KMSI (Keep Me Signed In), stores a cookie on the device for around 90 days when the user selects Yes to KMSI. When the cookie’s lifetime is active, users will see fewer prompts to log in with their Microsoft 365 account and fewer MFA prompts, this can pose a security risk on shared or public devices.
For corporate devices that are Microsoft Entra joined or Microsoft Entra Hybrid joined, the impact of removing the stay signed in option is minimal, as these devices already participate in Microsoft Entra SSO, which reduces the number of times users need to log in with their Microsoft 365 account when accessing Microsoft 365 web resources.
Turning off the stay signed in option in Microsoft 365 can help reduce your attack surface. This helps prevent users from accidentally selecting Yes to KMSI and can positively impact an audit or penetration test.
In this post, I will show you step-by-step how to remove the Stay signed in? option in Microsoft 365.
The Process
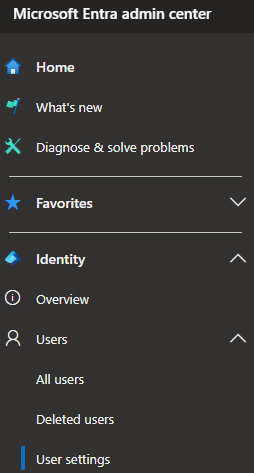
- Login to Microsoft Entra admin center.
- Click on Identity > Users > User settings