Microsoft 365 Report Message Button
Providing your users with a centralized and user-friendly way to report phishing, junk, and non-junk emails is a great quality-of-life improvement for everyone.
In this post, I’ll cover step-by-step how to deploy the Microsoft Report Message add-in for Microsoft Outlook with Microsoft 365.
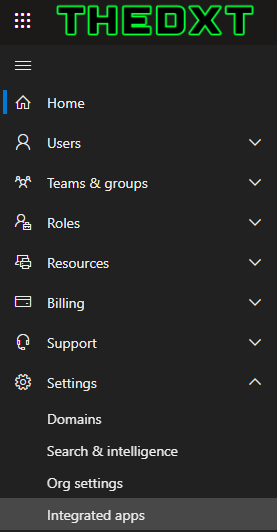
- Login to the Microsoft 365 admin center.
- Click on Settings > Integrated apps
- Click on Get apps
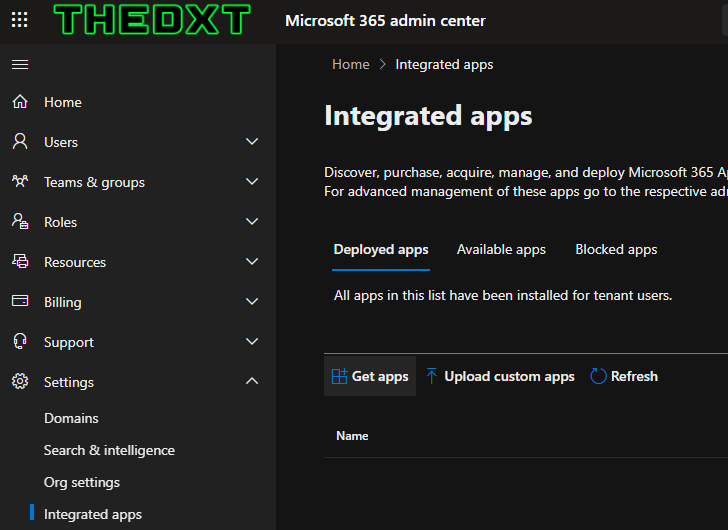
- Search for Report Message

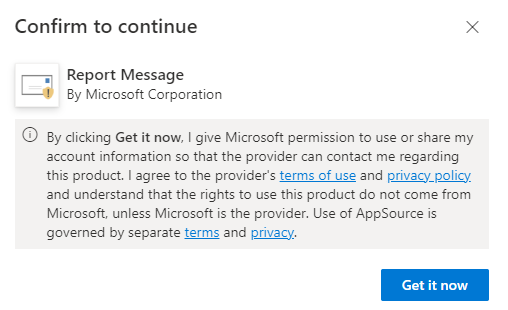
- On the listing for Report Message click on Get it now
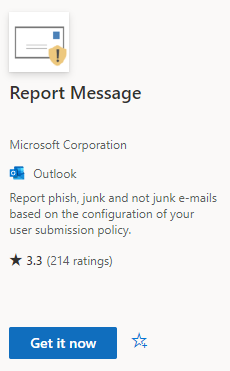
- Click on Get it now again to confirm you agree to the Microsoft terms of use.
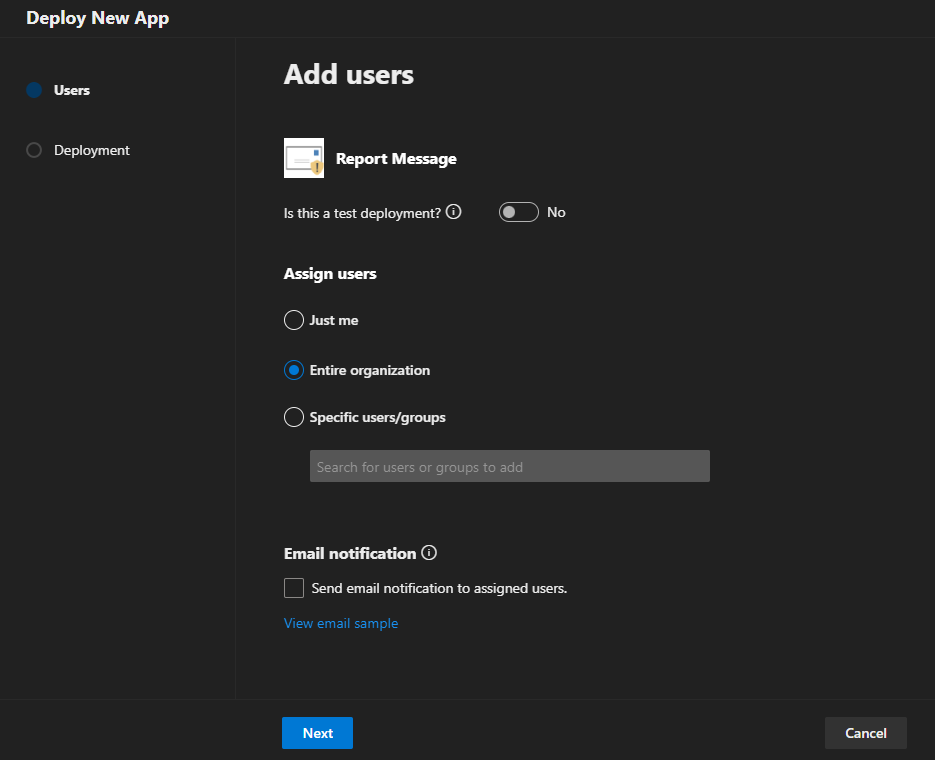
- Select your User Deployment options.
- Set Assign users to Entire organization
- For Email notification uncheck Send email notification to assigned users. (You can leave this on if you want. I like to turn it off as I send a notification to all the users about it once it’s live.)
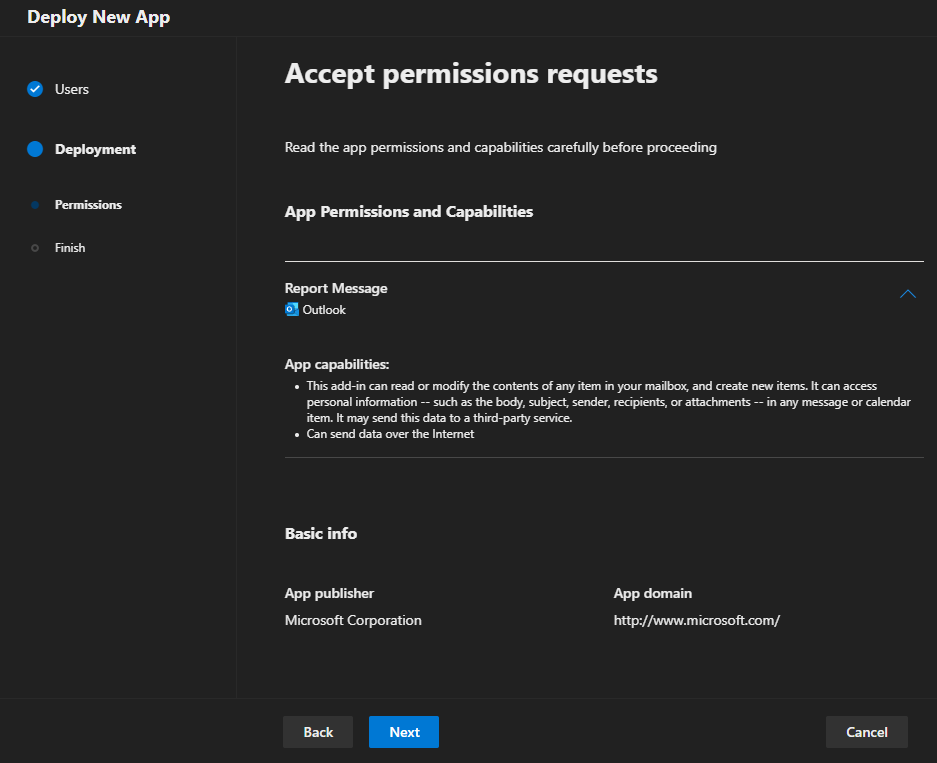
- Review and Accept the permissions for the Report Message add-in.
- Review the Report Message deployment and click Finish deployment.
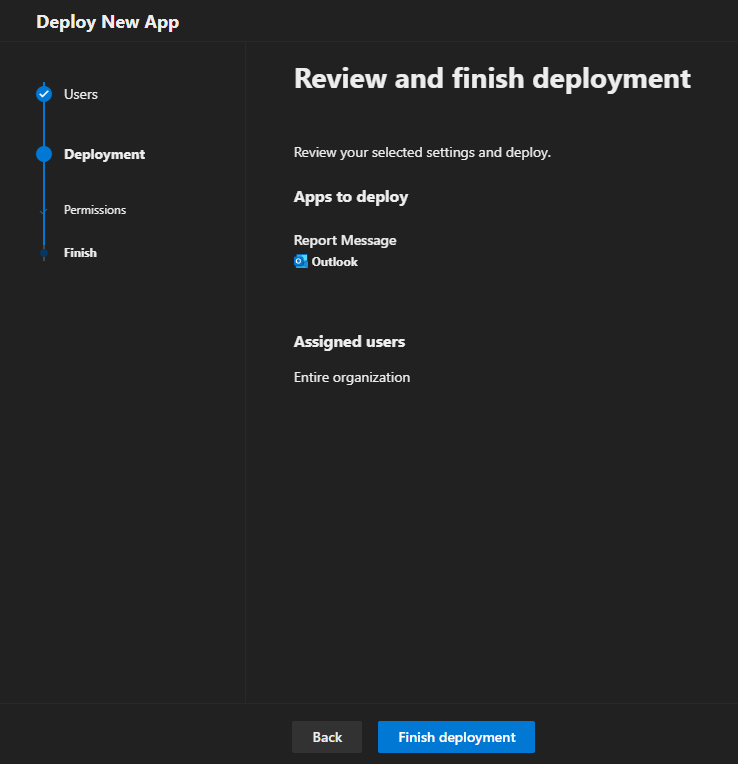
- Wait for the Deployment to complete.
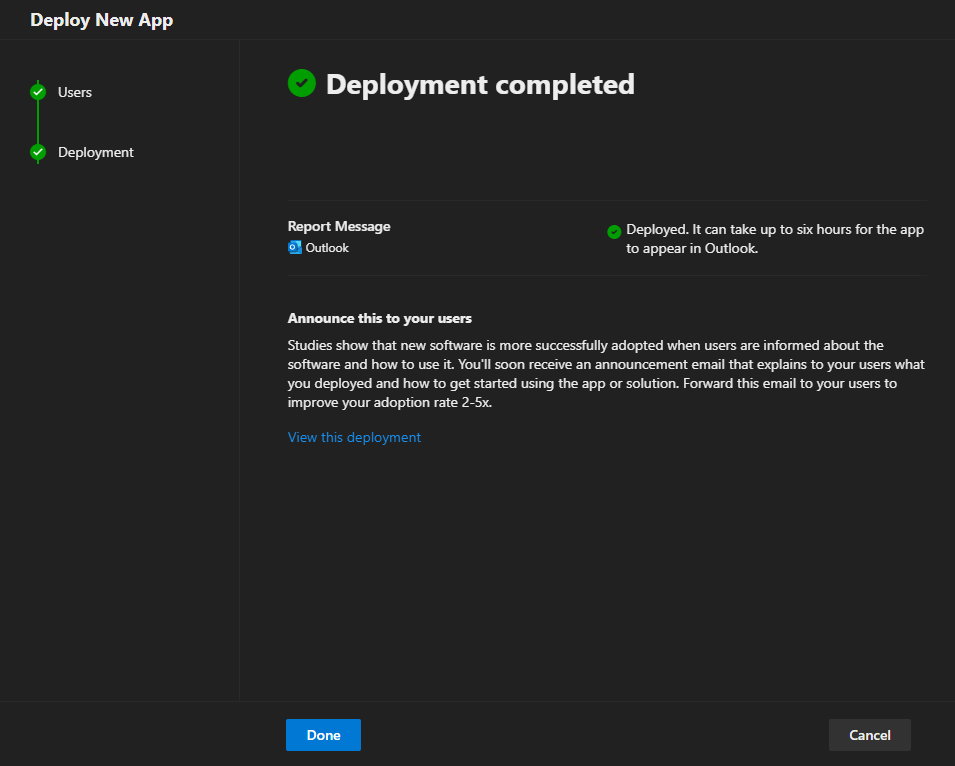
It can take 6 to 24 hours for the Microsoft Report Message add-in to start showing up in everyone’s Outlook.
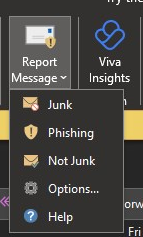
In Microsoft Outlook for desktop users will see a button like this.
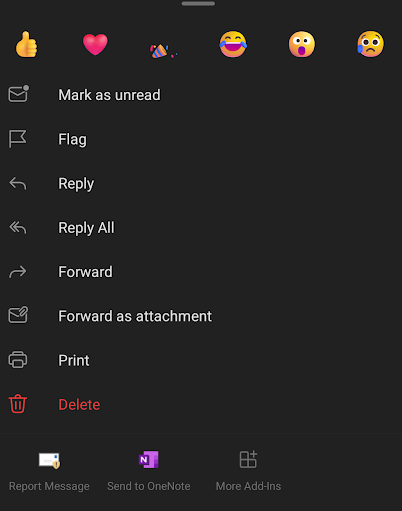
In Outlook for Android or iOS, the users will see an option like this.
If you want to read more about the Microsoft Report Message add-in for Microsoft 365 you can do so by reading the Microsoft documentation about it here.
If you want to read more details about the end user experience you can do so by reading the Microsoft documentation here.