
Microsoft 365 Enable DKIM
DKIM (DomainKeys Identified Mail) is a way to help validate the authenticity of the emails you send.
DKIM adds a signature to your email by using a private key and a public key. Your public key is your DKIM DNS record and only your email server knows your private key. When you have DKIM setup every email you send gets signed with DKIM.
A DKIM signature is built from the hashed values of some of the email headers, one of which is the hash of the email body itself. With the hashed value of the email headers, DKIM encrypts it by using a private key and a public key and adds the encrypted result to the email as a DKIM header signature. This is similar to how PGP works. If you want to know more about PGP you can read more in my post about PGP.
When the recipient receives an email that was signed with DKIM, the recipient’s email server can validate that the email hasn’t been tampered with by decrypting the DKIM header signature using the sender’s public key. If the message was altered the DKIM header signature wouldn’t exist or the decrypted result wouldn’t match.
In this post, I will detail step-by-step how to enable DKIM on a Microsoft 365 tenant by using the GUI and PowerShell.
GUI Way
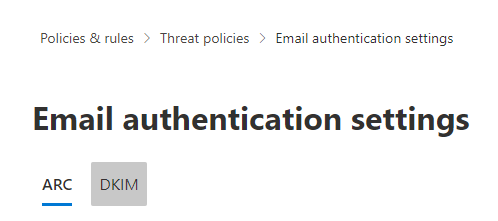
- Login to Microsoft 365 admin center
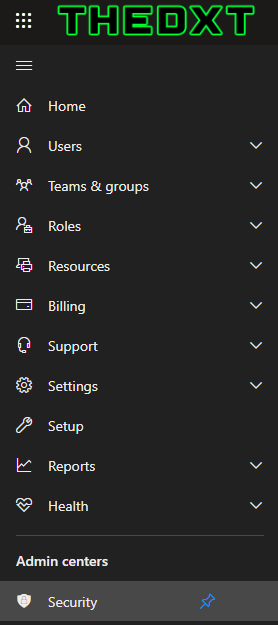
- Click on Security
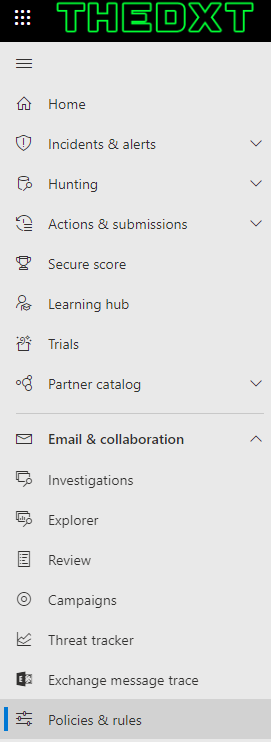
- Click on Policies & rules
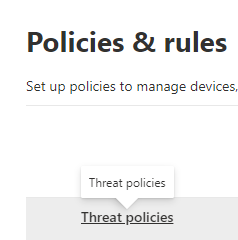
- Click on Threat policies
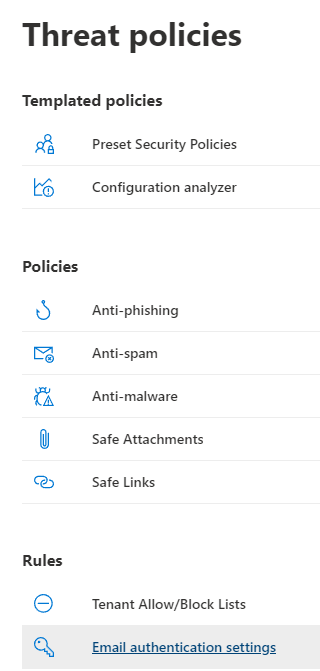
- Click on Email authentication settings
- Click on DKIM
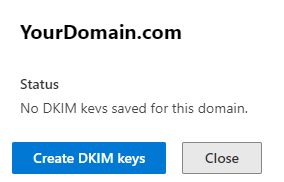
- Select the domain you want to enable DKIM on.
- Click Create DKIM keys
- Click Copy on the CNAME list.
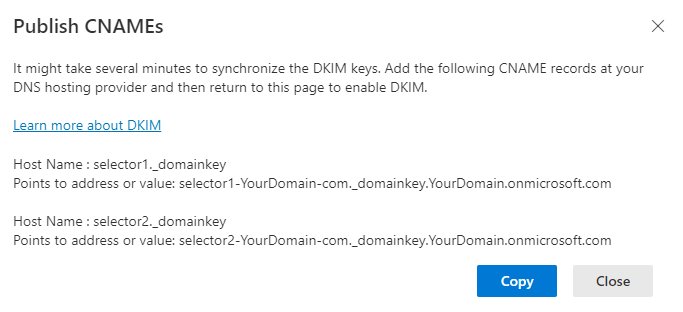
- Login to your DNS provider.
- Create the CNAMEs for the domain.
Here’s an example of the DNS settings in Cloudflare.
Name: selector1._domainkey
Target: selector1-YourDomain-com._domainkey.YourDomain.onmicrosoft.com
Below is what the selector 1 CNAME looks like in Cloudflare.

Name: selector2._domainkey
Target: selector2-YourDomain-com._domainkey.YourDomain.onmicrosoft.com
Below is what the selector 2 CNAME looks like in Cloudflare.

Effectively you have made selector1._domainkey.YourDomain.com point to selector1-YourDomain-com._domainkey.YourDomain.onmicrosoft.com and you have made selector2._domainkey.YourDomain.com point to selector2-YourDomain-com._domainkey.YourDomain.onmicrosoft.com

- You’ll need to give it some time for the DNS changes to propagate. Depending on who you use for DNS it could be as fast as 5 minutes or as long as 48 hours.
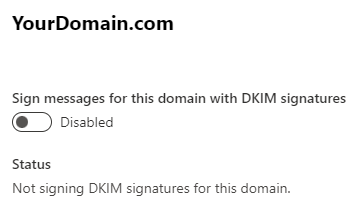
- Now go back to Microsoft 365 Admin and click on the domain again.
- Click on the Disabled toggle to Enable it.
If you run into an error you may need to wait longer for the DNS to propagate.
It will look like the image below once it’s Enabled.

PowerShell Way
- Connect to Exchange Online
- Check if the domain’s DKIM setup was already started by running
Get-DkimSigningConfig

- To Enable DKIM for a domain run the following command
New-DkimSigningConfig -DomainName YourDomain.com -Enabled $false

- Get the CNAME target records by running the following command
Get-DkimSigningConfig -Identity YourDomain.com | FL Selector1CNAME, Selector2CNAME

The CNAME name will be selector1._domainkey and selector2._domainkey
- Set the CNAME records on your DNS provider.
- Wait for the DNS changes to propagate.
- Run the following command to enable DKIM
Set-DkimSigningConfig -Identity YourDomain.com -Enabled $true

Extras
If you want to test your DKIM you can use the MxToolbox DKIM check or you can use the AppMailDev DKIM Test. There are many other ways to test DKIM, those are just the ones I tend to use.
If you want to read more about DKIM in Microsoft 365 you can read the Microsoft Documentation here.