Install VMware Horizon Connection Server
In this post I’ll show you step-by-step how to install the VMware Horizon Connection Server on-premises specifically version 2303 (other versions will follow a very similar process).
Prerequisites
- A domain joined Windows Server that will be the Horizon Connection Server.
- A static IP on the Windows Server.
- An Active Directory Group for Horizon Administrators.
- A password for Horizon data recovery backups.
The Process
- Login to the server that you will be installing the Horizon Connection Server on, this should be the only function of that server.
- Download a copy of the Horizon Connection Server installer from VMware.

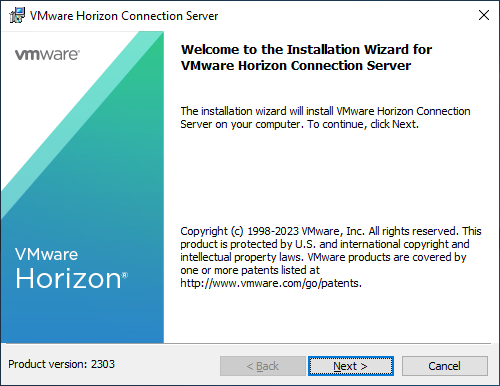
- Run the Horizon Connection Server installer that was just downloaded.
- Click Next