Install VMware vCenter
VMware vCenter is a wonderful application that lets you take full advantage of your ESXi hosts. If you have more than one ESXi host you should look at vCenter. The full name of vCenter is vCenter Server Appliance or VCSA.
In this post, I will show you step-by-step how to install vCenter 8. The process is broken up into two stages. Stage 1 is the deployment on the vCenter VM and Stage 2 is the final settings to the vCenter VM.
The Process
Stage 1
- Using a system that has access to the ESXi host you plan to use to create the vCenter VM download the vCenter ISO from VMware.
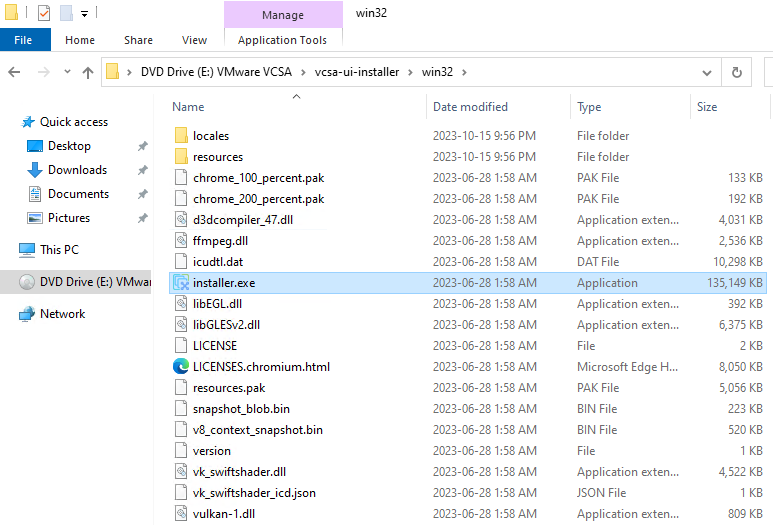
- Mount or extract the ISO. I’m going to mount it.

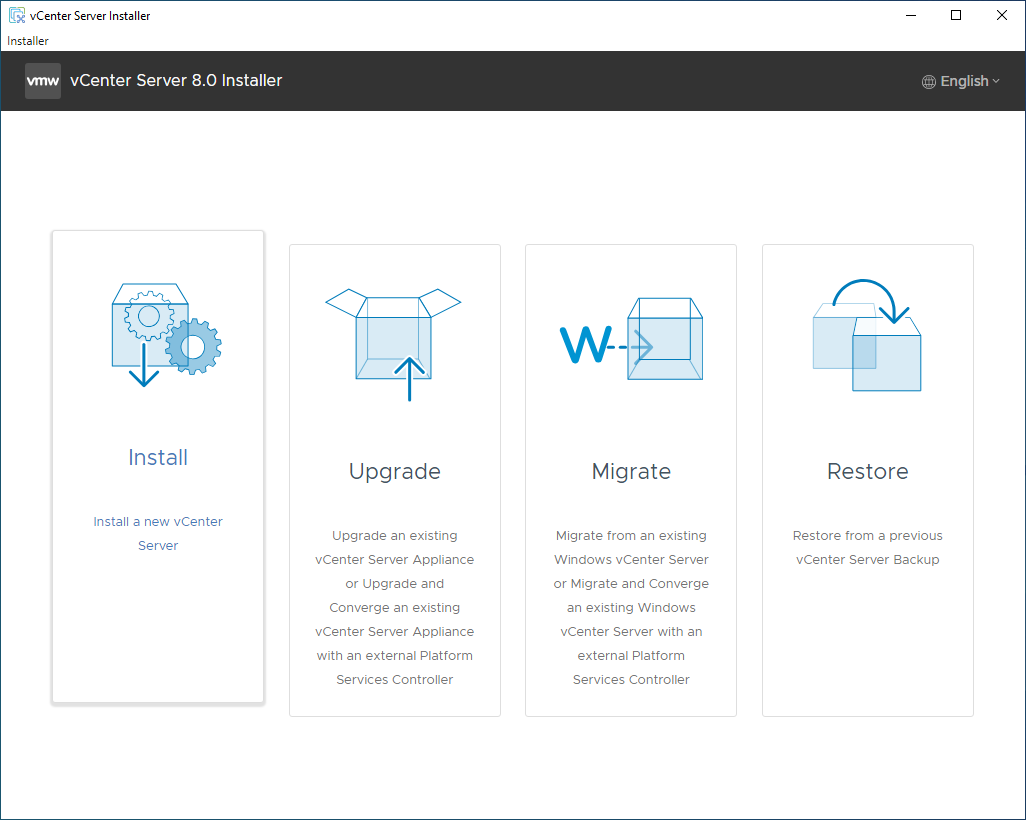
- Browse to
\vcsa-ui-installer\win32and run Installer.exe
- Select Install
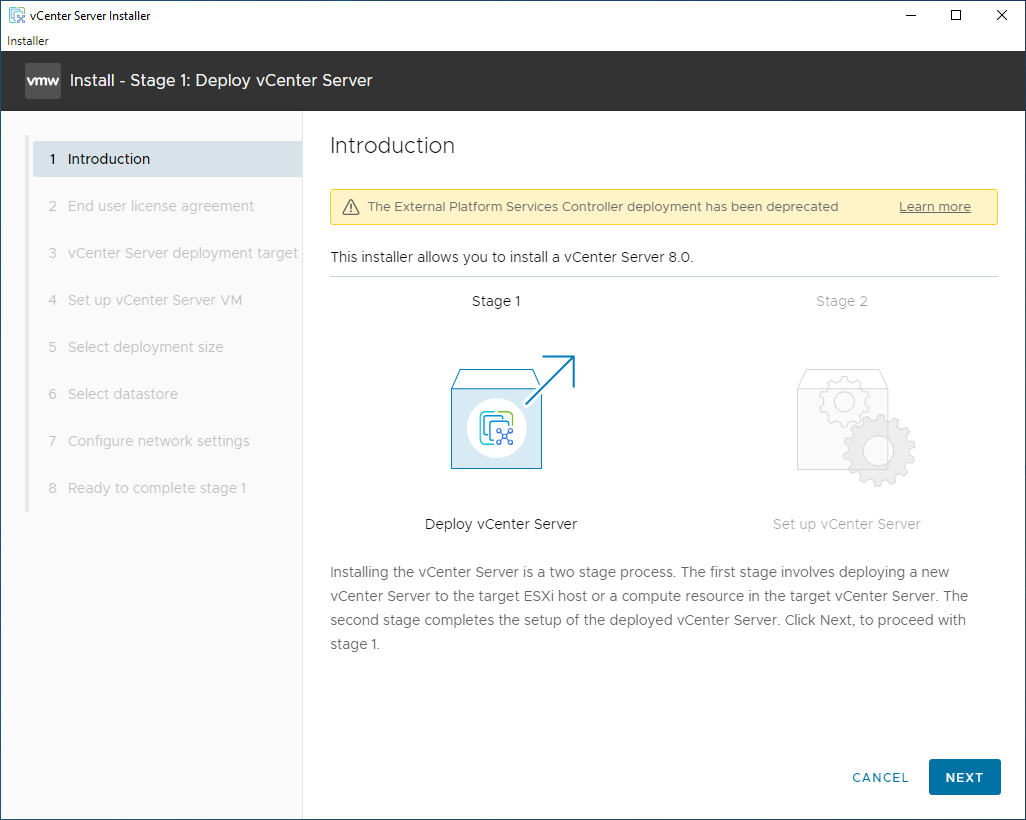
The next screen is the intro screen which lets you know that the process will be in two stages. The first stage is deploying the VM and the second stage is the final settings for the vCenter VM.