Install VMware vCenter Certificate in Windows
The VMware vCenter root certificate is an essential part of vCenter. When you install vCenter, it also installs the VMCA (VMware Certificate Authority) in your vCenter. The VMCA is a barebones CA for vCenter that issues certificates to the various elements of vCenter as needed.
You should install the VMCA root certificate on your system because not all web browsers trust it. After installing the root certificate, your web browsers will trust the certificates on your ESXi hosts in your vCenter, as they use certificates issued by the VMCA on your vCenter.
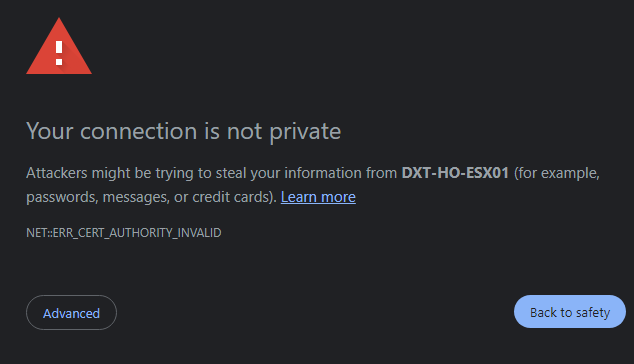
Installing the VMware vCenter certificate will help prevent errors. Such as the invalid certificate error NET::ERR_CERT_AUTHORITY_INVALID.
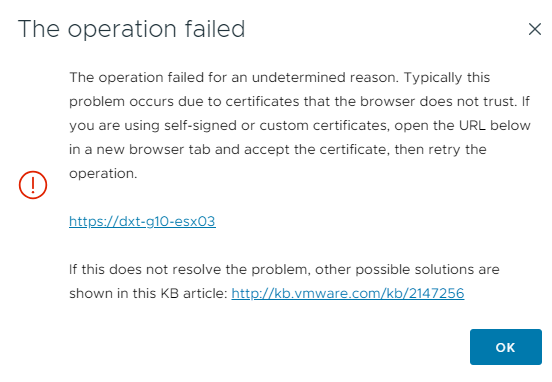
The operation failed error is another one that can present itself when uploading files to a datastore.
Another error is the invalid server certificate error in PowerCLI.
Connect-VIServer

Error: Invalid server certificate.

Use Set-PowerCLIConfiguration to set the value for the InvalidCertificateAction option to Prompt if you'd like to connect once or to add a permanent exception for this server.

Additional Information: Could not establish trust relationship for the SSL/TLS secure channel with authority 'vcenter'.

At line:1 char:1
+ Connect-VIServer -Server "vcenter"
+ ~~~~~~~~~~~~~~~~~~~~~~~~~~~~~~~~~~
+ CategoryInfo          : SecurityError: (:) [Connect-VIServer], ViSecurityNegotiationException
+ FullyQualifiedErrorId :
Client20_ConnectivityServiceImpl_Reconnect_CertificateError, VMware.VimAutomation.ViCore.Cmdlets.Commands.ConnectVIServerCode language: plaintext (plaintext)
In this post, I will show you step-by-step how to install the VMware vCenter root certificate in Microsoft Windows.
The Process
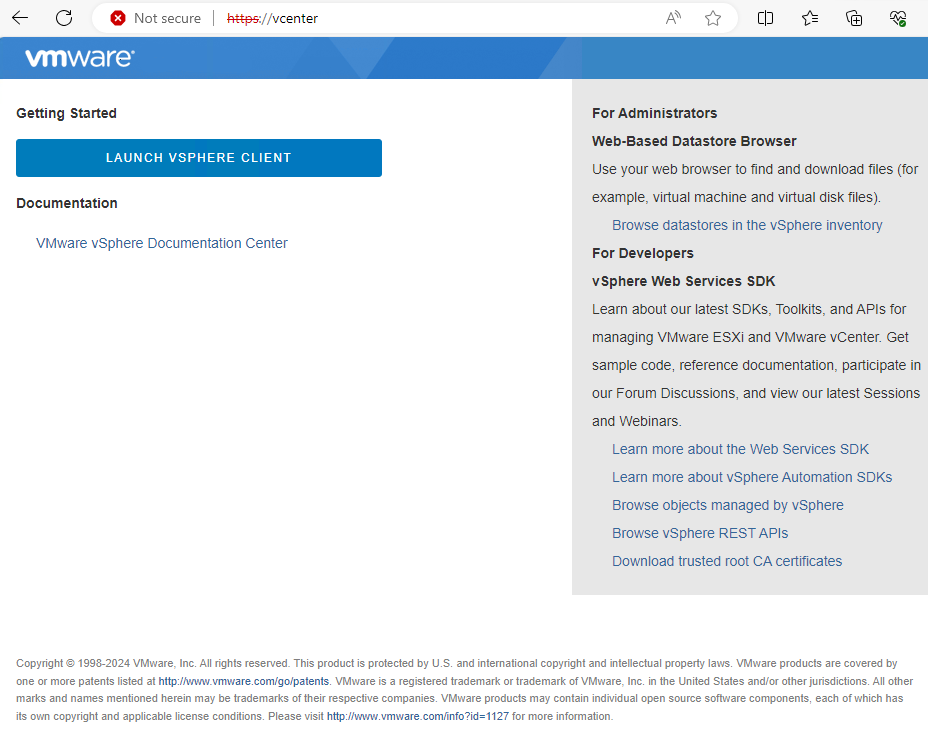
- Go to the URL of your vCenter.
- Off to the right, there’s a link that says Download trusted root CA certificates.