
Windows Verbose Status
By default, Windows servers display lots of details when you logon to them and rarely leave you wondering what it’s doing. A while back I ran into an issue that was causing 15 minute login times when a user would log in to the computer for the first time. This was particularly a problem with shared systems like meeting room computers as many users may have never logged into that computer before. The problem scales with the more meeting rooms you have and the more users you have, and typically people are rushing for meetings and don’t have time to wait for a long Windows login process.
From the user’s perspective, it looks like the computer would just sit at Welcome for 15 minutes. Yes, you can go dig into the event logs and see what’s causing that or you could make it so the computer can output what it’s doing, making it so the users can provide you with more useful information.
To do this you need to enable verbose statuses. This is enabled by default on Windows servers but not regular Windows devices. When a regular Windows device logins in and sits at the Welcome message it is doing stuff but not telling you what it’s doing.
In this post, I will detail step-by-step how to enable the Windows verbose login status with a GPO or Intune.
The Process
GPO
- Make a new GPO
- Go to Computer Configuration > Policies > Administrative Templates > System
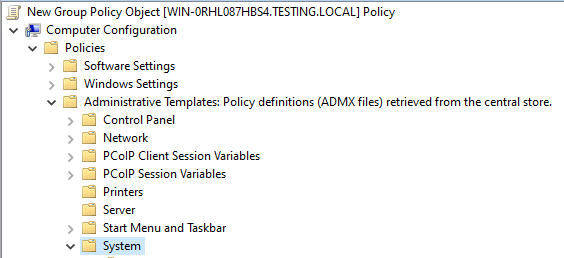
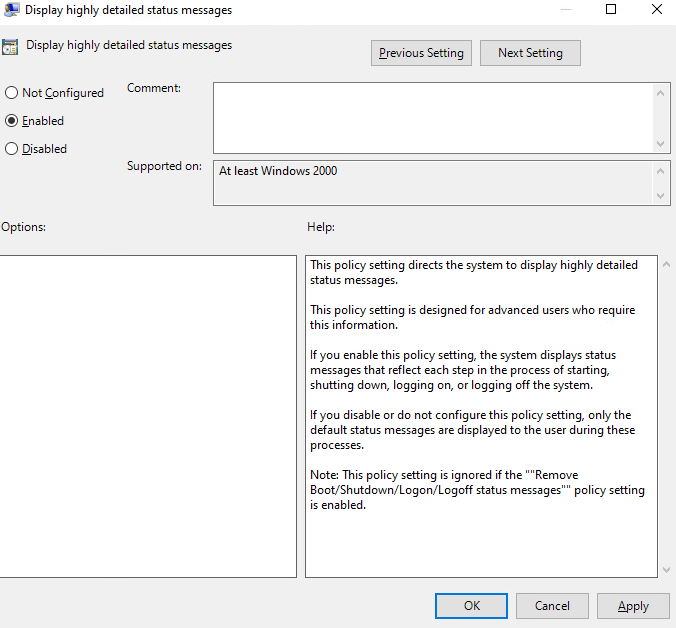
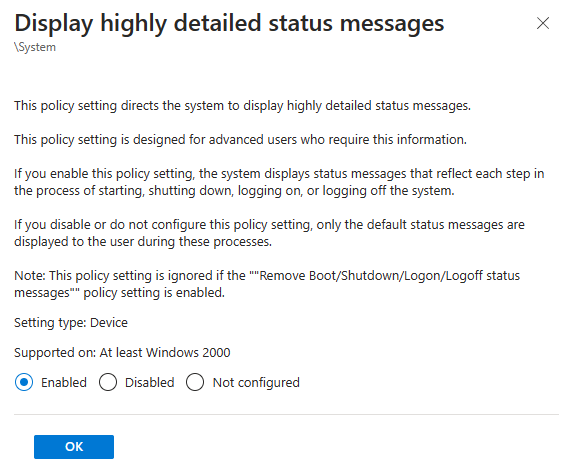
- Set Display highly detailed status messages to Enabled.
- Link the GPO to the OU of the devices you want to enable Verbose Status on.
Intune
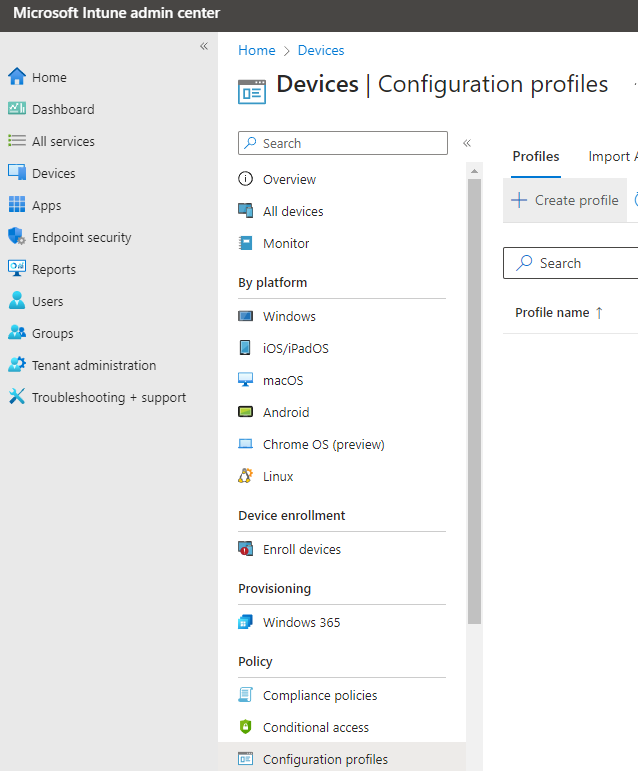
- Login to Microsoft Intune admin center.
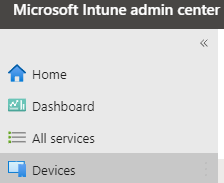
- Click on Devices
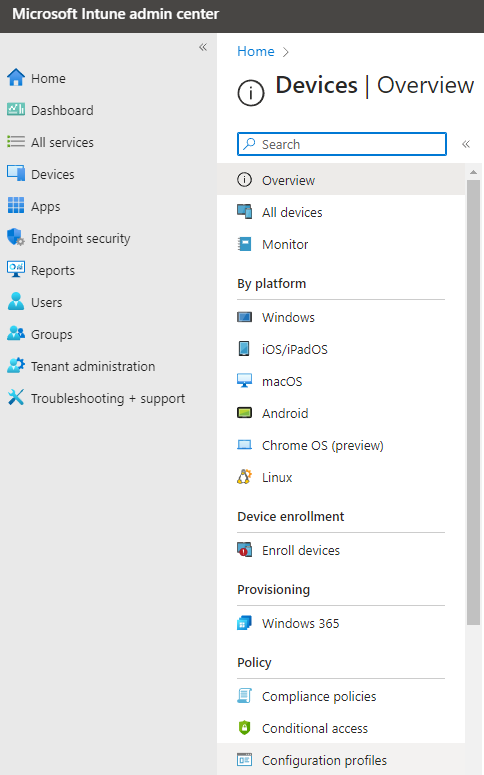
- Click on Configuration profiles
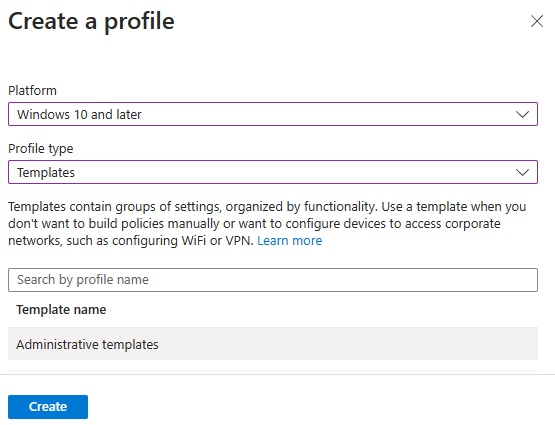
- Click on Create profile
- Set the Platform as Windows 10 and later and set the Profile type as Templates and select Administrative templates
- Give your Profile a name. I’m going to call mine Verbose Status.

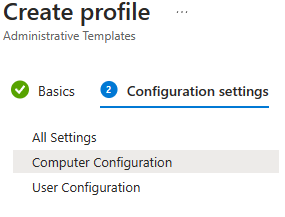
- Select Computer Configuration
- Search and select Display highly detailed status messages
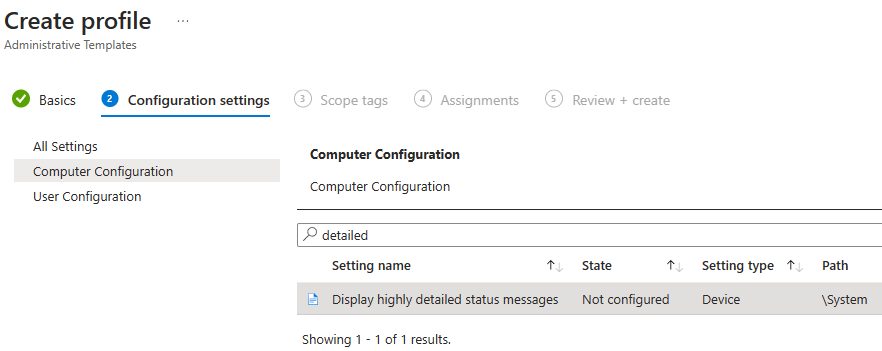
- Set Display highly detailed status messages to Enabled
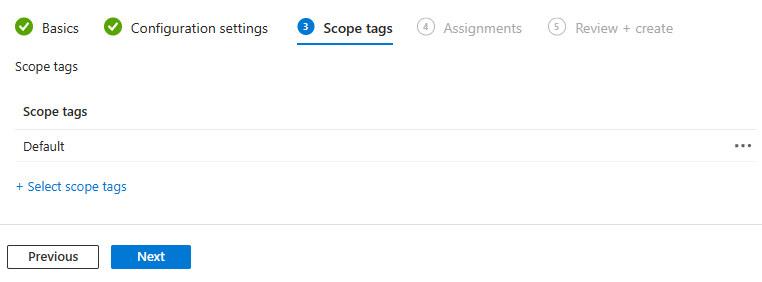
- Set your Scope tags if applicable and click Next
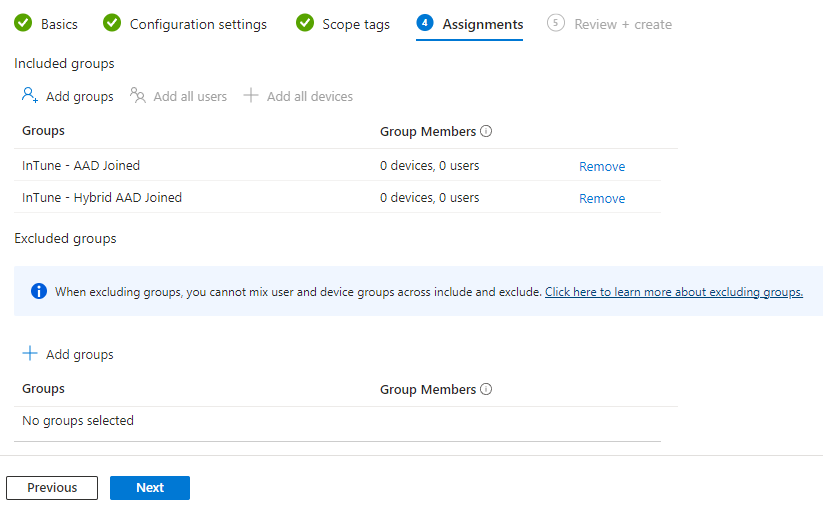
- Select the device groups you want to target this Verbose Status Profile to.
I like to use some of my dynamic device groups for this. You can read more about the dynamic device groups I like to use in my post called Intune Dynamic Device Groups
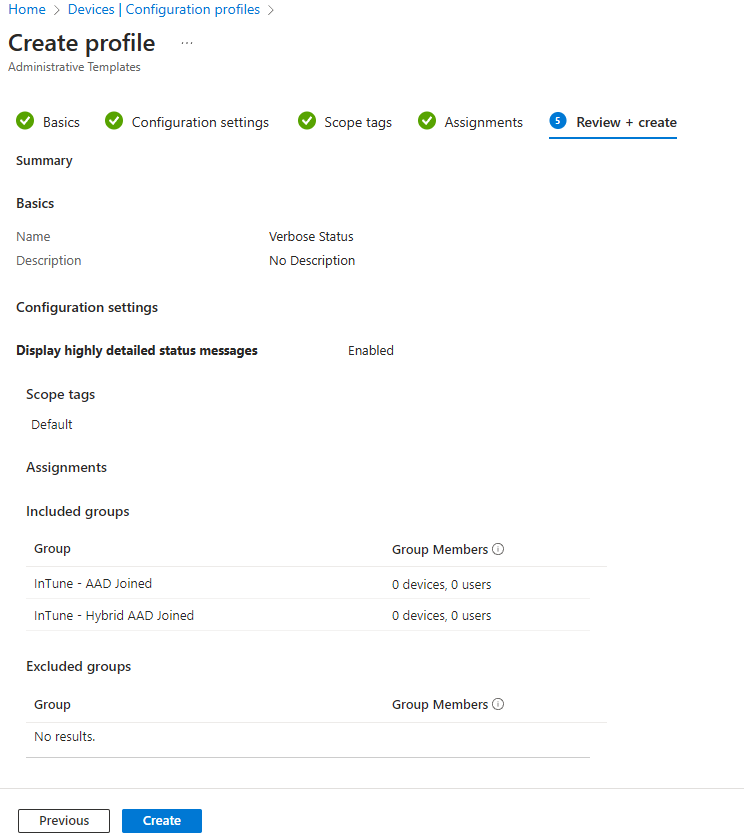
- Review the Verbose Status Profile you’ve drafted if everything looks good click Create.
Now the computer will tell you what it’s doing when it’s booting or shutting down or a user logs on or off.
By enabling this you allow your users to provide you with better information to help you troubleshoot issues faster. Having verbose login enabled for all devices has saved me countless hours of troubleshooting as the information from the users is way more informative and gives me a head start in solving the problem.
My 15 minute login problem was due to printer GPO not applying correctly.


2 thoughts on “Windows Verbose Status”
Very detailed write-up, theDXT!
Thank you for your help.
No problem! Happy to help.