Omnissa Horizon locked.properties Settings
The Omnissa Horizon locked.properties file feels like the best worst-kept secret.
The Horizon locked.properties file allows you to change many settings that aren’t accessible from the main Horizon admin interface.
In this post, I will show you step-by-step how to create and configure the locked.properties file, along with all the settings I’ve found that can be configured.
Create locked.properties
By default, the locked.properties file does not exist.
- Connect to your Horizon connection server.
- Browse to
C:\Program Files\Omnissa\Horizon\Server\sslgateway\conf\
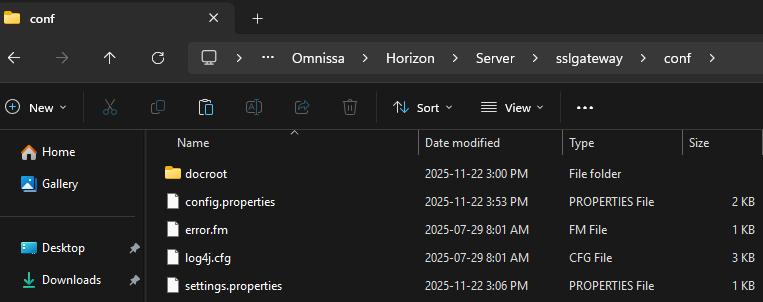
If you are still using a VMware branded version of Horizon, the path will be C:\Program Files\VMware\VMware View\Server\sslgateway\conf.
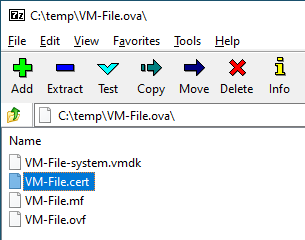
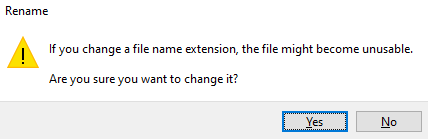
- Copy the
settings.propertiesfile and rename it tolocked.properties
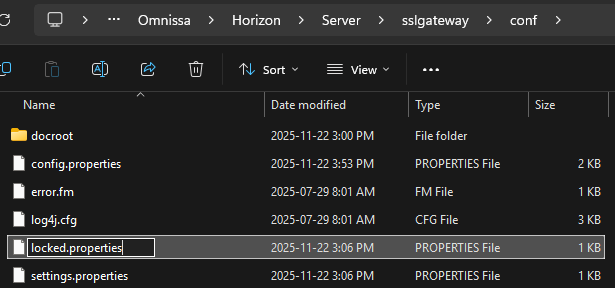
This is done to make sure the file is ASCII, as the part of Horizon that reads the locked.properties file requires it to be in ASCII.
- Open the
locked.propertiesin Notepad and delete all its contents.
- Save the empty
locked.propertiesfile. - Edit your
locked.propertiesfile as needed.
Once completed, go to the section Apply locked.properties Changes.
locked.properties Settings
The locked.properties file works by having one line per setting. On each line, the first item is the setting you want to change, followed by the = symbol (you can add spaces around the = symbol if you want). After the = symbol, you enter what you want the setting changed to.
An example would be if I wanted to change a setting named superFun and I wanted it to be set to Always. I would enter that as superFun=Always or superFun = Always.
Many of the settings that can be changed support multiple values. When the setting supports various values, it is represented as a numbered list starting at 1.
An example would be if the setting superFun supported a list, and I wanted to define multiple values, it would be entered as follows.
superFun.1=Friday
superFun.2=Saturday
There is no single source for all the settings in the locked.properties file. Each of the settings are scattered throughout Omnissa’s documentation.
Please use caution when changing the locked.properties settings, as some changes can make your Horizon setup less secure.
Below are all the locked.properties settings I’ve found.