Securing GlobalProtect
Out of the box, you can’t just add a Security Profile to the interface that runs GlobalProtect fortunately there’s a relatively easy way to do it with minimal impact to your existing GlobalProtect setup.
In this post, I will show you step-by-step how to secure GlobalProtect by adding protection with a Vulnerability Protection Profile or a Security Profile Group to an already existing GlobalProtect setup by using a loopback interface.
The Process
- Log in to the Palo Alto Networks Firewall
- Click on Objects

- Click on Addresses

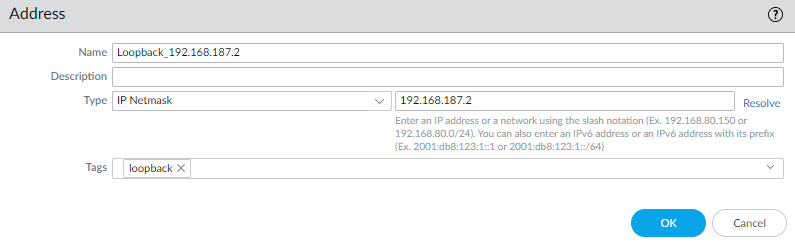
- Add a new address for your loopback address
I will be using the address 192.168.187.2 for this example.
- Click on Network

- Click on Zones

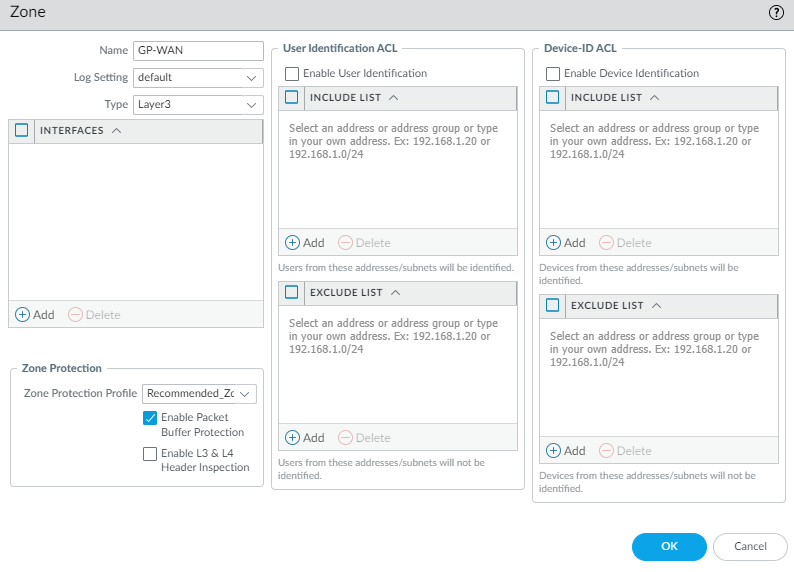
- Add a new Zone. I will be using the name GP-WAN. (This zone will be the zone allocated to the GlobalProtect loopback interface later on.)
- Set the Type to Layer3
- Select your Zone Protection Profile. In my case, I will use the one called Recommended_Zone_Protection
- Select the option to Enable Packet Buffer Protection.
- Click on Interfaces
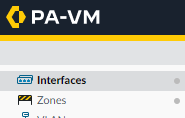
- Click on Loopback