Palo Alto Change Master Key with HA (Active/Passive)
When a Palo Alto Networks firewall is configured with a unique master key, you need to change the master key before it expires, as when the master key expires, the firewall will reboot into maintenance mode, and you’ll need to factory reset it.
In this post, I will show you step by step how to change the Palo Alto Networks firewall master key before it expires.
Prerequisites
- Palo Alto firewall configured with a unique master key.
If you haven’t configured a master key yet, my post, Palo Alto Configure Master Key with HA (Active/Passive), goes into detail on the process.
The Process
- Backup your Palo Alto firewall config.
For more information on backing up your firewall config, my post, Palo Alto Config Backup, goes into detail.
- Disable HA Config Sync via the GUI or CLI.
- Change Master Key via the GUI or CLI.
- Enable HA Config Sync via the GUI or CLI.
Disable HA Config Sync
We need to disable the HA configuration synchronization on both firewalls in the HA setup before changing the master key.
Disable HA Config Sync GUI
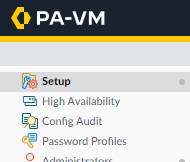
- On the Primary firewall, click on the Device tab.

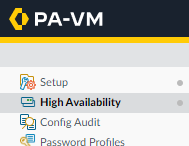
- Click on High Availability.
- Click on the General tab.

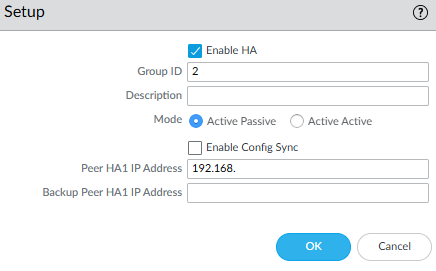
- In the HA Pair Settings, click on the gear icon in the Setup box.
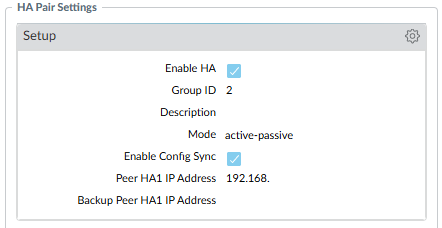
- Uncheck Enable Config Sync and click OK.
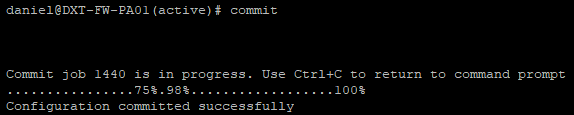
- Commit the change.
- Repeat the process on the Secondary firewall.
Disable HA Config Sync CLI
- SSH into the Primary firewall.
- Enter configuration mode with the command
configure

- Run the following command to check your current HA config sync settings
show deviceconfig high-availability group configuration-synchronization
If enabled is set to yes, we need to disable it.

- Disable HA config sync with the following command
set deviceconfig high-availability group configuration-synchronization enabled no

- Commit the change.
- Repeat the process on the Secondary firewall.
Change Master Key
With HA config sync disabled, we can safely change the master key on both firewalls. The new master key must be exactly 16 characters.
Change Master Key GUI
- On the Primary firewall, click on the Device tab.