Setting Up Cloudflare Access
I’ve been a fan of Cloudflare for a while now. I love how fast they can propagate DNS changes and I typically like to use them as a DNS resolver. An issue that I’ve ran into many times, is how to protect something with MFA (Multi-Factor Authentication) that doesn’t have any support for MFA.
This problem is common with legacy web applications and very common with SCADA (Supervisory Control And Data Acquisition) web applications. The issue I was trying to solve was how to put MFA in front of a SCADA web application.
I decided to use Cloudflare Access. Cloudflare Access goes by a few names some of them are Cloudflare Zero Trust Network Access (ZTNA), Cloudflare Access, and Cloudflare Zero Trust Access. For simplicity I’m going to refer to it as Cloudflare Access.
Cloudflare Access is really nice because you can put it in front of any web application and it will require the user to authenticate before they can even reach the website.
If you have a lot of applications like this you can even set it up so the users can login to a portal to see all of the applications that are available to them. You can do all of this without the user having to install anything. What’s even better is that it’s free for 50 users.
Here’s how I setup a SCADA web app with Cloudflare Access.
Prerequisites
For everything to go smoothly here are a few things that should be in place first
- DNS for the web app is in Cloudflare
- Cloudflare Proxy is enabled for the DNS record of the web app
- The Web App is running directly on port 443 (you can have a reverse proxy in front of it if needed)
- The firewall in front of the web app is setup to only allow access from Cloudflare’s IPs (this makes it so you can’t get to the application even if you know the public IP it would be on) you can find the list of Cloudflare’s IPs here.
You can also use a Cloudflare tunnel. My post Cloudflare Tunnel with Docker will show you how to set up the tunnel.
Initial setup
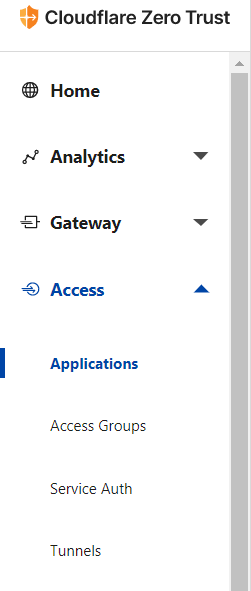
- Login to Cloudflare Zero Trust Dashboard (it used to be called Cloudflare Teams)(https://dash.teams.cloudflare.com/)
- Click on Access > Applications
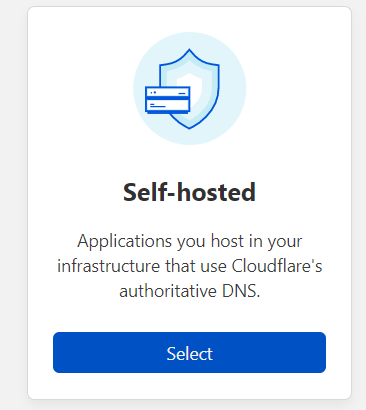
- Click on Add an application

- Select Self-hosted from the list of options
Configuring the app
- Name your application (I’m going to call mine SCADA App)
- Select your Session Duration (I usually leave it at the default of 24 hours)
Session duration is how long the user can access the application until they need to login to Cloudflare Access again.
- Enter what the DNS name is for the web app (I’m going to use scada.dxt.dev)
Your settings should look similar to this.

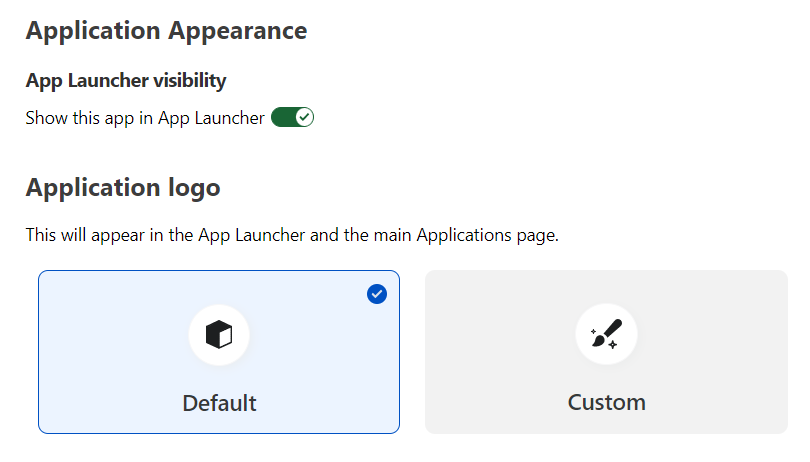
You also have the option to show the app in an app launcher.
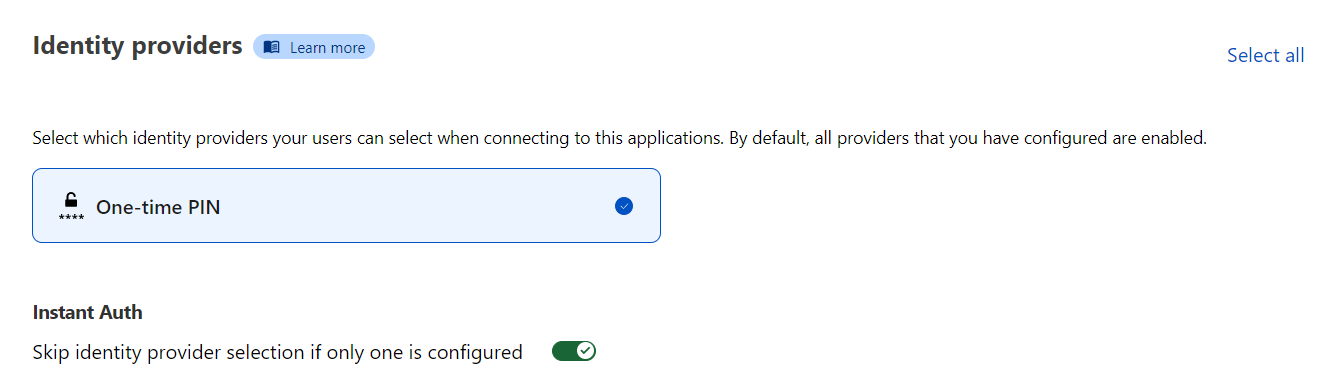
- Now you need to select an Identity Provider. If you don’t have one you can just use the One-time PIN. (You can find a list of all the supported Identity Providers here)
Configuring the policies
Now we need to configure the Policies
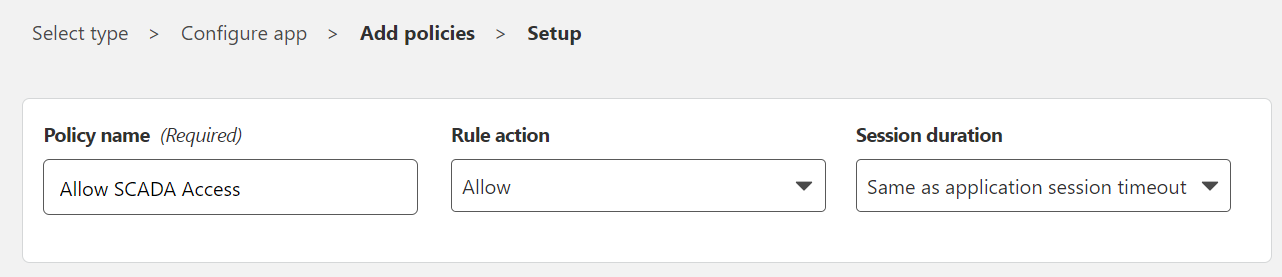
- Name the policy (I’m naming it Allow SCADA Access)
- Set the rule action as Allow
- Set the Session duration (I usually leave it set to same as application session timeout)
It should look something like this
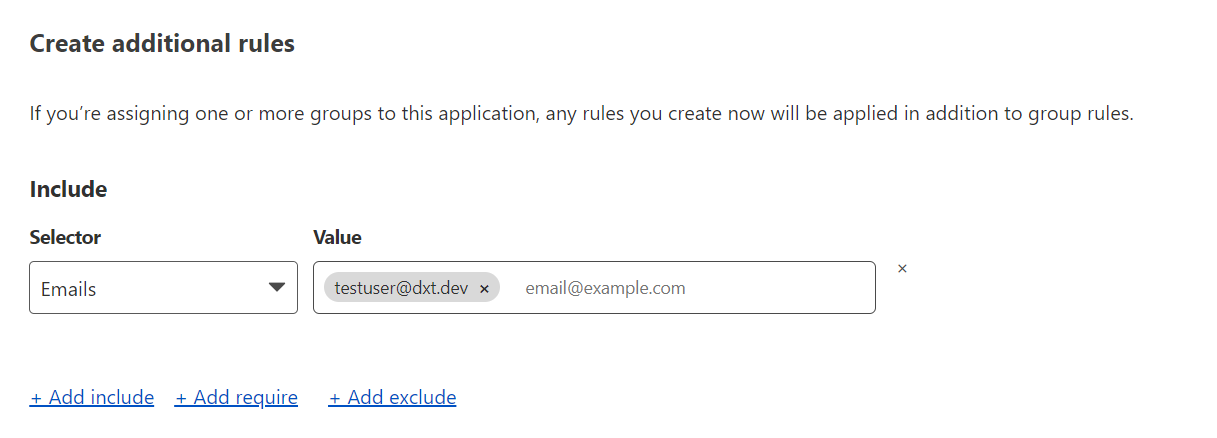
- Create an include rule for who should have access
It should look something like this. (I set mine to only allow access to one specific email address)
- Now you can click Add application

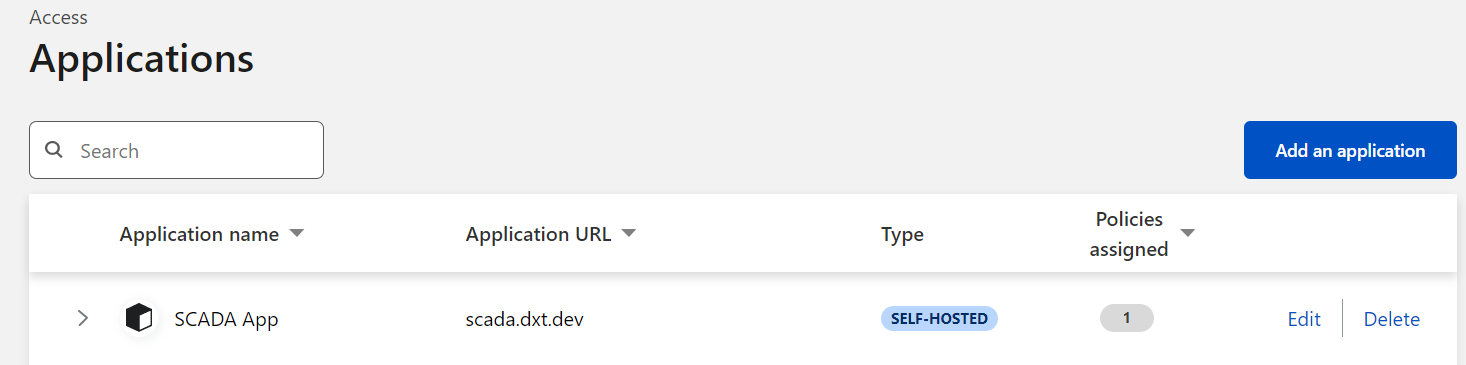
Now you should see your application in your Applications list
Testing it
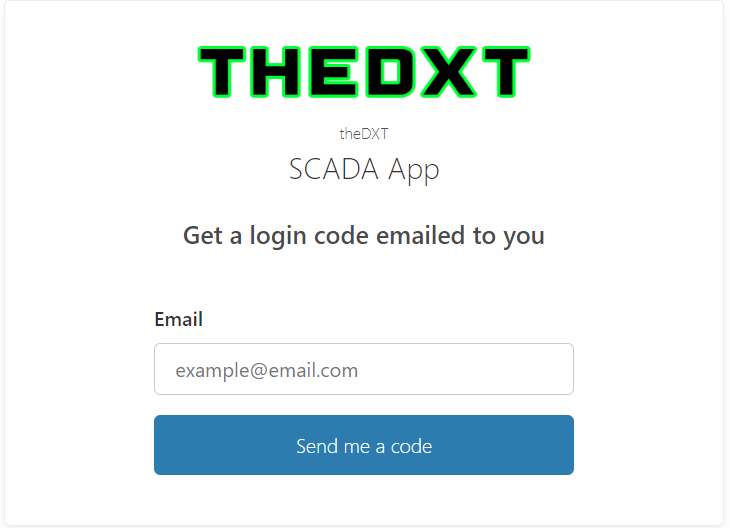
If you go to the URL of the web application you should now see a Cloudflare Access login page.
Here’s what mine looks like.
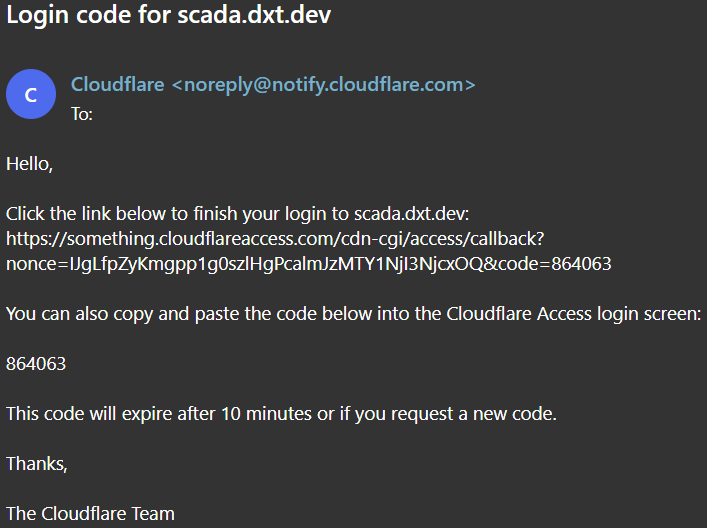
Now If I enter the email address I specified in the Allow SCADA Access policy, I will get an email with the code and I will be able to access the SCADA web app.
Here’s an example of the login code email
A few things to note
- If the web application also has a login wall, the user will still need to login to the application after they’ve authenticated to Cloudflare Access.
- If you need to allow specific IPs to access it without hitting the login wall you can add those IPs as bypasses in your Policies for the application.
- You can harden your policy rules a lot more (you can read more here)
- If you link this with your identity provider you can enable SSO to make it more seamless for the users. (Here’s my post that covers how to set it up with Azure AD Cloudflare Access IdP with Entra ID)
Cloudflare Access is part of Cloudflare Zero Trust platform once you start playing with it the sky’s the limit. You can read more about Cloudflare Access here.


2 thoughts on “Setting Up Cloudflare Access”