
Palo Alto User-ID Agent Upgrade
Palo Alto Networks has this awesome program called the User Identification Agent, aka the User-ID Agent. It allows you to identify which device a user is using, allowing you to craft security policy rules based on the users themselves.
In this post, I will show you step-by-step how to upgrade the Palo Alto Networks User-ID Agent.
Prerequisites
- Verify that the new User-ID agent version is compatible with your current PAN-OS.
The User-ID Agent is typically compatible with the same release number along with earlier still-supported PAN-OS versions. For example, User-ID agent 11.0 works with PAN-OS 11.0 and earlier. You can confirm this by reading the OS Compatibility section in the release notes.
The Process
- Log in to the Palo Alto Networks Customer Support Portal.
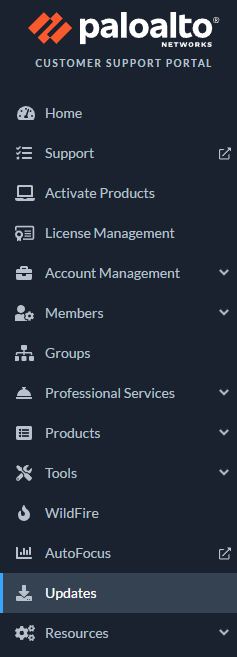
- Click on Updates.
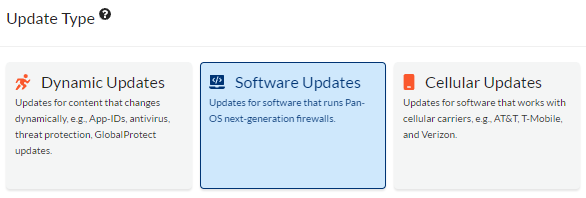
- Click on Software Updates.
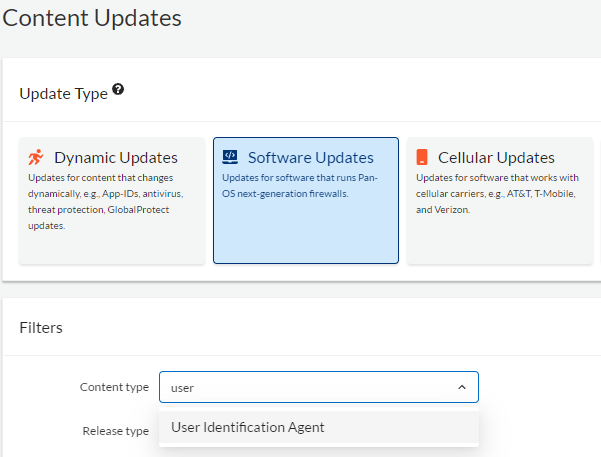
- Select the User Identification Agent.
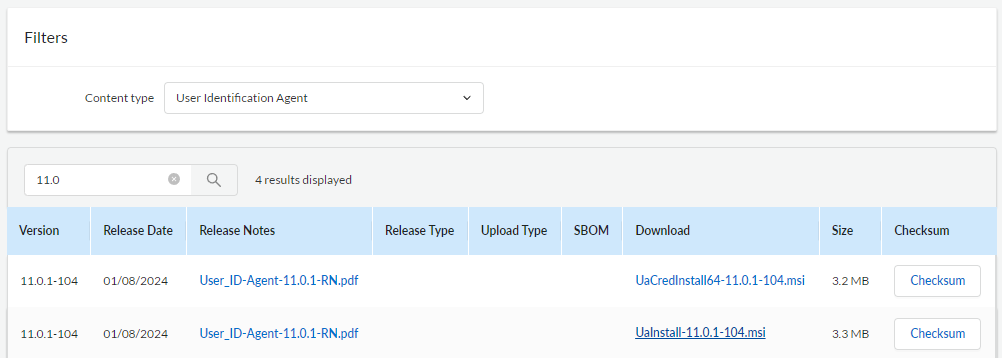
- Click on the version you need to start the download.
- Connect to the server that is running the Palo Alto User-ID Agent.
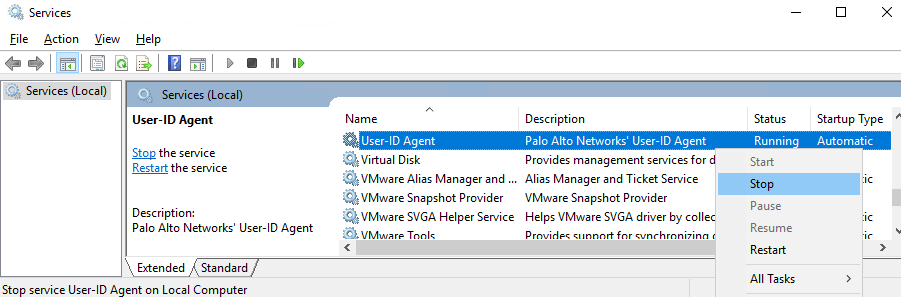
- Open Services.

- Stop the User-ID Agent service.
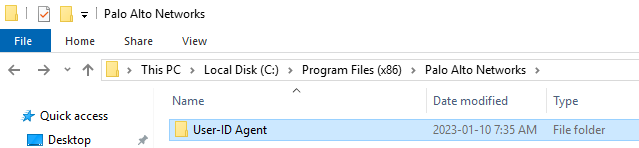
- Backup the current User-ID Agent configuration by zipping the User-ID Agent install folder and saving the Zip file in another location.
Typically the User-ID agent is installed to C:\Program Files (x86)\Palo Alto Networks\User-ID Agent
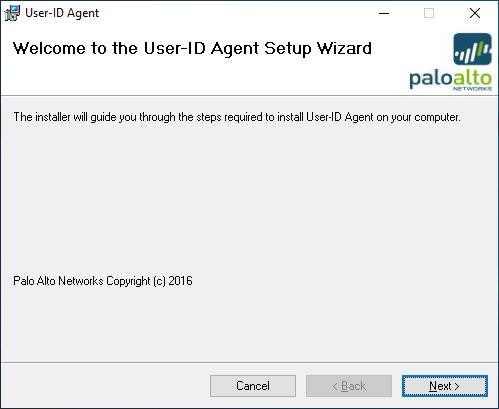
- Start installing the new version of the User-ID Agent.
- Click Next.
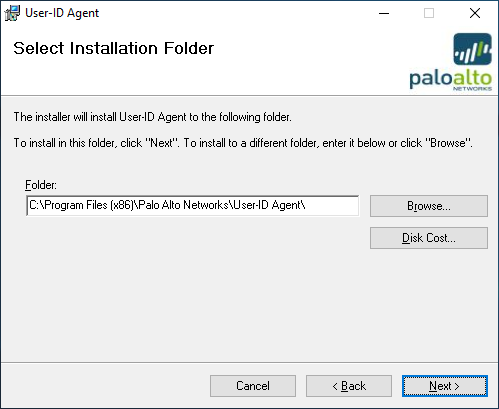
- Select the install folder to which the User-ID agent is installed and click Next.
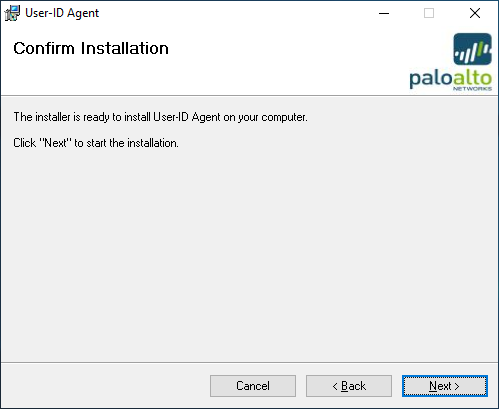
- Start the installation by clicking Next.
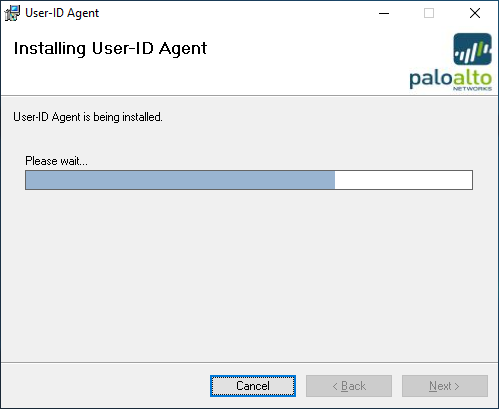
- Wait while the new Palo Alto User-ID agent is installed over the existing User-ID agent.
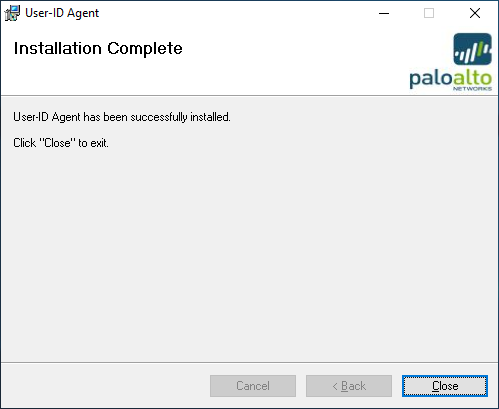
- Click Close to exit the installer.
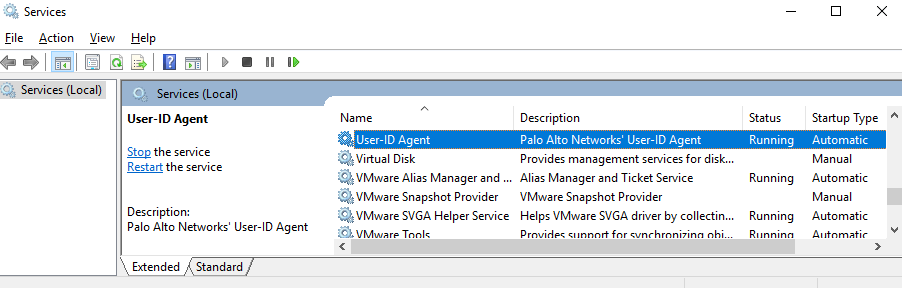
- Confirm that the User-ID Agent service is running.
- Open the User-ID Agent program.

- Confirm that everything is connected and all your configurations from the old version are present.
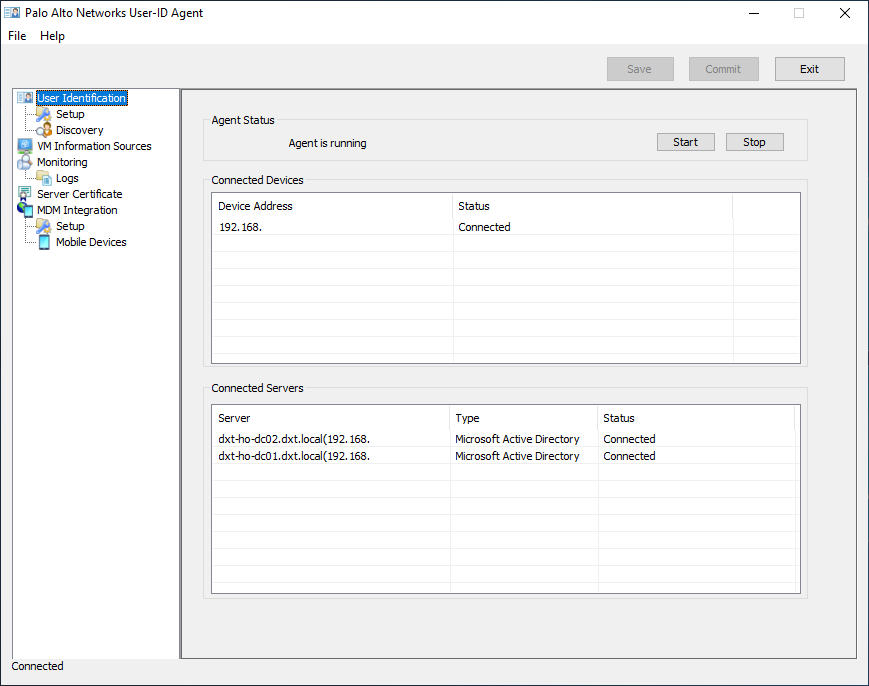
If you are running a Palo Alto firewall in HA in the Active/Passive configuration, only the active firewall will show as connected.
- Login to the Palo Alto Networks firewall.
- Click on Device.

- Click on Data Redistribution.
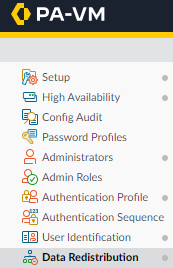
- Confirm that the Data Redistribution agents are connected.

That’s all it takes to upgrade the Palo Alto Networks User-ID Agent.
If you want to read more about the Palo Alto Network User-ID Agent upgrade, here is the Palo Alto knowledge base article and if you want to read more about User-ID in general here is the Palo Alto documentation.


One thought on “Palo Alto User-ID Agent Upgrade”