Windows Autopilot Hardware ID
Windows Autopilot uses several mechanisms to function. A common one is the device’s hardware hash, also called the hardware ID. There are several ways to gather the hardware ID from a device to use in Windows Autopilot.
In this post, I will show step-by-step how to get the hardware ID from a system with PowerShell and how to import it into Windows Autopilot. The process is the same regardless of whether the system is a virtual machine or a physical machine, and it doesn’t matter if the system is running Windows 10 or Windows 11.
Get Hardware ID
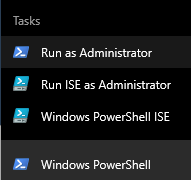
- Open PowerShell as Admin.
- Run the following command to enable TLS 1.2
[Net.ServicePointManager]::SecurityProtocol = [Net.SecurityProtocolType]::Tls12

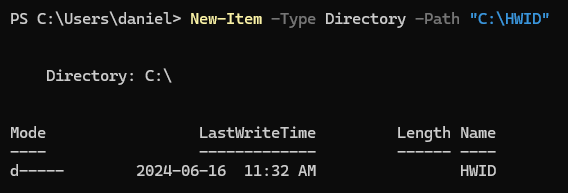
- The following command will create a folder named HWID on the root of C for the hardware ID file
New-Item -Type Directory -Path "C:\HWID"
- Switch into that directory with the following command
Set-Location -Path "C:\HWID"

- Add
C:\Program Files\WindowsPowerShell\Scriptsto the path environment variable by running the following command$env:Path += ";C:\Program Files\WindowsPowerShell\Scripts"

- Run the following command to set the execution policy for this session to allow remote signed scripts
Set-ExecutionPolicy -Scope Process -ExecutionPolicy RemoteSigned

- Run the following command to install the
Get-WindowsAutopilotInfocmdletInstall-Script -Name Get-WindowsAutopilotInfo

It is normal to see a message that NuGet needs to be installed. It is also normal to see the untrusted repository message.

- Run the following command to generate the hardware hash and save it to a CSV named AutopilotHWID
Get-WindowsAutopilotInfo -OutputFile AutopilotHWID.csv

We now have a CSV of the device’s hardware hash that we can upload to Microsoft Intune Windows Autopilot.
Import Hardware ID
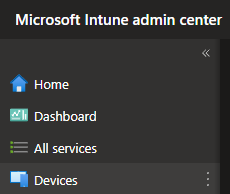
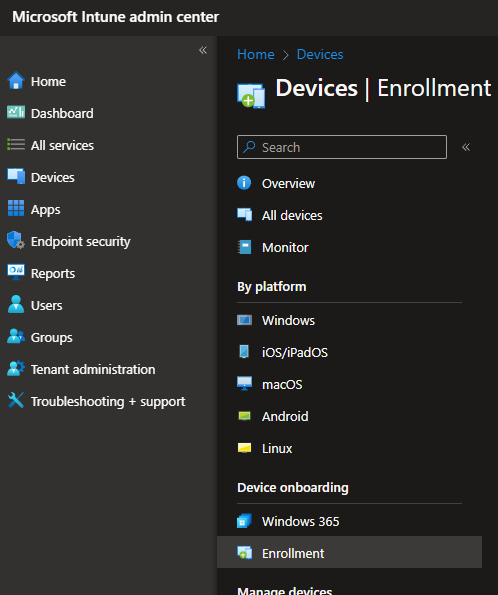
- Login to Microsoft Intune admin center
- Click on Devices
- Click on Enrollment
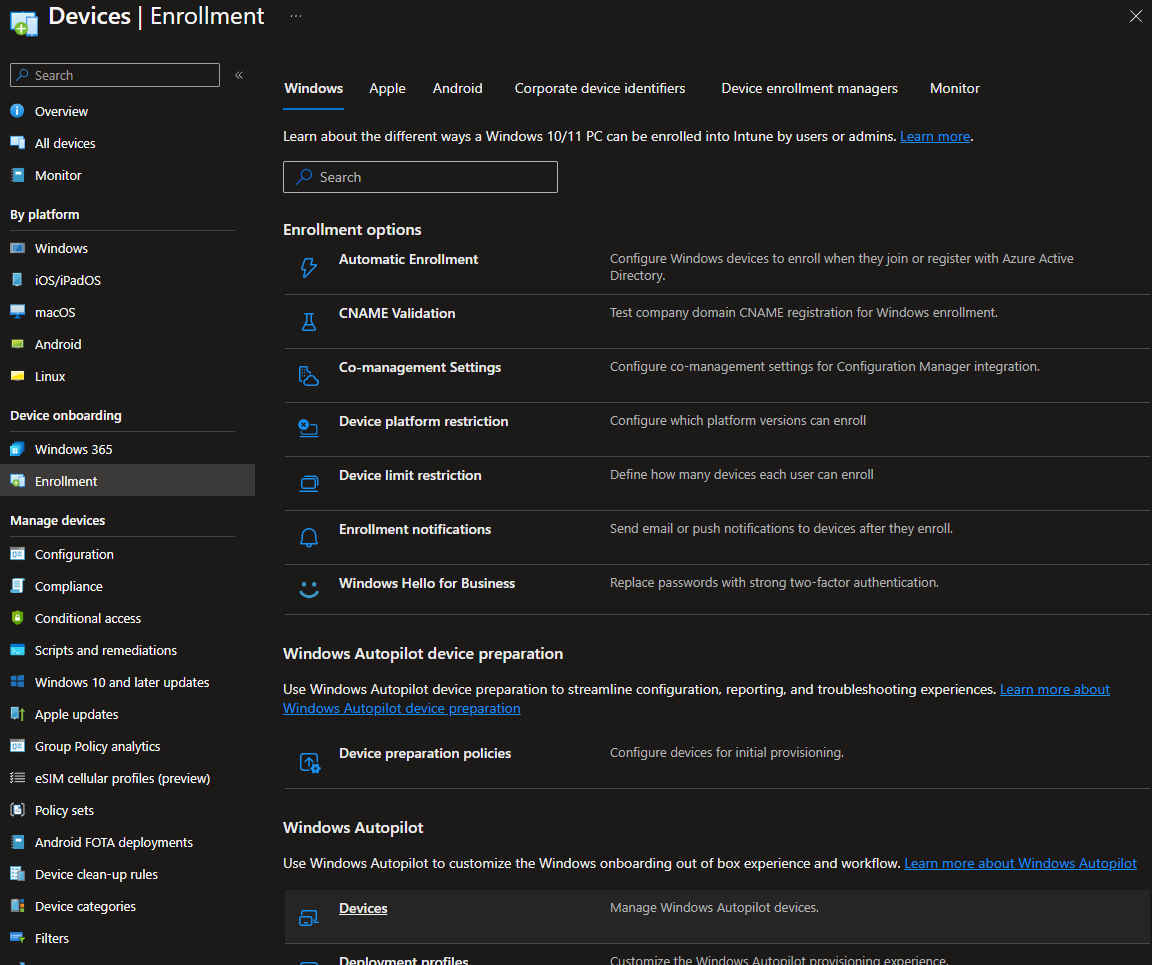
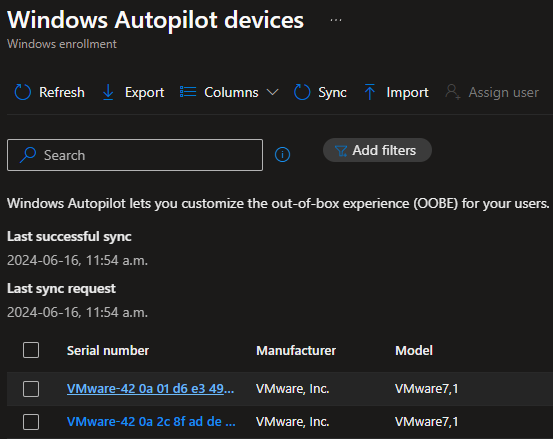
- In the Windows Autopilot section, click on Devices.
- Click on Import.

- Select the CSV you just captured and click Import.
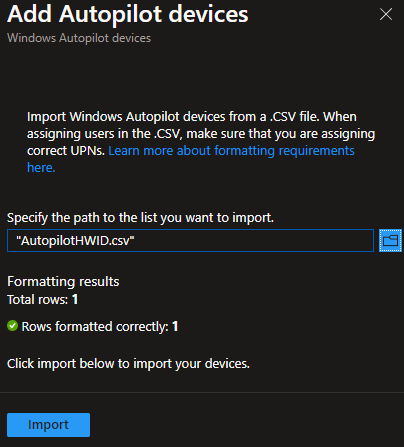
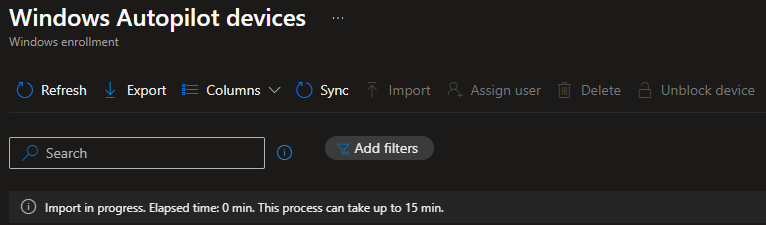
- Wait for the import to complete.
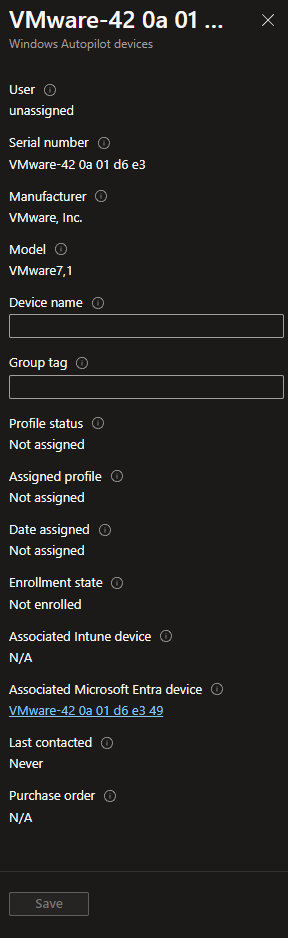
When you import a device into Windows Autopilot, it also creates the device in Microsoft Entra (formerly Azure AD). However, the automatically created device is disabled by default in Entra, so we need to enable it.

- Click on the serial number of the device.
- Click on the Associated Microsoft Entra device link.
- Click on Enable.
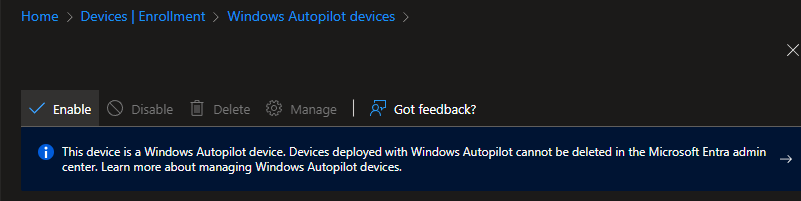
- Click on Yes to confirm that you are enabling the device.

That’s all it takes to gather the hardware hash of a Windows 10 or Windows 11 system and upload the hardware ID to Windows Autopilot.
If you want to read more about the other ways to register devices with Windows Autopilot, here is the Microsoft documentation about it.