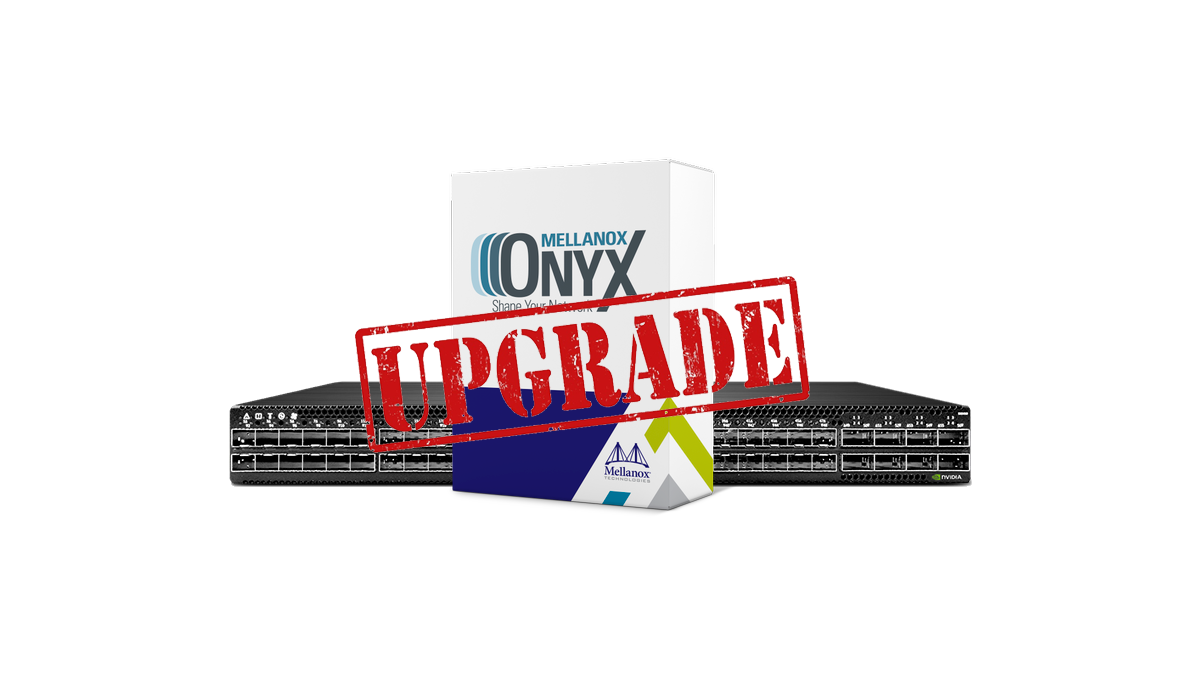
Onyx (MLNX-OS) Upgrade
In this post I will show you how to upgrade your switch running Onyx (MLNX-OS). I will detail how to do it via command line and via the web interface.
The best way to make sure your upgrade is a success is to plan your upgrade path. I recommend following the upgrade paths as sometimes jumping from an old version to the newest version isn’t supported and could lead to issues.
When Nvidia purchased Mellanox some of the upgrade path planning resources became locked away behind a login/pay wall. One of the items behind the wall are the detailed release notes.
The release notes are the documents that will tell you exactly which versions are supported on which switches and what your upgrade path should be as sometimes direct upgrades skipping version can cause issues.
You get access to the release notes on your switch directly but only for the version you are currently running. I tried to see if I could extract the release notes from the upgrade image but they seem to be stored as blobs and I couldn’t figure out a way to open them.
Fortunately Onyx is used by other OEMs like Hewlett Packard Enterprise for example. You can find a public version of the upgrade path the HPE documentation here.
My SN2410 switch was originally running version 3.6.6102 my upgrade path was the following
- 3.7.1134
- 3.8.2204
- 3.9.1020
- 3.9.3302
- 3.10.2102
- 3.10.4006
With the upgrade path planning out of the way I will now show you step-by-step how to upgrade Onyx (MLNX-OS) via CLI or the Web UI.
The CLI Way
- SSH into the switch.
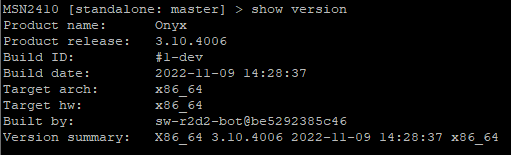
- Run the
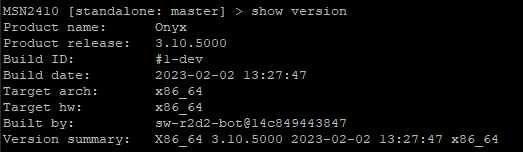
show versioncommand to see what version you are currently running.
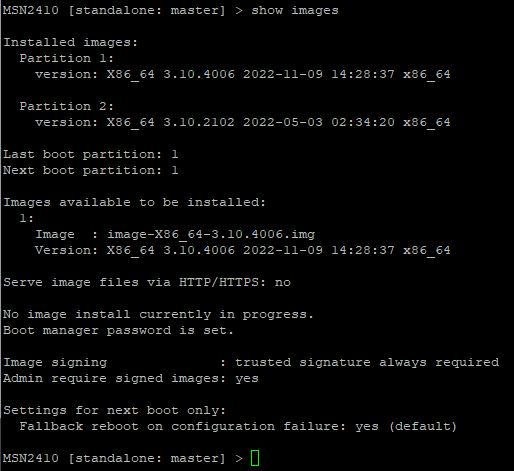
- Run the command
show imagesto show what upgrade images you have on your switch.
- Run the command
enableto elevate yourself to run all the fun commands.

Storage space is almost always limited on a switch. To make sure we don’t run out of space we should always delete the old images. Deleting the old images does not delete the installed image.
- Delete the old images with the command
image deleteand then the image name. In my case the command isimage delete image-X86_64-3.10.4006.img

Now we need to get the new image onto the switch. There are a few ways to do that such as HTTP, HTTPS, FTP, TFTP, SCP and SFTP. When I tested with TFTP it was very slow. I’ll be using HTTP.
- Depending on your setup you may need to tell it which VRF to use. Your command will look something like this
image fetch http://IP/IMAGE.img. In my case I need to specify my VRF. The command I will run isimage fetch vrf mgmt http://192.168.3.125/image-X86_64-3.10.5000.img

- Install the image onto the switch with the command
image installand then the image name. In my setup the command I will run isimage install image-X86_64-3.10.5000.img

- Tell the switch to boot off the image we just installed by running the command
image boot next

- Run the following command to double check everything
show images
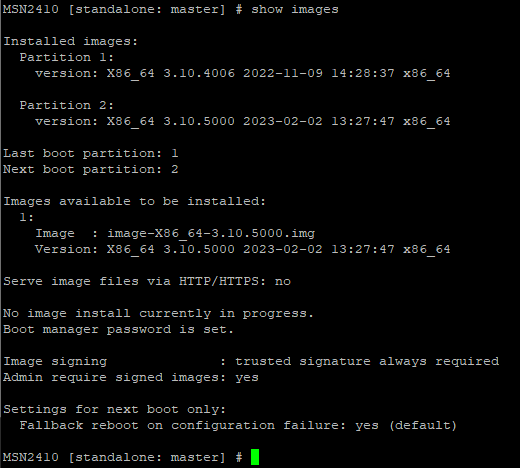
From the output we can see that the new image is loaded into partition 2 and the next time we reboot the switch it will load partition 2 which will load the new version.
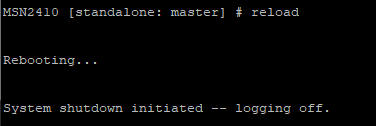
- Reboot the switch by running the command
reload
- To make sure everything went as planned SSH back into your switch and run the command
show version
The Web UI Way
Even if the switch Web UI is still branded Mellanox the process is the exact same the icons are just slightly different.
- Login to the Web UI
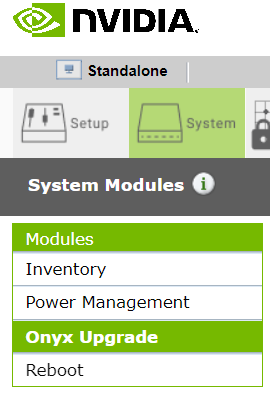
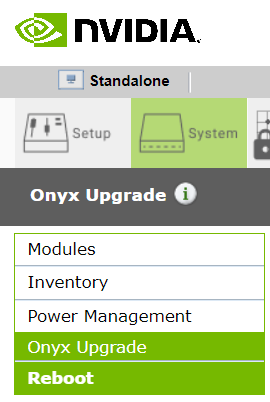
- Click on System

- Click on Onyx Upgrade
I’m going to upload the file via the browser.
- Select your upgrade file
- Click on Install Image
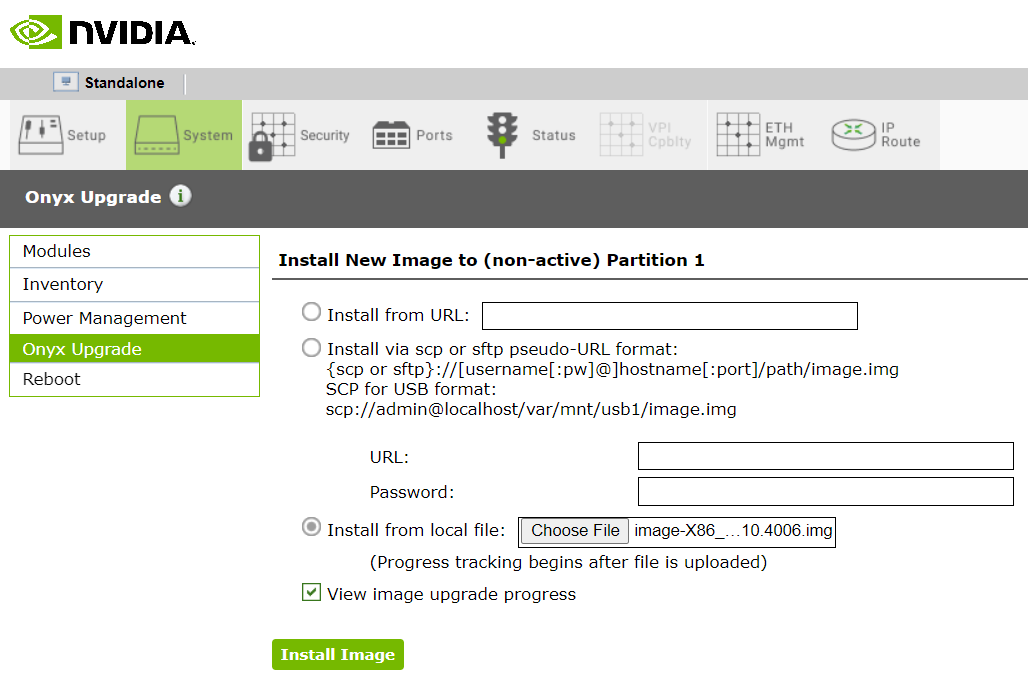
- Wait while it loads the file.
- Once the file has been uploaded it will show you the progress of the image install.
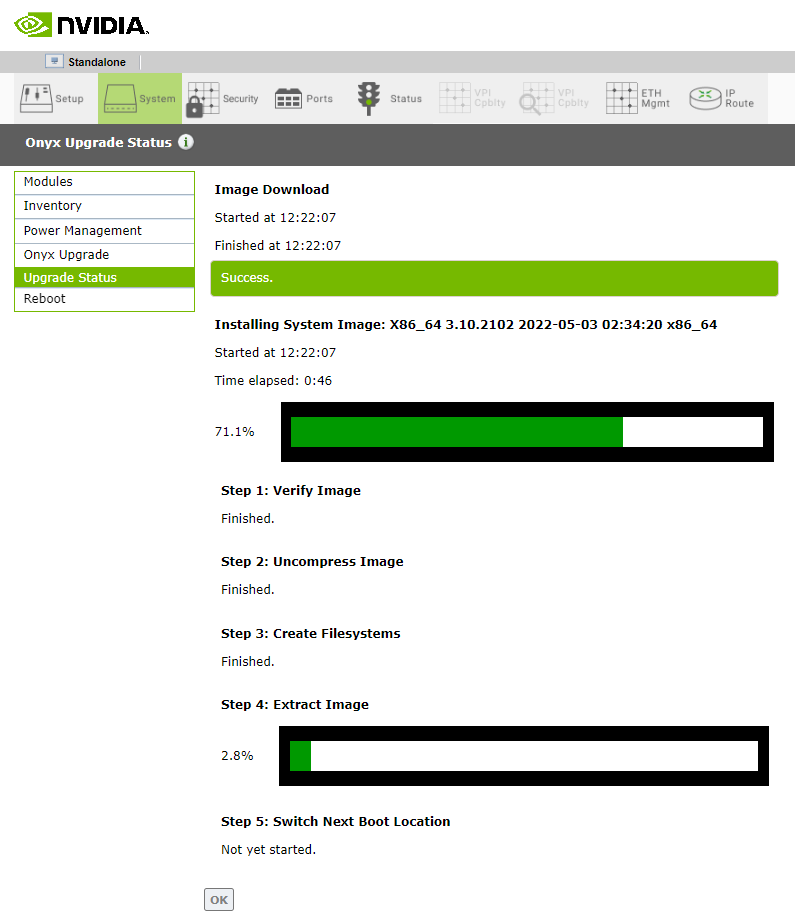
- Once it is done click OK
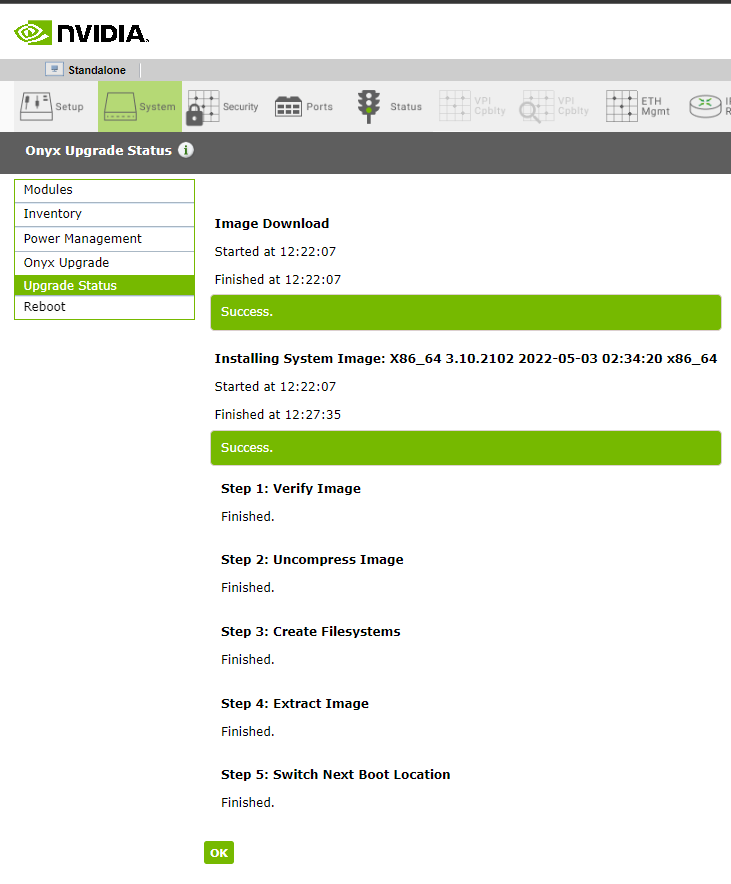
- It will now display the partitions and which one will be used the next time the switch reboots.

In the screenshot we can see that the new image is installed to partition 2 and the next time we reboot it will use partition 2.
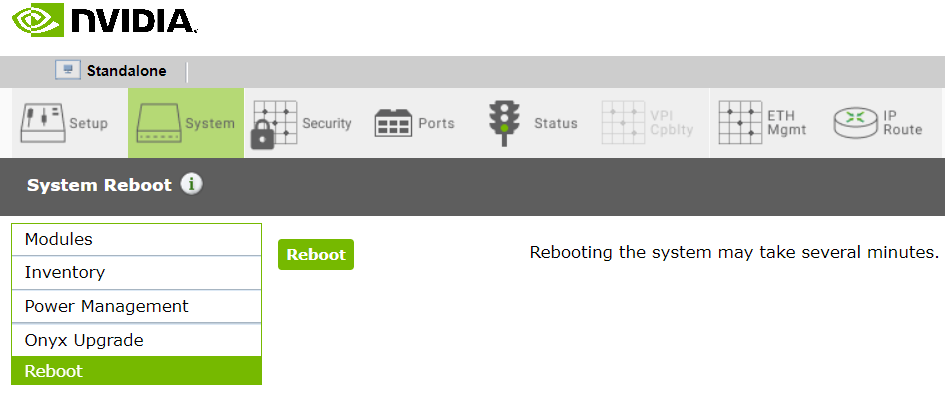
- Click on the Reboot menu
- Click Reboot
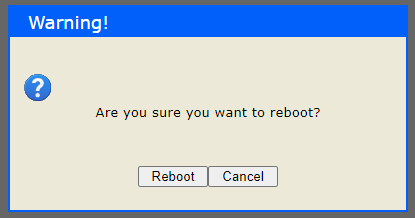
- Click Reboot to confirm the reboot.
- Wait for the switch to boot up again.
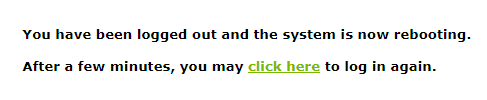
- Once the switch boots back up it will be running the new version.
That’s all it takes to upgrade Onyx (MLNX-OS) via the Web UI or CLI.