Palo Alto Configure Master Key with HA (Active/Passive)
When you enter a private key or a password on a Palo Alto Networks firewall, it is encrypted with a master key. Out of the box, all Palo Alto firewalls use the same default master key, which used to be p1a2l3o4a5l6t7o8.
If your Palo Alto firewall uses the default master key and someone gets a copy of your firewall configuration, they may be able to decrypt the private keys and passwords stored in it. Fortunately, you can prevent this easily by configuring the master key to something unique.
In this post, I will show you step by step how to set your own master key on a Palo Alto Networks firewall in an Active/Passive High Availability Pair using the GUI and the CLI.
The Process
- Backup your Palo Alto firewall config.
For more information on how to back up your Palo Alto firewall config, my blog post, Palo Alto Config Backup, goes into detail.
- Disable HA Config Sync via the GUI or CLI.
- Configure Master Key via the GUI or CLI.
- Enable HA Config Sync via the GUI or CLI.
Disable HA Config Sync
We need to disable HA configuration synchronization on both firewalls while we configure the master key on each firewall.
Disable HA Config Sync GUI
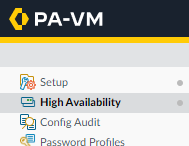
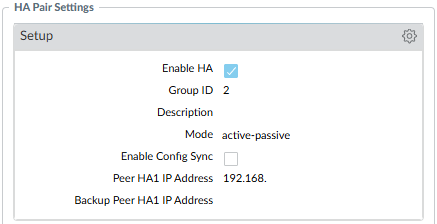
- On the Primary firewall, click on the Device tab.

- Click on High Availability.
- Click on the General tab.

- In the HA Pair Settings, click on the gear icon in the Setup box.
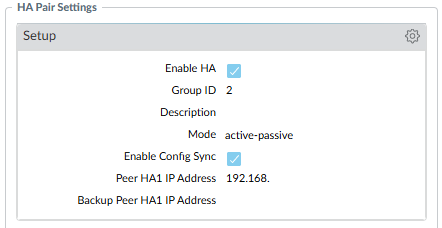
- Uncheck Enable Config Sync and click OK.
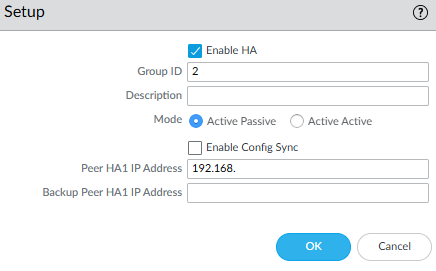
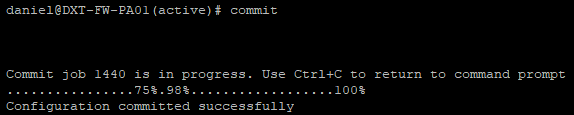
- Commit the change.
- Repeat the process on the Secondary firewall.
Disable HA Config Sync CLI
- SSH into the Primary firewall.
- Enter configuration mode with the command
configure

- Run the following command to check your current HA config sync settings
show deviceconfig high-availability group configuration-synchronization
If enabled is set to yes, we need to disable it.

- Disable HA config sync with the following command
set deviceconfig high-availability group configuration-synchronization enabled no

- Commit the change.
- Repeat the process on the Secondary firewall.
Configure Master Key
With HA config sync disabled, we can safely set the master key on both firewalls. The master key must be exactly 16 characters.
Configure Master Key GUI
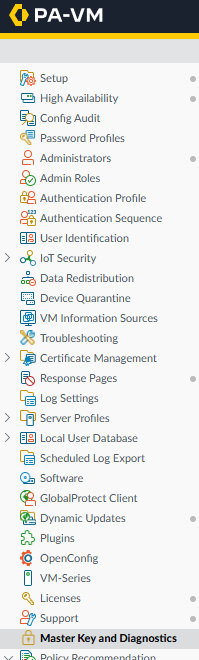
- On the Primary firewall, click on the Device tab.
- Click on Master Key and Diagnostics.
- In the Master Key box, click on the gear icon.
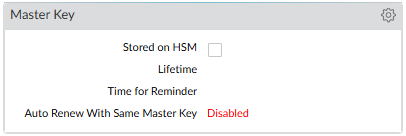
- Check the box for Master Key.
- Enter the Master Key you would like to use.
- Enter how long you want the master key to last, and when you want the firewall to start reminding you to change it.
In this example, I will set the master key’s lifetime to 730 days and set the reminder to change the master key to 90 days.
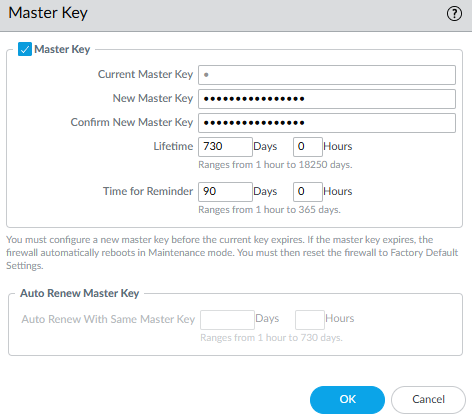
As soon as you click OK, an automatic commit task should start.
- Wait for the automatic commit task to complete. If the automatic commit task didn’t start, manually commit the changes.
- Repeat the process on the Secondary firewall.
Configure Master Key CLI
- SSH into the Primary firewall.
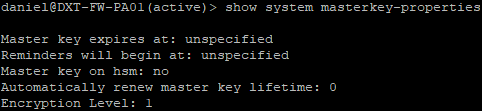
- Run the following command to check if a master key is currently configured
show system masterkey-properties
- When configuring the master key with CLI, the lifetime and reminder must be specified in hours.
In my example, I want to use 90 days for the reminder (2160 hours) and 730 days for the lifetime (17520 hours).
- To set your master key, run the following command and change Reminder_Hours, Lifetime_Hours, and Master_Key_Here to your desired settings
request master-key reminder Reminder_Hours lifetime Lifetime_Hours new-master-key Master_Key_Here
In my example, my command will look like this request master-key reminder 2160 lifetime 17520 new-master-key paloalto12345678

- As soon as you enter the command, an auto-commit job will start. If the auto-commit job didn’t start, manually commit the changes.
- Repeat the process on the Secondary firewall.
Enable HA Config Sync
Once the master key is configured to the same master key on both firewalls, we can safely enable HA configuration synchronization.
Enable HA Config Sync GUI
- On the Primary firewall, click on the Device tab.
- Click on High Availability.
- Click on the General tab.
- In the HA Pair Settings, click on the gear icon in the Setup box.
- Check Enable Config Sync and click OK.
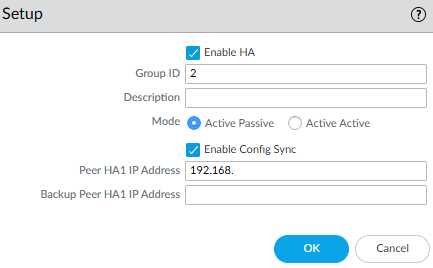
- Commit the change.
- Repeat the process on the Secondary firewall.
Enable HA Config Sync CLI
- SSH into the Primary firewall.
- Enter configuration mode with the command
configure
- Run the following command to check your current HA config sync settings
show deviceconfig high-availability group configuration-synchronization
If enabled is set to no, we need to enable it.

- Enable HA config sync with the following command
set deviceconfig high-availability group configuration-synchronization enabled yes

- Commit the changes.
- Repeat the process on the Secondary firewall.
Closing
That’s all it takes to configure a master key to uniquely encrypt all the private keys and passwords in the Palo Alto firewall configuration.
If you want to read more about configuring a master key, here is the Palo Alto Networks documentation.