Nginx Proxy Manager Setup
Nginx Proxy Manager (NPM) is an open-source Docker image that lets you run a reverse proxy and can even handle SSL certificates for you using Let’s Encrypt. It’s great when you can’t use a Cloudflare Tunnel or an Entra App Proxy. I’ve been using Nginx Proxy Manager for a while now, and it’s been perfect for what I need.
In this post, I will show you step-by-step how to setup Nginx Proxy Manager with Docker and configure a Proxy Host, Redirection Host, 404 Host, add a custom SSL certificate, and enable SSL.
Prerequisites
- Access to the DNS for the domains you want to use.
- Access to create port forwards for port 80 and 443.
- Docker host.
Initial Setup
- Make a folder to store your configurations for Nginx Proxy Manager.
- Make a new
docker-compose.ymlfile.
- Copy the contents of the
docker-compose.ymlfile from the NPM documentation here.
Your docker-compose.yml file should look something like this.
services:
  app:
    image: 'jc21/nginx-proxy-manager:latest'
    restart: unless-stopped
    ports:
      # These ports are in format <host-port>:<container-port>
      - '80:80' # Public HTTP Port
      - '443:443' # Public HTTPS Port
      - '81:81' # Admin Web Port
    volumes:
      - ./data:/data
      - ./letsencrypt:/etc/letsencryptCode language: YAML (yaml)
The docker compose file will create a folder named data in the location where the docker-compose.yml file is. The data folder holds the SQLite database for NPM, log files and other configuration files. A folder named letsencrypt will also be created, where your Let’s Encrypt data is stored.
- Run the following command to start the Nginx Proxy Manager docker container
docker compose up -d
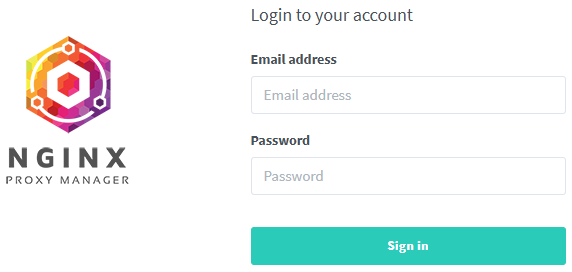
- Go to the address of your Docker host on port 81 to access the NPM admin interface.
- Login with the default admin user.
Email: [email protected]
Password: changemeCode language: plaintext (plaintext)
You will be forced to change it on the first login.
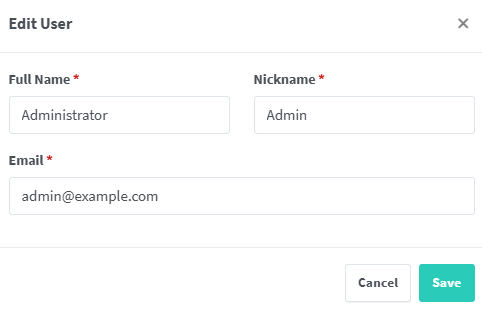
- Change the user details as needed.
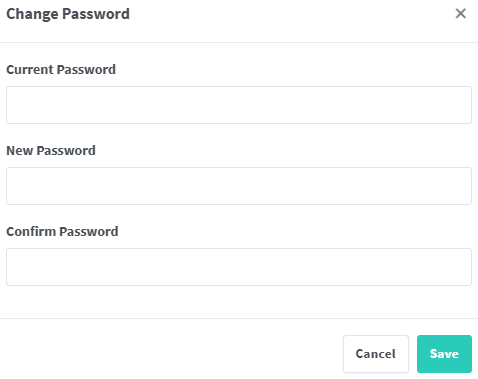
- Change the password.
- Set up the port forwards for port 80 and 443.
I wouldn’t port forward port 81, as that is just for the administration.
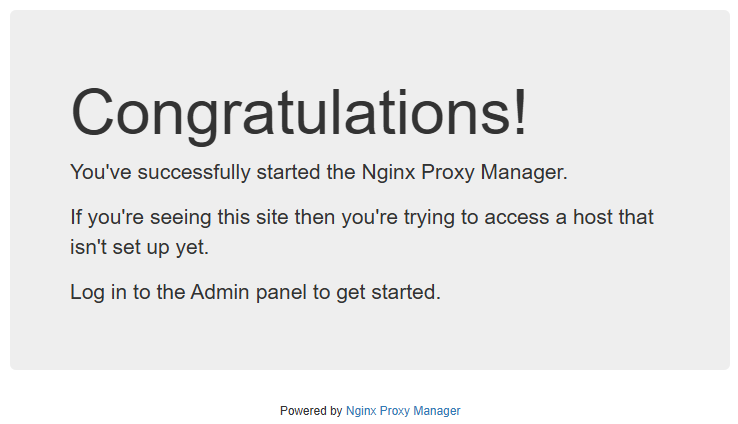
Once the port forwarding is working, you will see the default congratulations page.
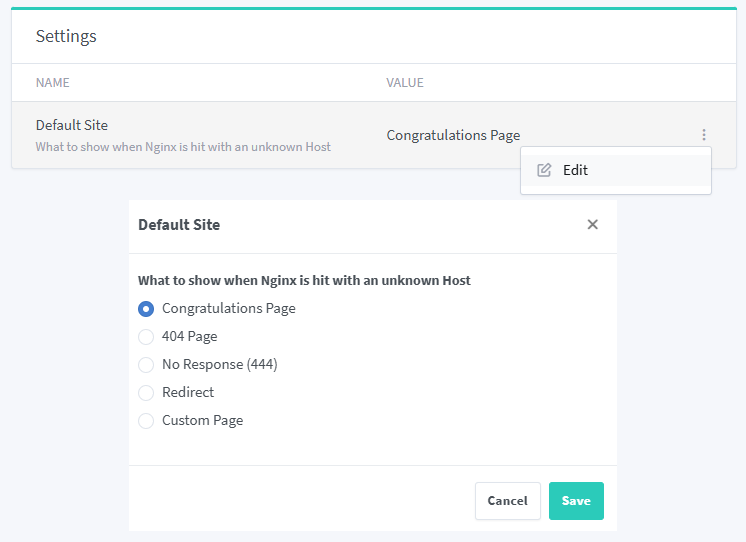
You can change this behavior by clicking on Settings and editing the default site.
Add a Proxy Host
A proxy host is a reverse proxy for an application that NPM has access to.
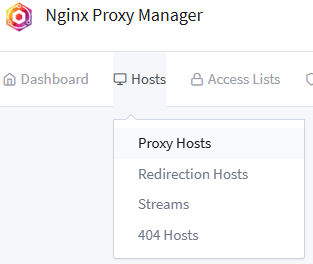
- Click on Hosts > Proxy Hosts.
- Click on Add Proxy Host.
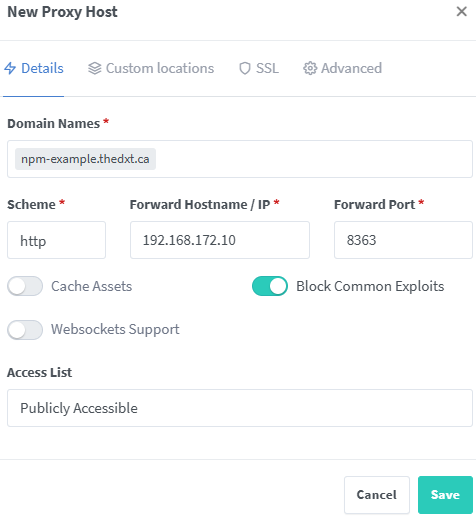
- For Domain Names enter the domain name you want to use. The DNS records for the domain name will need to point to NPM.
I will use npm-example.thedxt.ca
- For Scheme select http or https. This is how NPM will access the application internally.
In my example, I will select http because my example application doesn’t use HTTPS internally.
- For Forward Hostname / IP enter the internal hostname or the IP of the application.
In my example, I will enter the IP 192.168.172.10.
- For Forward Port enter the port that the application is running on.
In my example, I will enter 8363.
- Select if you want to Block Common Exploits.
I will turn on block common exploits.
- Click Save.
Now, if you go to the domain name you entered, you will see the application working.
Add a Redirection Host
A redirection host can be used to forward requests to another address.
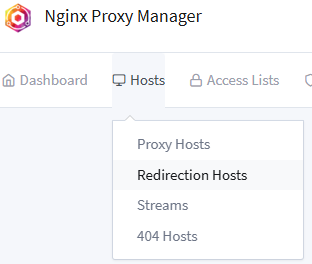
- Click on Hosts > Redirection Hosts.
- Click on Add Redirection Host.
- For Domain Names enter the domain name you want to redirect. The DNS records for the domain name will need to point to NPM.
I will use the domain npm-redirection.thedxt.ca
- Select the Scheme.
I will use auto.
- For Forward Domain enter the domain that you want to redirect to.
For this example, I will use thedxt.ca
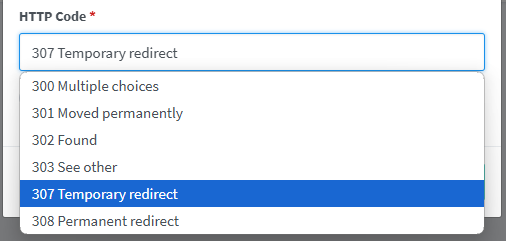
- For the HTTP Code select the HTTP status code you want to present to the user. (I tend to use 307 and 308)
For this example, I will use HTTP Code 307 Temporary redirect.
- Select if you want to Block Common Exploits.
I will turn on block common exploits.
- Click Save.
It’s challenging to show that a redirection is working. However, I can illustrate the process using curl.
If we curl npm-redirection.thedxt.ca, we get a 307 status page, just like what is configured in Nginx Proxy Manager.
We can tell curl to follow the redirection using the -L option. I will also use the -s option to silence the progress meter and pipe the output to grep to show only the web page’s title.
The new command should look like this curl -s -L npm-redirection.thedxt.ca | grep '<title>'. If we curl with the new command on the redirected domain name npm-redirection.thedxt.ca, we will see that the title is theDXT.
If we run the same curl command for thedxt.ca curl -s -L thedxt.ca | grep '<title>' we can see that the title is also theDXT, which shows us that the redirection is working.
Add a 404 Host
A 404 host will display a 404 not found message.
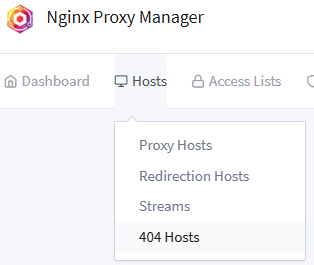
- Click on Hosts > 404 Hosts.
- Click on Add 404 Host.
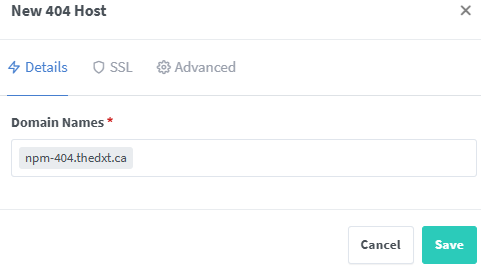
- For Domain Names enter the domain name you want to 404. The DNS records for the domain name will need to point to NPM.
I will use npm-404.thedxt.ca
- Click Save.
Now, if you go to the domain name you entered, you will see it presenting a 404 status.
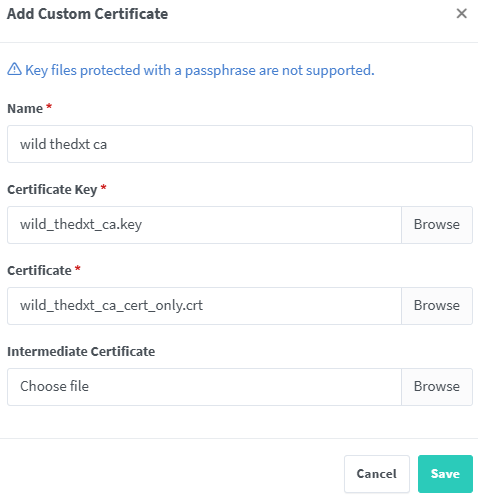
Add a Custom Certificate
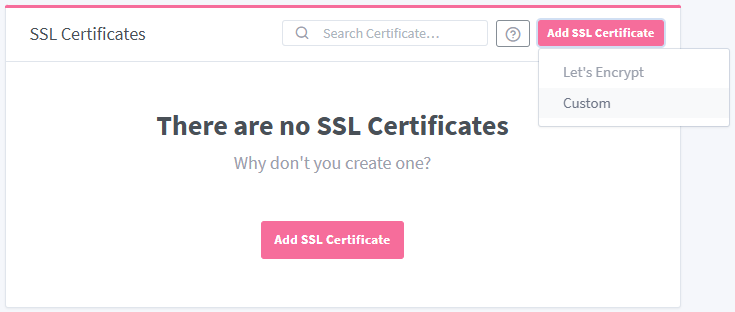
- Click on SSL Certificates.
- Click on Add SSL Certificate > Custom.
- Name your certificate.
- Provide the key file to your certificate without a password.
- Provide your certificate.
- Click Save.
The private key can not have a password and needs to be in PEM format. My blog post, Convert PFX Certificate, shows how to convert a PFX certificate to the format required for NPM.
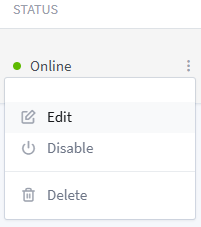
Enable SSL on Proxy/Redirection/404 Host
- Create a new Proxy/Redirection/404 Host or edit an existing one.
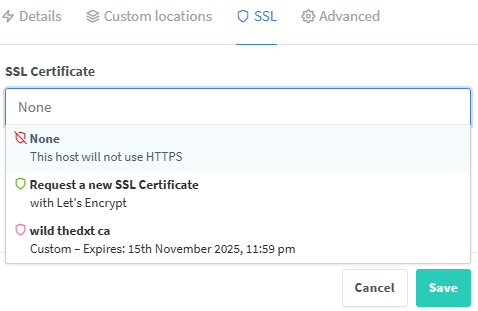
- Click on SSL.
- Select the SSL Certificate you want to use.
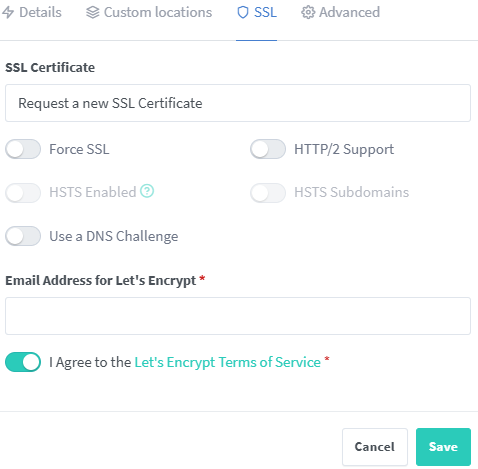
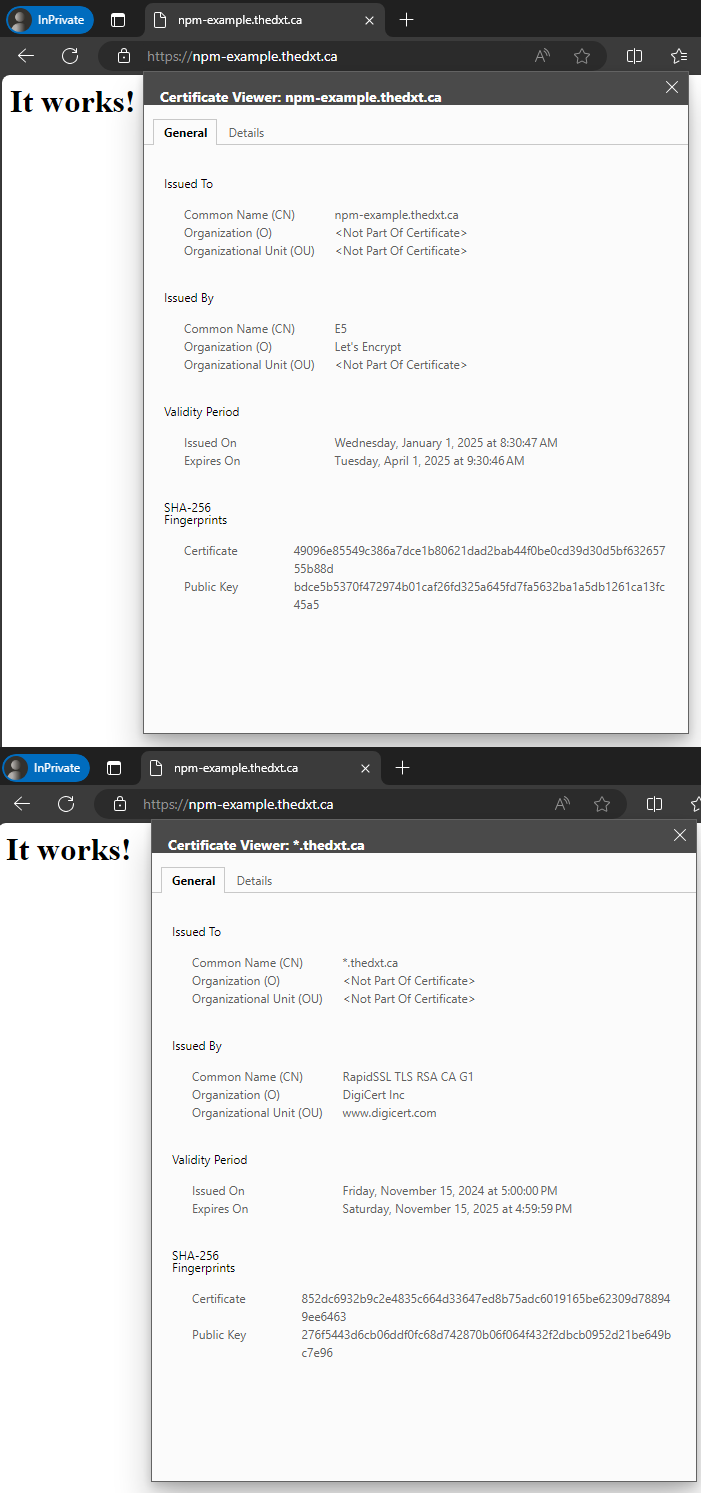
You can select a custom certificate already uploaded or request a free Let’s Encrypt certificate.
If you use Let’s Encrypt, you need to provide an Email address and agree to the Let’s Encrypt Terms of Service.
- Click Save.
The Proxy/Redirection/404 host will now use your selected SSL certificate.
Summary
That’s all it takes to setup and configure Nginx Proxy Manager.
If you want to read more about what Block Common Exploits does, you can find details in the conf file on GitHub.
If you want to read more about Nginx Proxy Manager, here’s the official documentation.


