HPE MSA 2040 iSCSI Configuration
I recently deployed an HPE (Hewlett Packard Enterprise) MSA (Modular Smart Array) 2040 SAN (Storage Area Network) Storage unit in my home lab.
In this post, I will show you step-by-step how to set up the HPE MSA 2040 SAN Storage with iSCSI.
The Process
- Login to the HPE SMU (Storage Management Utility).
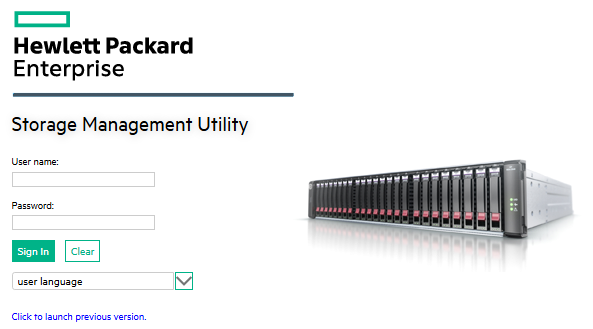
The default username is manage, and the default password is !manage.
Network Setup
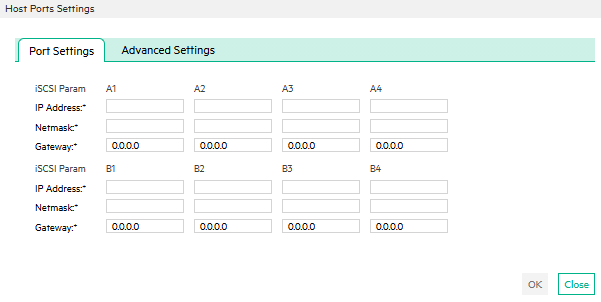
The first part we should do is configure the iSCSI network.
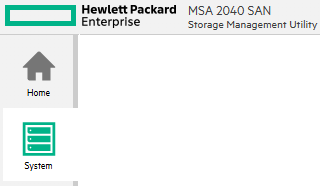
- Click on System.
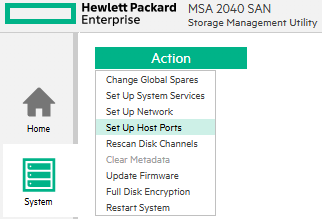
- Click on Action > Set Up Host Ports.
- Configure your ports as needed.
In my setup, ports A1, B1, A3, and B3 are iSCSI path A and ports A2, B2, A4, and B4 are iSCSI path B.
Pool Setup
Next, we should set up our disk pools.
- Click on Pools.
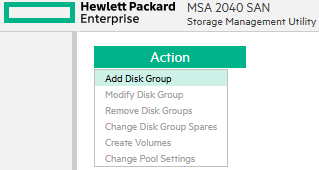
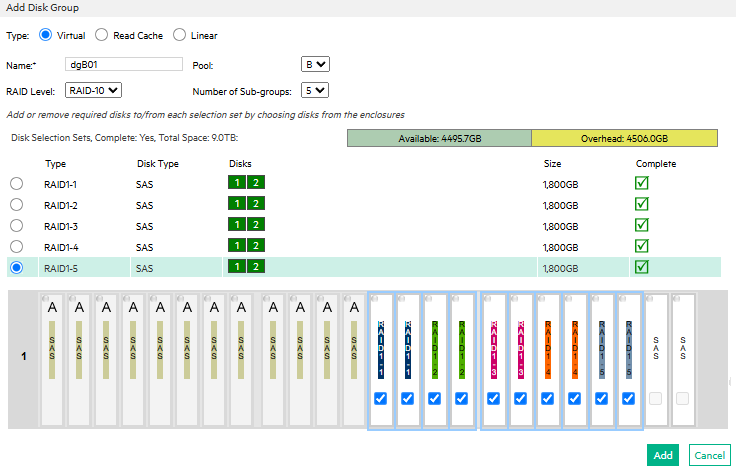
- Click on Action > Add Disk Group.
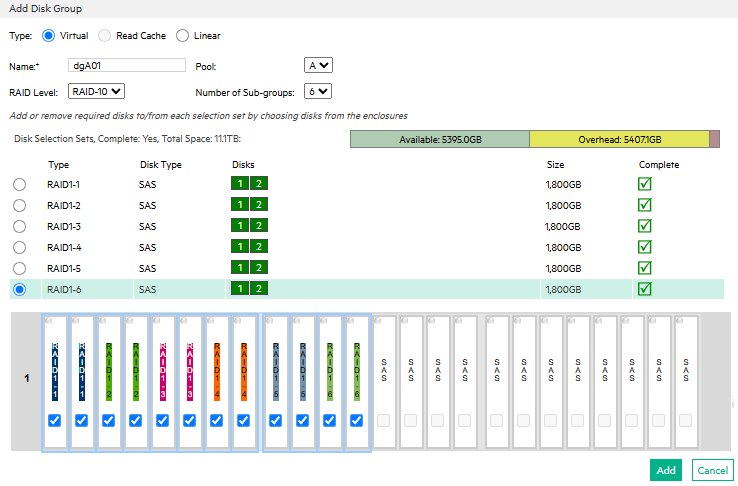
- Select the Type.
I will select Virtual.
- Select the RAID Level.
I will Select RAID-10.
- Select the Pool.
The pool selection is for which controller will be the primary controller for the pool. It’s a good idea to make a disk group per controller to maximize the performance of the MSA.
- Select the number of Sub-groups.
I will choose 6 for my first disk group on Controller A. On Controller B, I will select 5 disks, leaving me with 2 disks as spares.
- Name the disk group.
I will use the name dgA01.
- Select the Disks.
- Click Add.
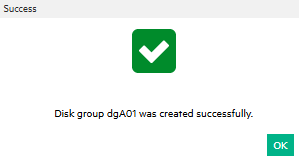
- Click OK to confirm that the disk group is created.
- Repeat the process as needed.
I will repeat the process but select Pool B and 5 Sub-Groups.
Spares
It’s a good idea to have spare disks in the event of a disk failure. When setting up the pools, I left out 2 disks. I will use those disks as global spares.
- Click on System.
- Click on Action > Change Global Spares.
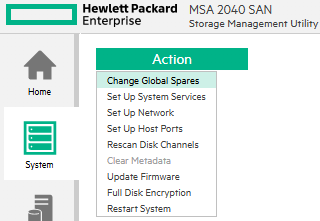
- Select the Disk you want to set as the Global Spares and click Change.

- Click OK to confirm that the global spares were set up.

Volume
We need to create a volume to store all the data on the disk group pools we created.
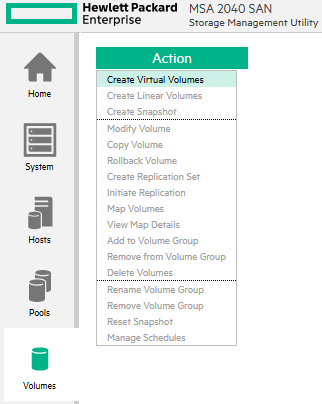
- Click on Volumes.

- Click on Action > Create Virtual Volumes.
- Give your volume a name and specify the size and pool.
I will name my first volume, A-Vol01, make it the same size as the virtual pool, and select Pool A.
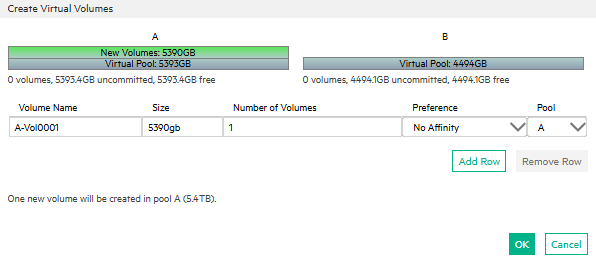
- Repeat the process as needed by clicking on Add Row.
I will make a second volume because I have a second pool on controller B. I will name the second volume B-Vol02, and I will set it to be on Pool B.
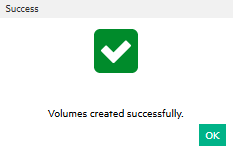
- When ready, click OK to create the volume(s).

- Click OK to confirm the Volume(s) were created successfully.
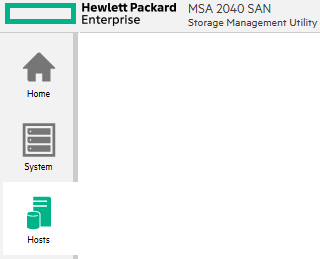
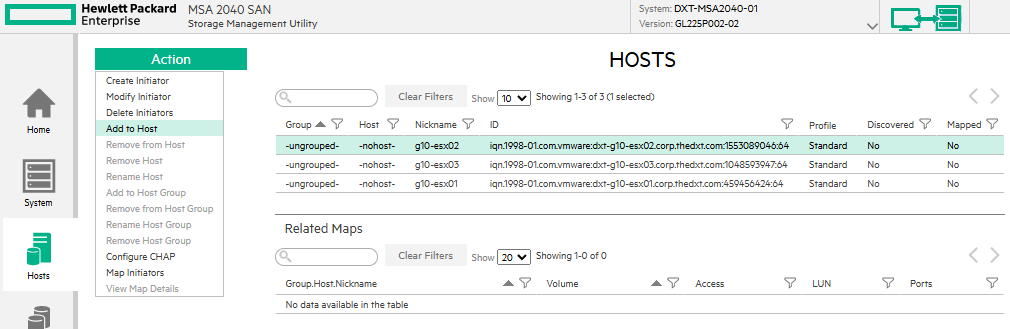
Hosts
For the HPE MSA 2040 to communicate with iSCSI hosts, you need to add them to the MSA as hosts.
- Click on Hosts.
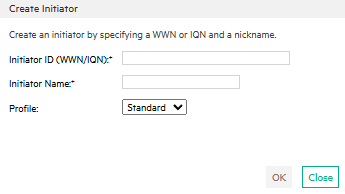
- Click on Action > Create Initiator.

- Enter the Initiator ID from the system connecting to the MSA and give the initiator a name.
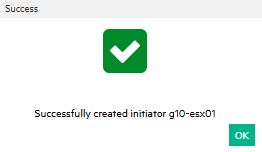
- Click OK to add the initiator.
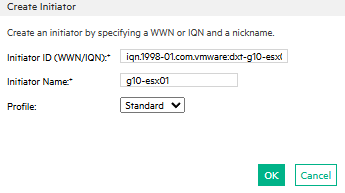
- Click OK to confirm that the initiator was created successfully.
- Repeat the process for each system connecting to the HPE MSA for iSCSI.
Add Initiators to Host
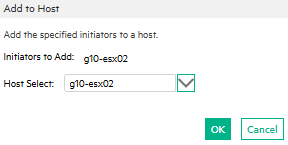
- Select one of the initiators you just added and click Action > Add to Host.
- Enter a name for the host and click OK.
I will use the initiator nickname as the host name.
- Click OK to confirm the initiator was added to the host successfully.
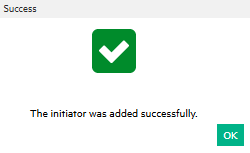
- Repeat the process for each initiator.
Add to Host Group
- Select all of your hosts.
- Click on Action > Add to Host Group.
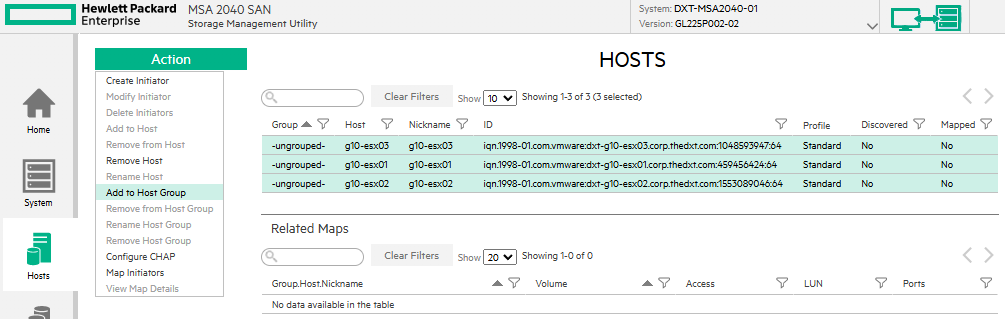
- Enter a name for the host group.
I will use the name g10-esx.
- Click OK.

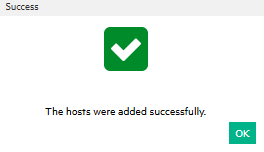
- Click OK to confirm that the hosts were added to the host group.
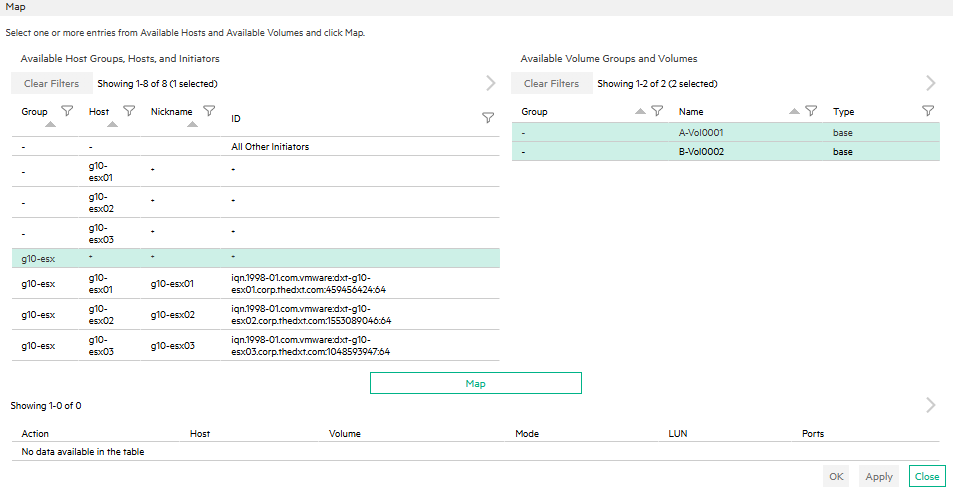
Mapping
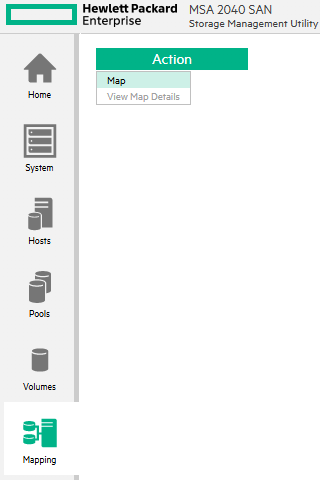
For the hosts to access the volumes, we need to map the hosts to a volume.
- Click on Mapping.
- Click on Action > Map.
- Select the Group you want to map and the Volume to which you want to map the group.
I will select the Group named g10-esx, and I will select both Volume A-Vol01 and B-Vol2
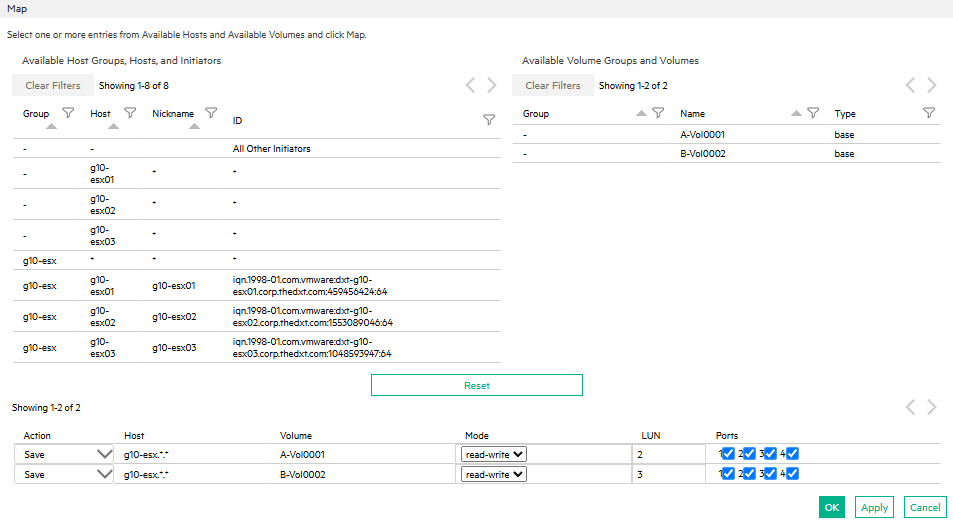
- Click Map.
By default, the MSA 2040 will want to use LUN 0. You should change it as with VMware vSphere LUN 0 will be used by the MPE MSA storage enclosure.
- Change the LUNs to make sure they don’t use LUN 0.
- Click OK to initiate the mappings.
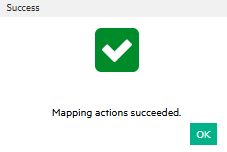
- Click OK to confirm the mapping succeeded.
That’s it. Now, all you need to do is set up your hosts to access the HPE MSA.
If you want to read more about setting up the HPE MSA 2040, here is the HPE documentation.