Install Debian 12 Bookworm
Debian is a solid Linux distribution I’ve been using for a while. It is my default Linux OS of choice. Many popular Linux distros are actually based on Debian, such as Ubuntu, Proxmox, Kali Linux, TrueNAS SCALE, SONiC, Raspberry Pi OS, SteamOS and many more.
In this post, I will show you step-by-step how to install Debian 12, aka Bookworm.
The Process
- Download the Debian ISO from Debian.org (I tend to use the small installation image, aka netinst, as it has everything I need out of the box, and anything else I can download as needed)
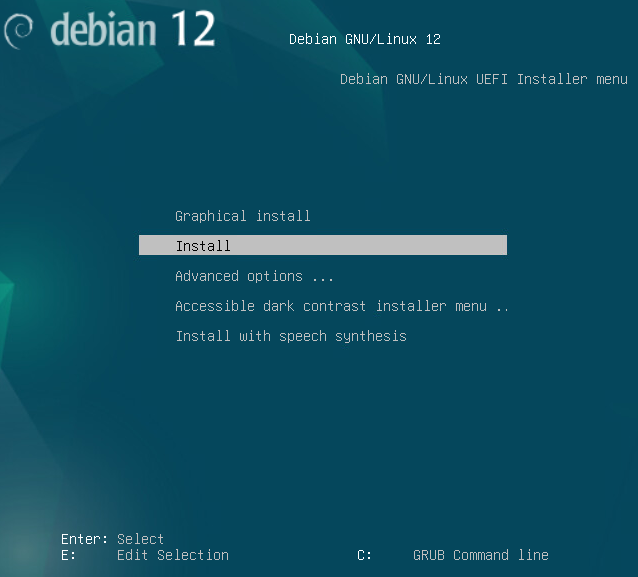
When you boot up the Debian installation media, you are presented with the option of a graphical version of the installation or a text-only version. It doesn’t matter which option you select. The end result is the same.
- Select if you want to use the graphical (aka GTK) or text-based install (aka newt).
I tend to use the text-based installation more as I can complete it slightly faster.
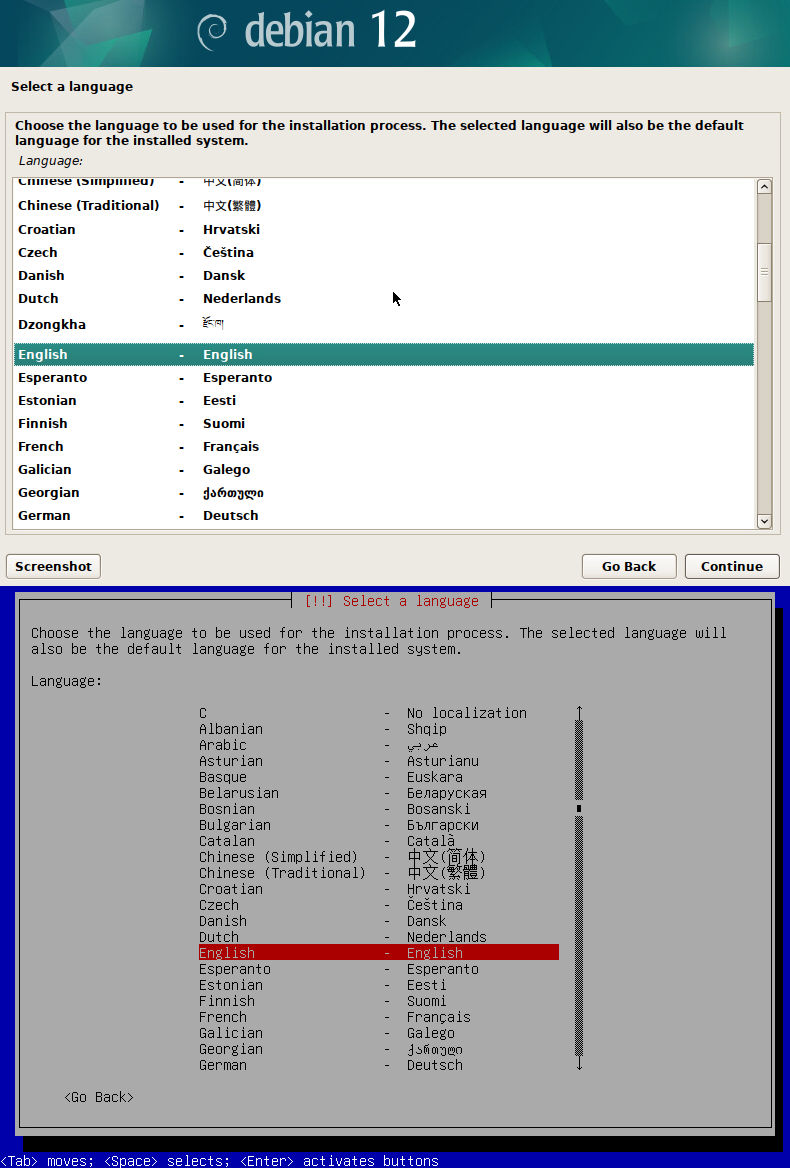
- Select your language.
The language you select will be used for the installation process and will be the default language for the Debian install.
I will select English.
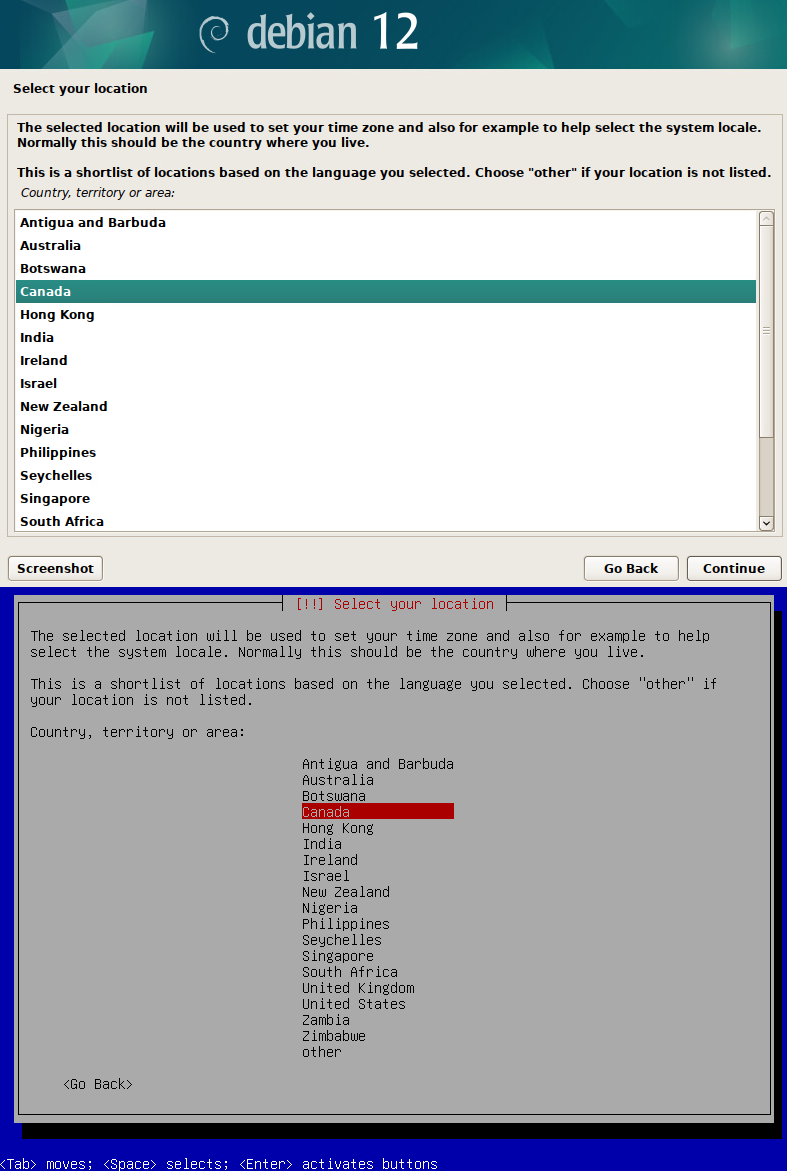
- Select your location.
I will select Canada.
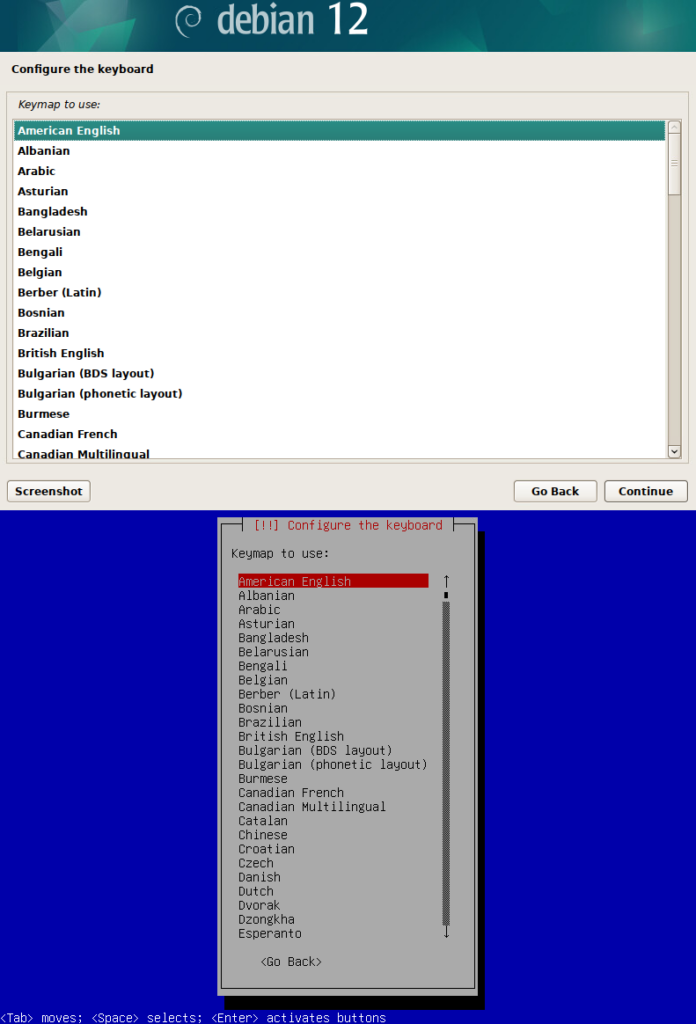
- Select the keyboard layout you use.
I will select American English.
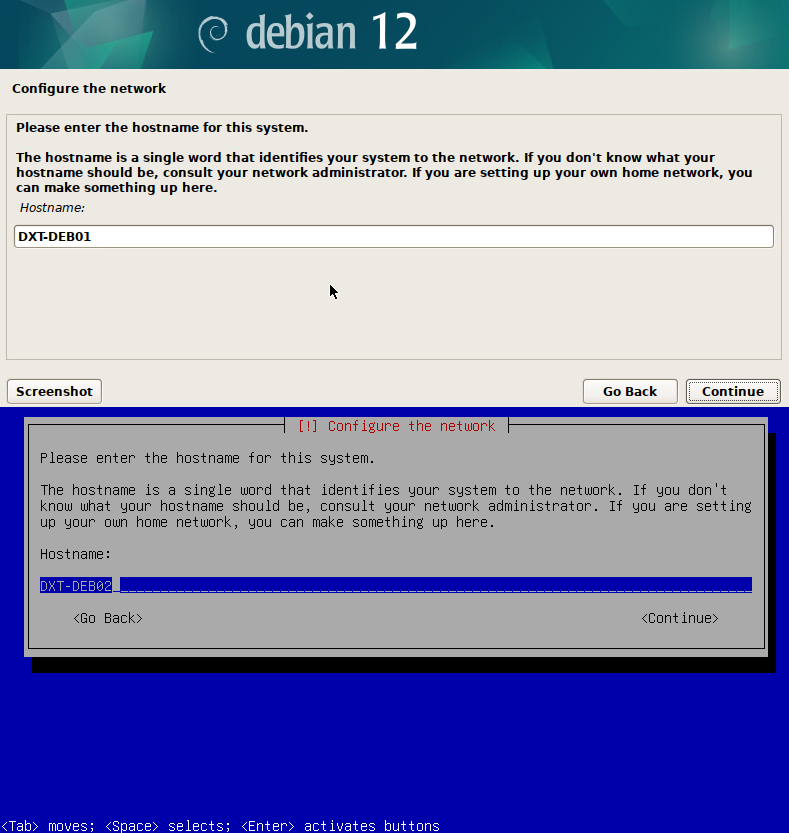
- Enter the hostname for the Debian system.
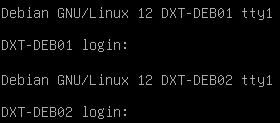
I will use the hostnames DXT-DEB01 and DXT-DEB02
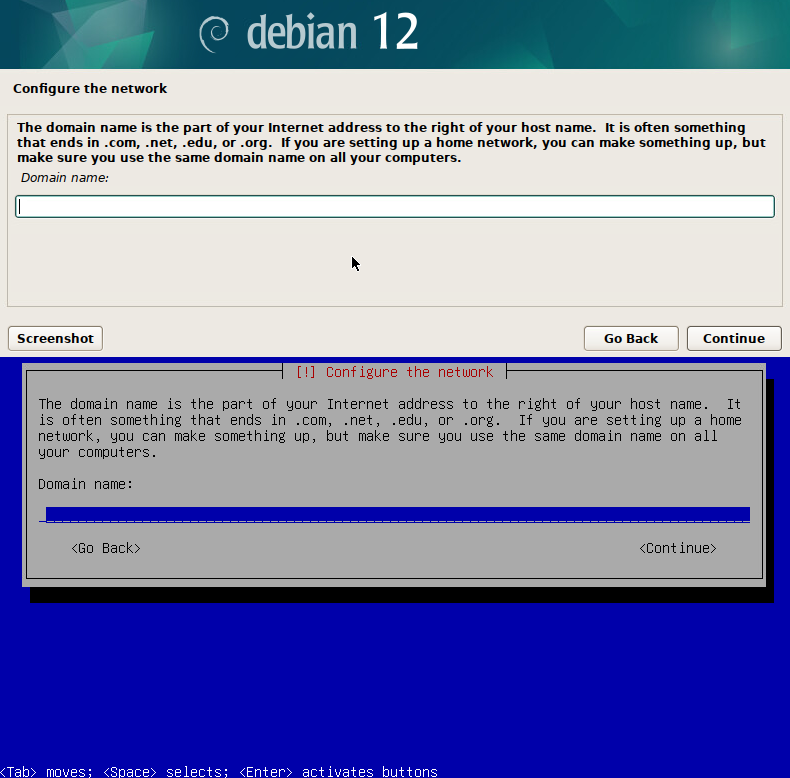
- Enter the domain name if the Debian system is on a domain network. If not, just leave it blank.
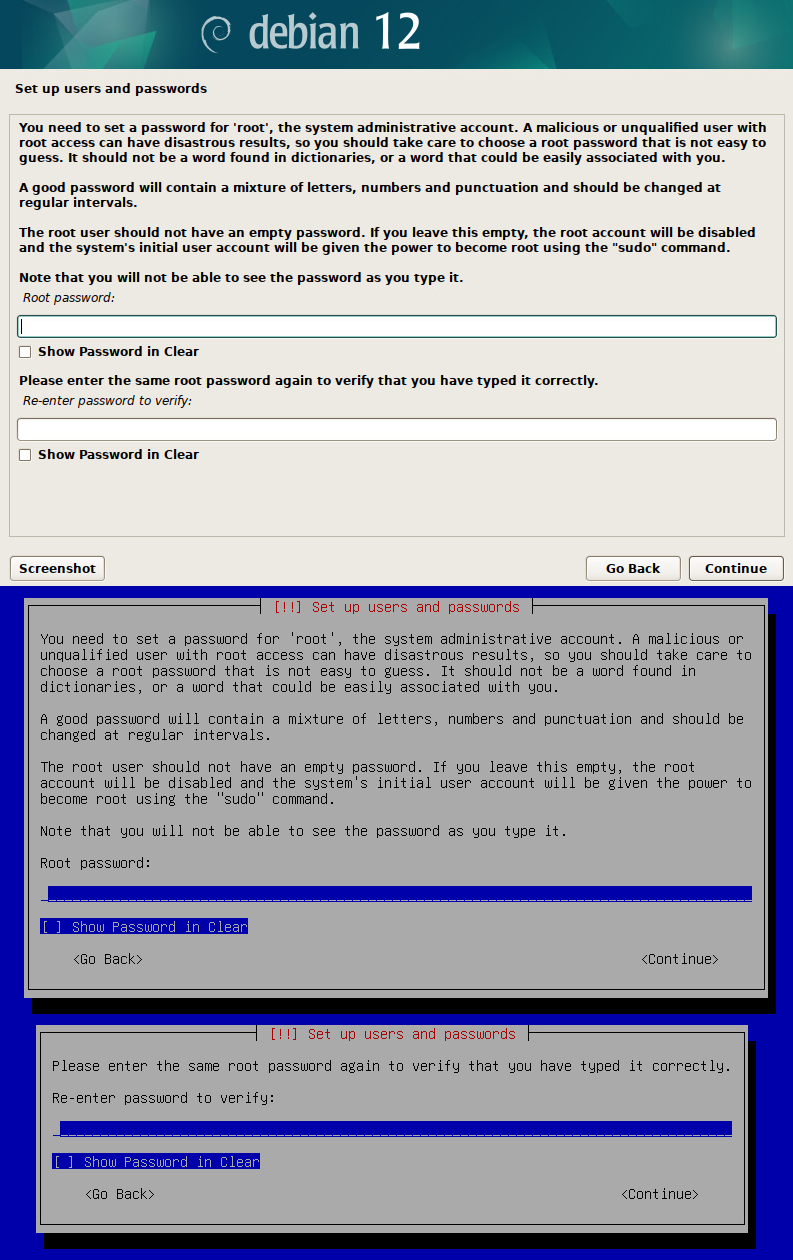
- Create the root password.
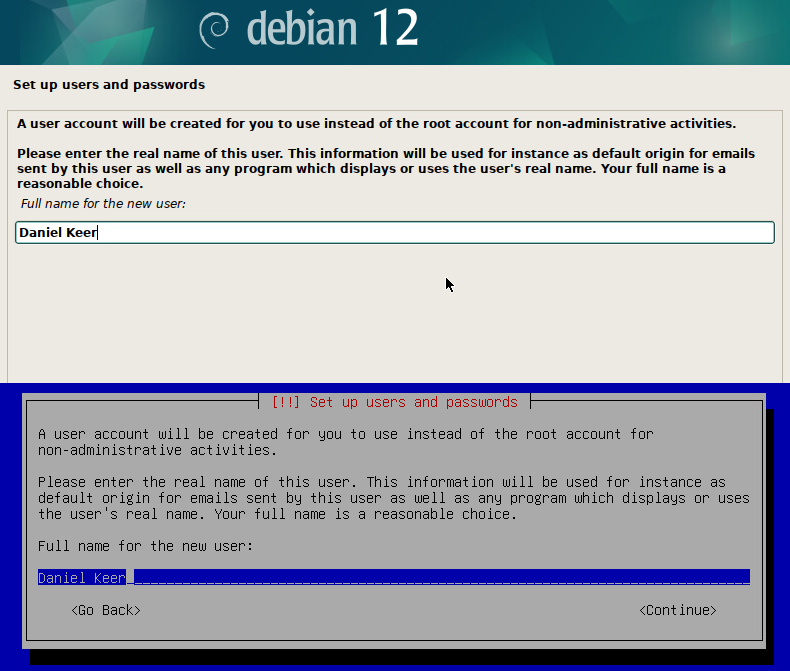
- Enter the full name of the first non-root regular user account.
I will enter my name.
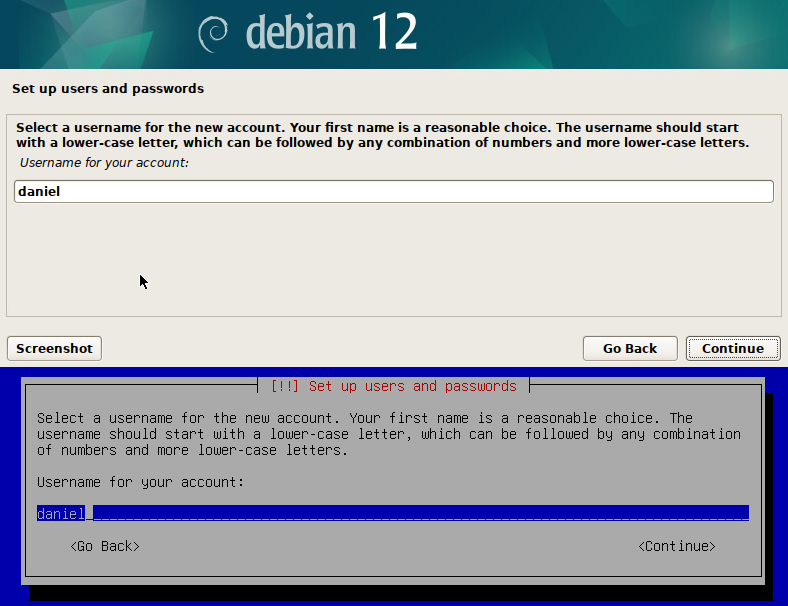
- Set the username for the first non-root regular user.
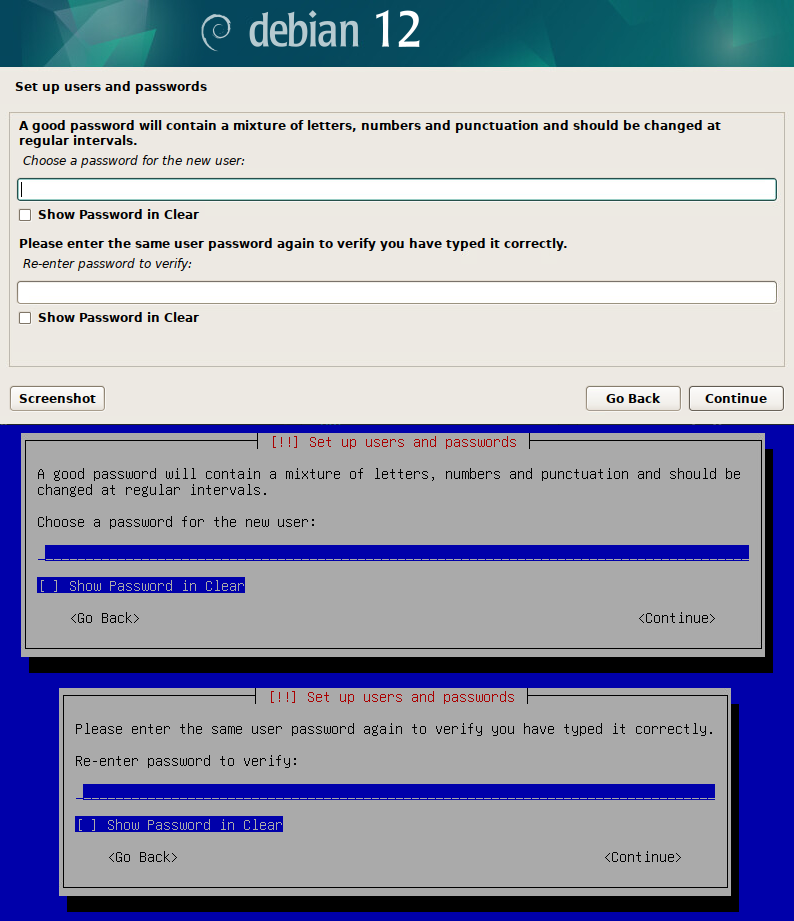
- Set a password for that first non-root regular user.
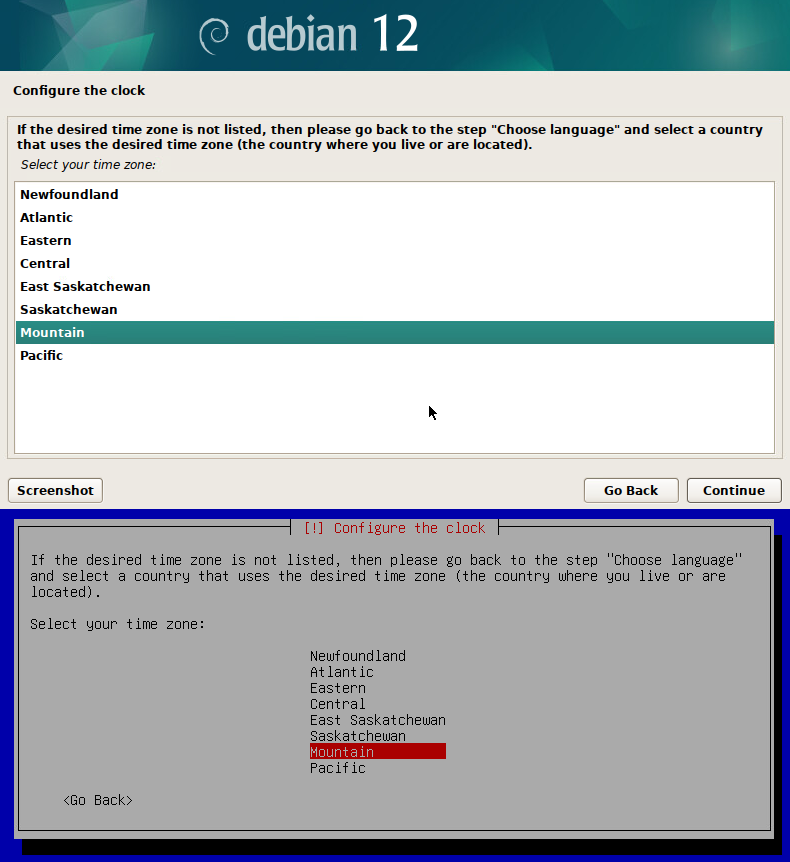
- Select your time zone.
I will select Mountain.
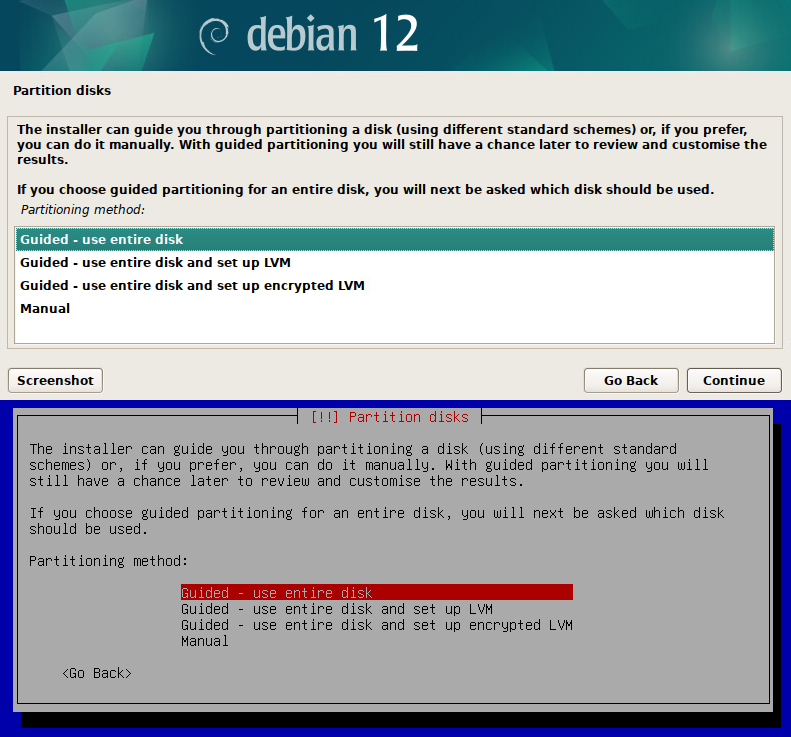
- Select which partitioning method you want to use.
I will select guided use entire disk.
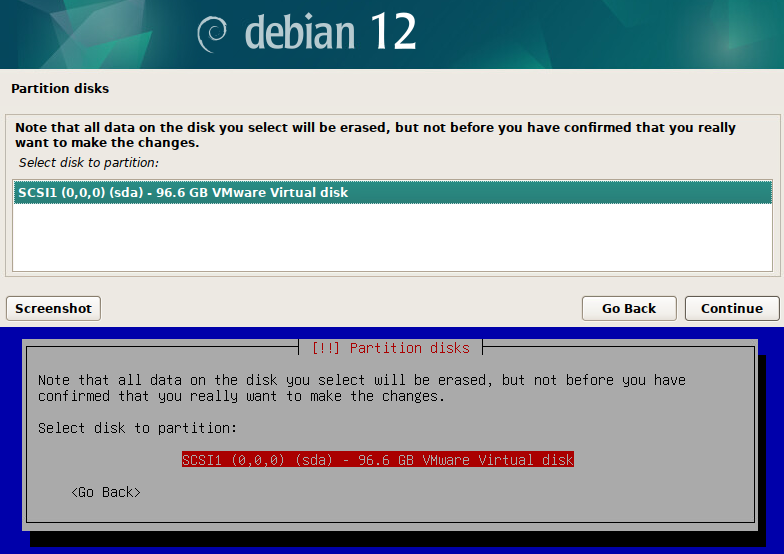
- Select the disk you want to partition.
I will select the sda disk.
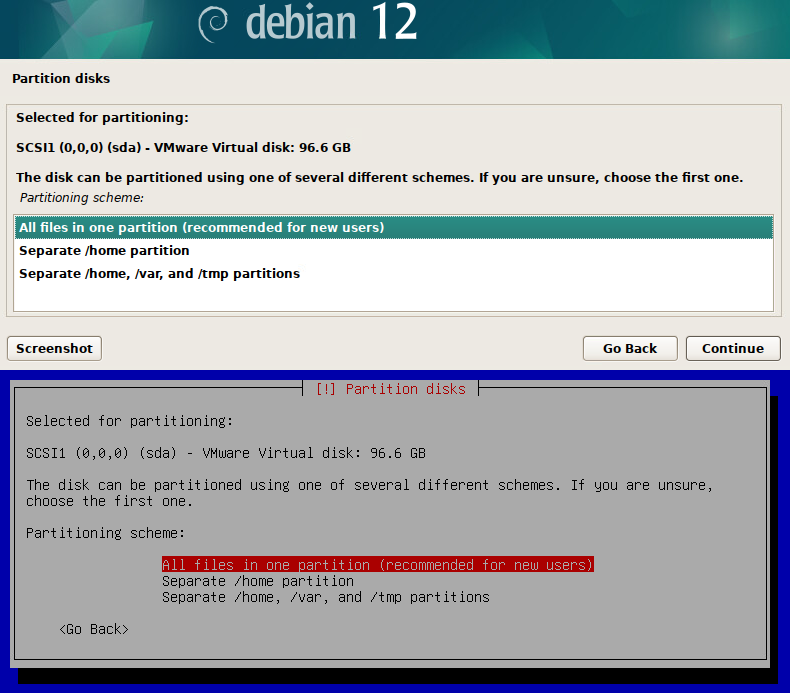
- Select the partitioning scheme you want to use.
I will select all files in one partition.
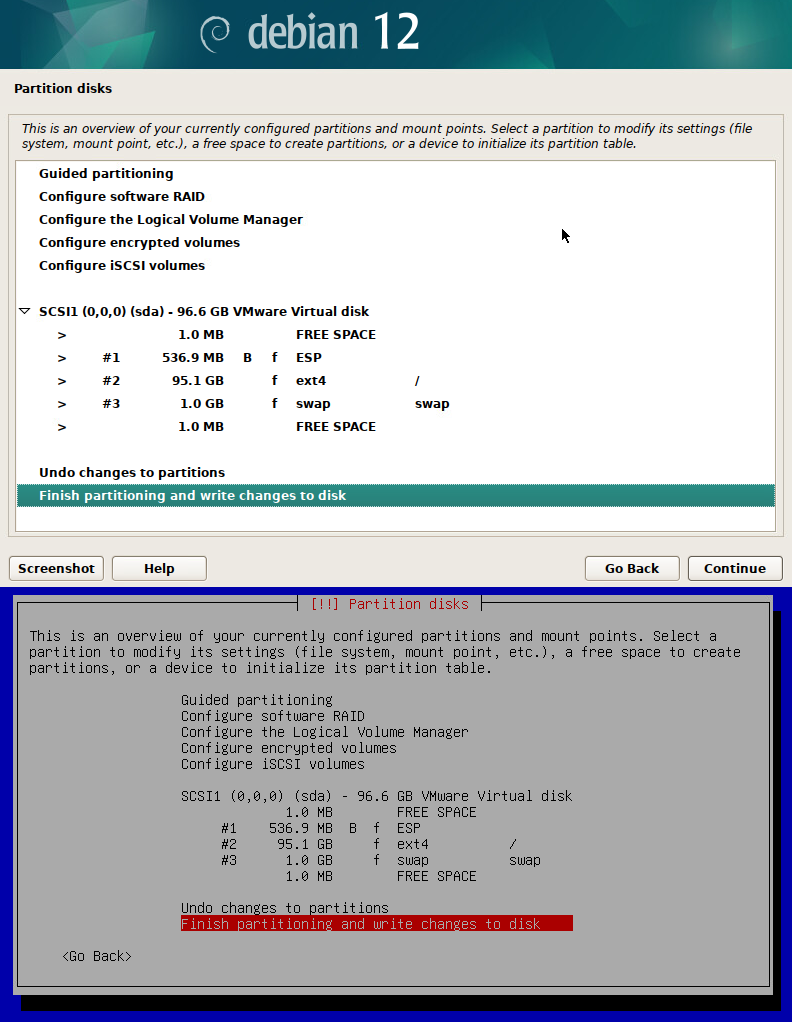
- Confirm that the partitioning is how you want it by selecting Finish partitioning and write changes to disk.
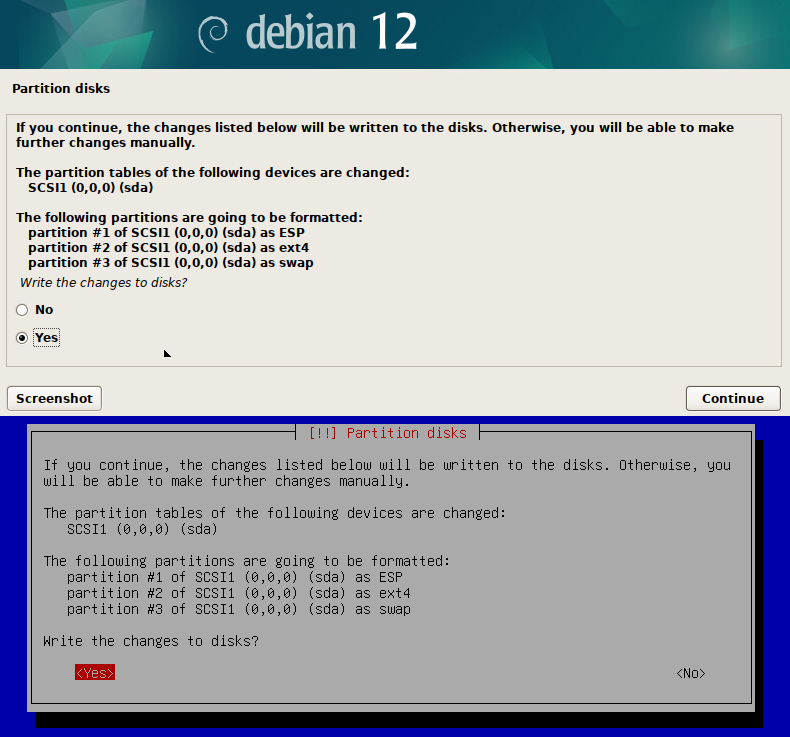
- Confirm that you are ready to write the partition changes to the disk.
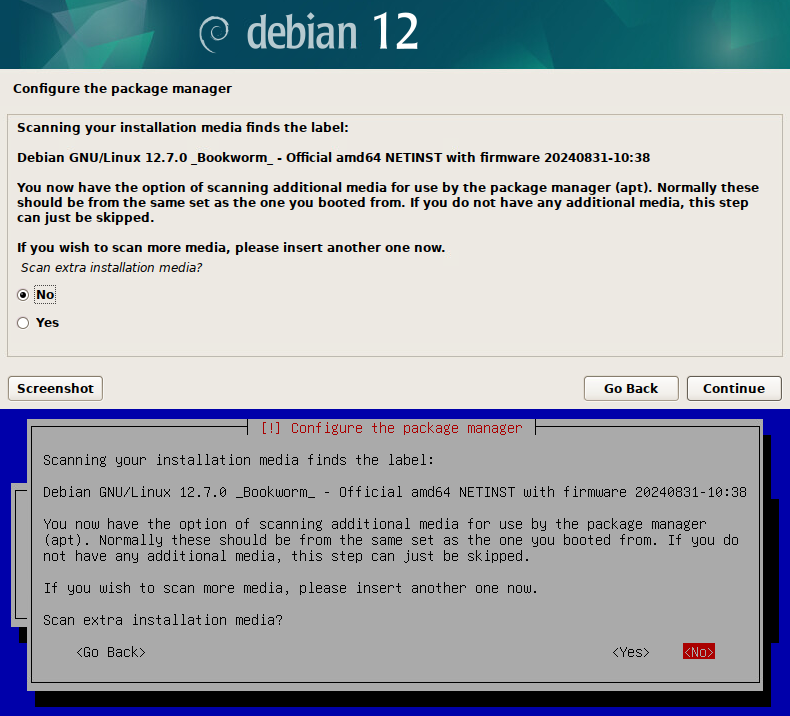
- Skip the extra installation media scan.
I’ve never needed to scan extra installation media as I only install the basics. If there is anything else I need, I can install it once the installation is completed.
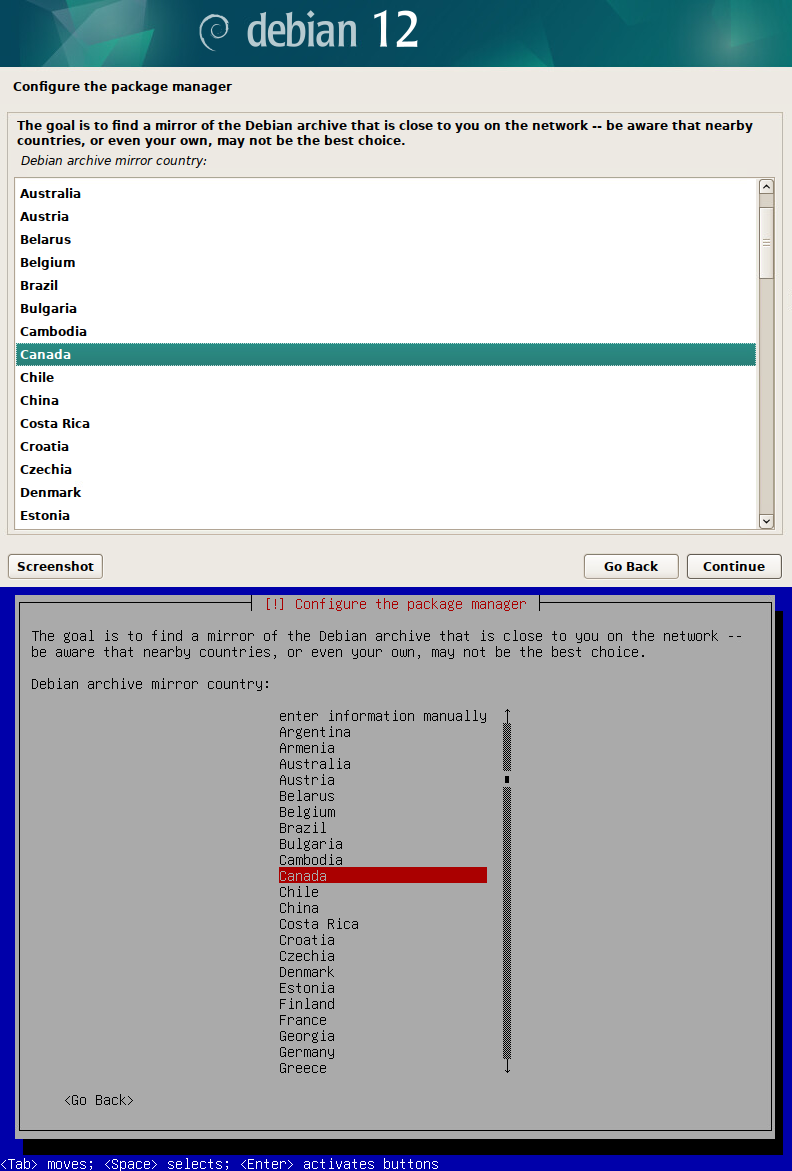
- Select your country for the Debian package manager.
I will select Canada.
- Select the mirror you want to use.
I will select deb.debian.org
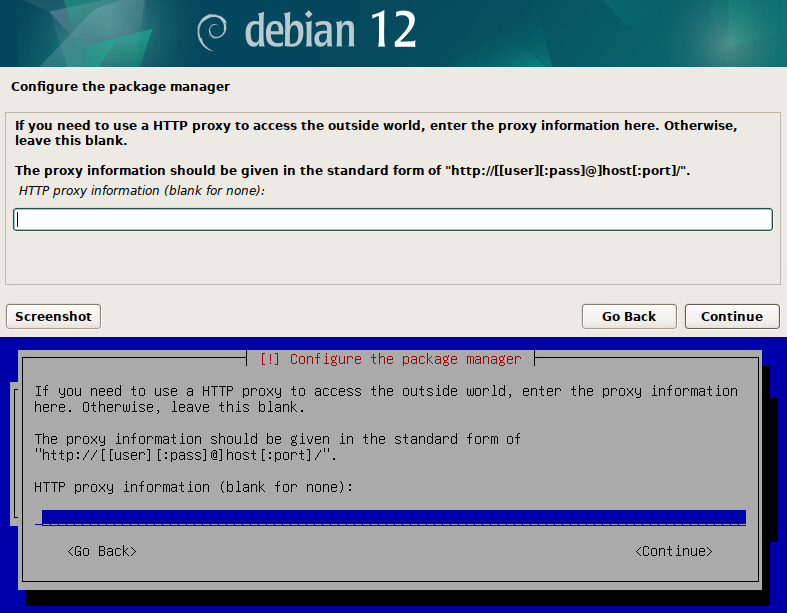
- Configure your HTTP proxy if you have one.
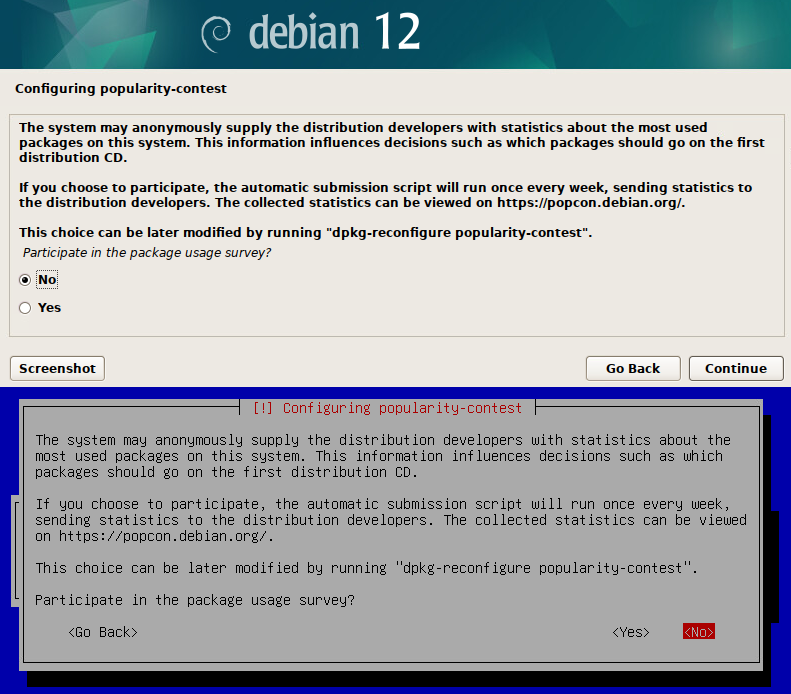
- Select no to skip the popularity contest.
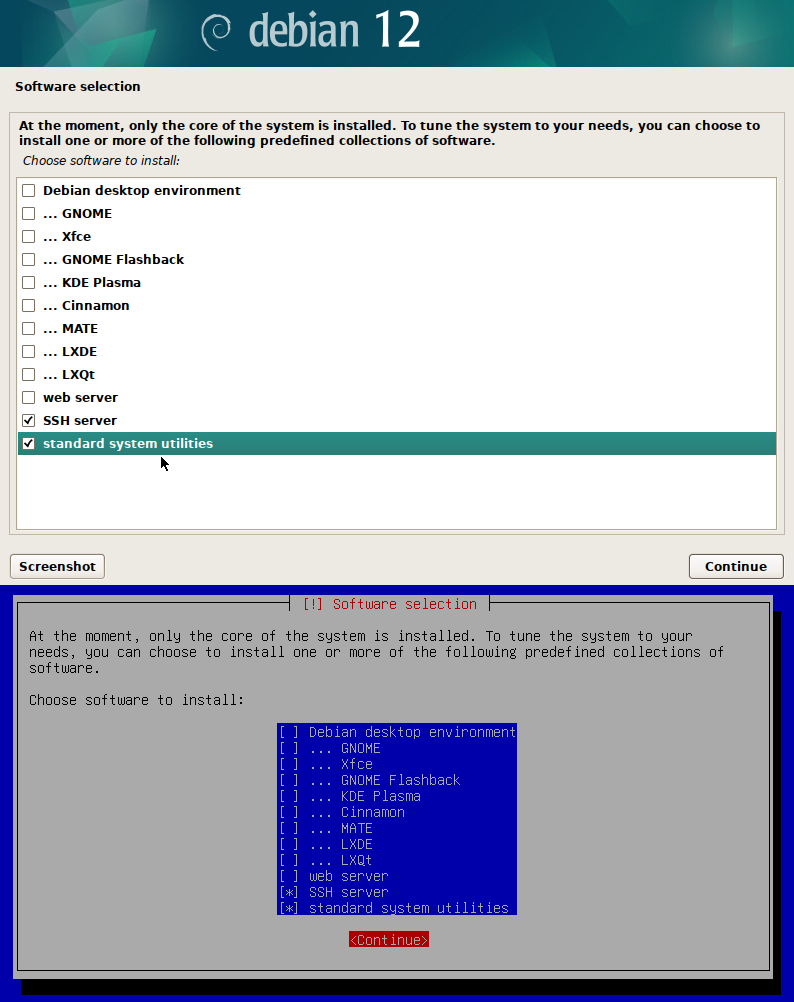
- Select which software you want to install.
I will only select SSH and standard system utilities.
- The standard system utilities options will install the following software
- reportbug
- bind9-host
- lsof
- media-types
- mime-support
- krb5-locales
- debian-faq
- wget
- libnss-systemd
- xz-utils
- systemd-timesyncd
- inetutils-telnet
- doc-debian
- bzip2
- bind9-dnsutils
- traceroute
- ca-certificates
- python3-reportbug
- man-db
- apt-listchanges
- file
- perl
- groff-base
- liblockfile-bin
- bash-completion
- manpages
- netcat-traditional
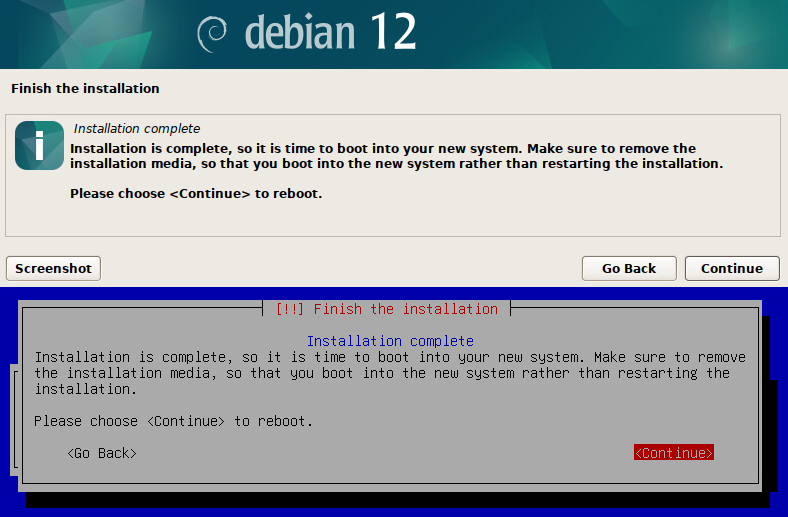
- Remove the installation media and press continue to reboot the system.
- The system will reboot and the Debian system will load.
That’s all it takes to install Debian.
If you want to read more about installing Debian, here is the official documentation.
