
Palo Alto Terminal Server Agent Upgrade
Palo Alto Networks makes a program named Terminal Server Agent, aka the TS Agent. It is similar to the User-ID agent. However, the TS Agent is built to identify users on a multi-user system.
In this post, I will show you step-by-step how to upgrade the Palo Alto Networks Terminal Server agent.
Prerequisites
- Verify that the new Terminal Server agent version is compatible with your PAN-OS.
The TS Agent is typically compatible with the same release number along with earlier still-supported PAN-OS versions. For example, TS agent 11.0 works with PAN-OS 11.0 and earlier. You can confirm this by reading the OS Compatibility section in the release notes.
The Process
- Log in to the Palo Alto Networks Customer Support Portal.
- Click on Updates.
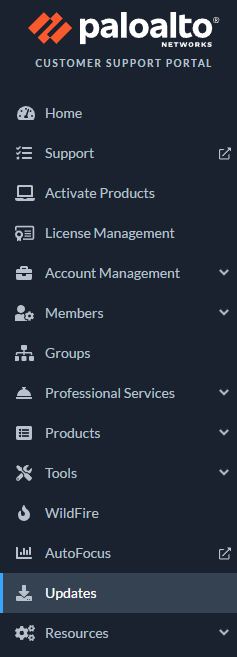
- Click on Software Updates.
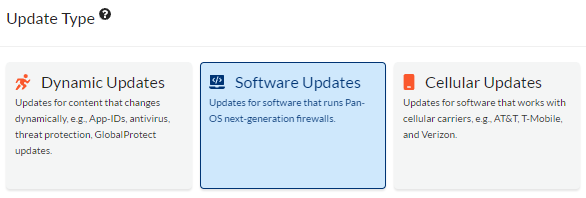
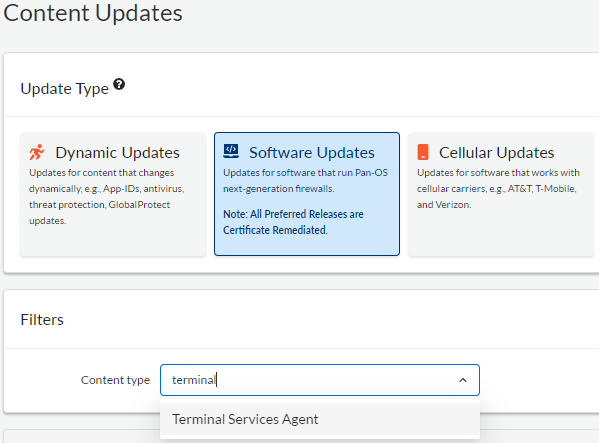
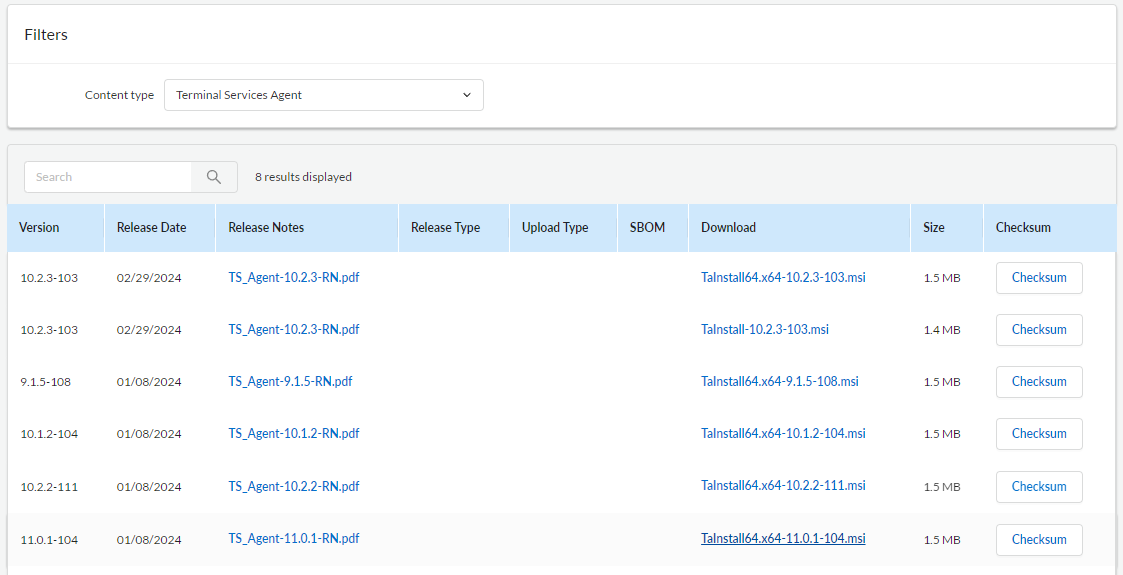
- Select the Terminal Services Agent.
- Click on the version you need to start the download.
- Connect to the system that is running the Palo Alto TS Agent.
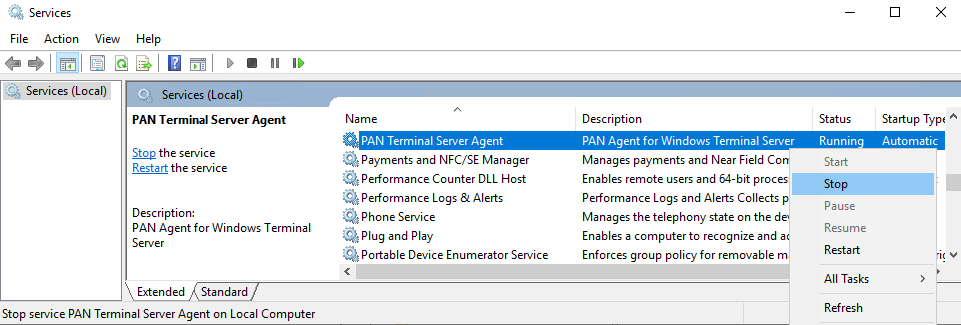
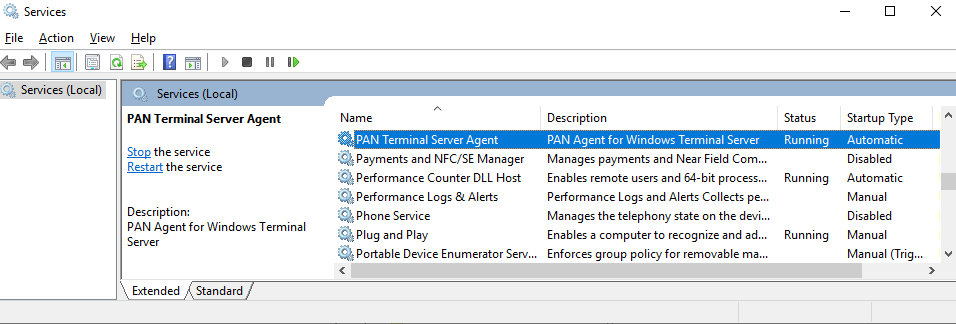
- Open Services.

- Stop the PAN Terminal Server Agent service.
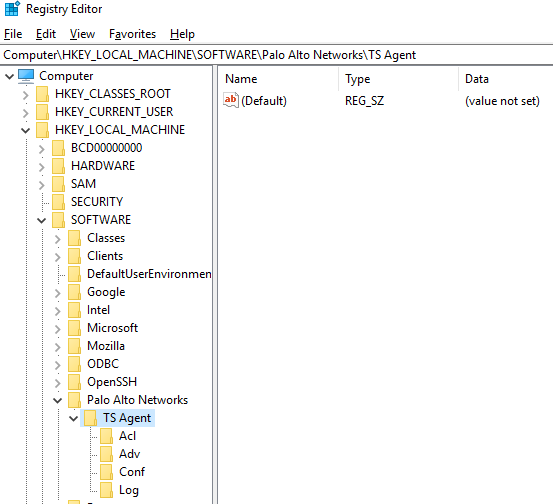
Most of the settings for the TS agent appear to be saved in the registry.
- Export the registry key
HKLM:\SOFTWARE\Palo Alto Networks\TS Agentto backup your settings.
There are some settings such as certificates stored in the installation folder.
Typically the TS agent is installed to C:\Program Files\Palo Alto Networks\Terminal Server Agent
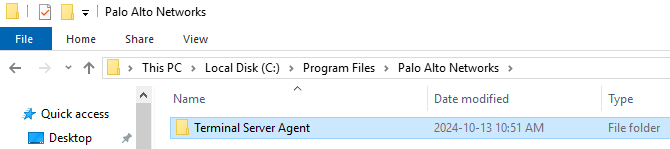
- Backup the Terminal Server Agent installation folder.
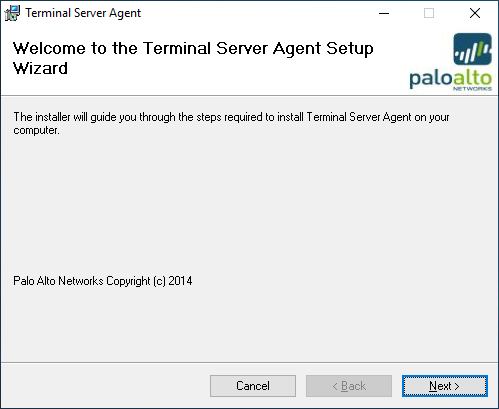
- Start installing the new version of the TS Agent.
- Click Next.
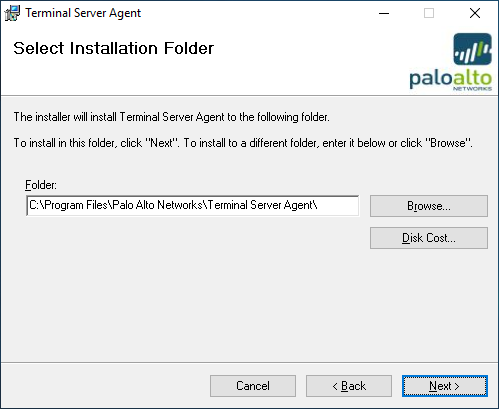
- Select the install folder to which the Terminal Server agent is installed and click Next.
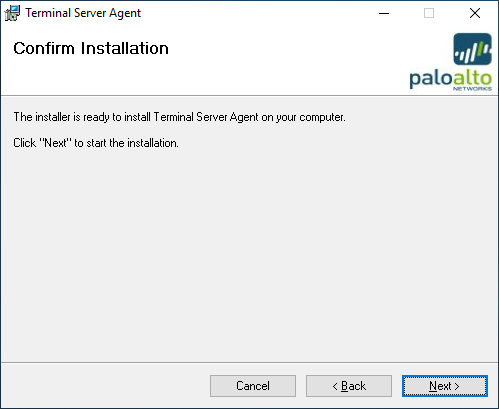
- Start the installation by clicking Next.
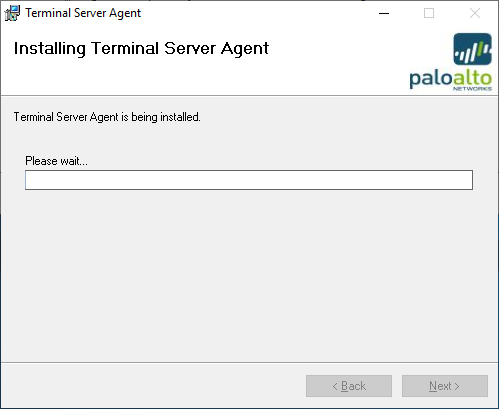
- Wait while the new Palo Alto Terminal Server agent is installed over the existing Terminal Server agent.
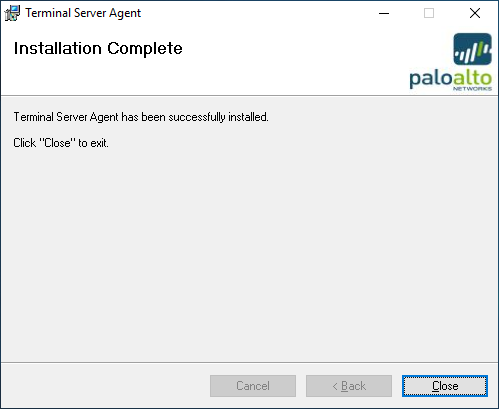
- Click Close to exit the installer.
- Confirm that the PAN Terminal Server Agent service is running.
- Open the Terminal Server Agent program.

- Confirm that everything is connected and all your configurations from the old version are present.
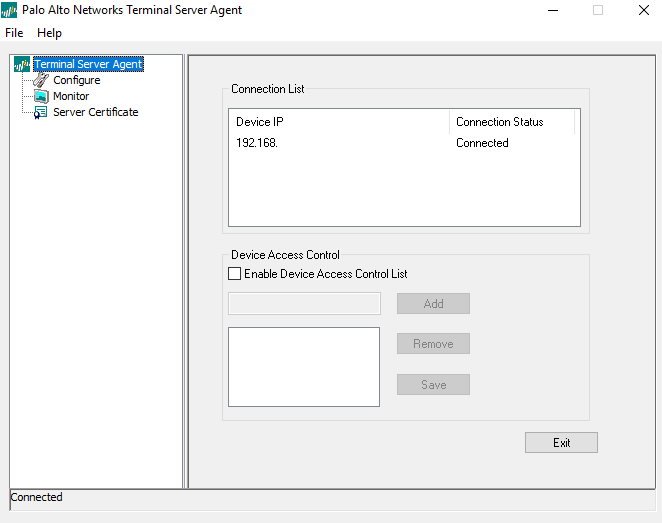
If you run a Palo Alto firewall in HA in the Active/Passive configuration, only the active firewall will show as connected.
- Log in to the Palo Alto Networks firewall.
- Click on Device.

- Click on User Identification.
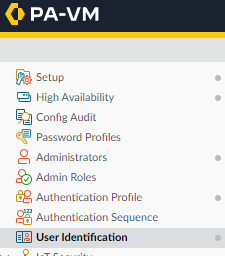
- Click on Terminal Server Agents.

- Confirm that the Terminal Server agents are connected.

That’s all it takes to upgrade the Palo Alto Terminal Server Agent.
I couldn’t find any direct documentation about the Palo Alto TS Agent upgrade process from Palo Alto. However, if you want to read more about the TS agent in general, here is the Palo Alto documentation.


One thought on “Palo Alto Terminal Server Agent Upgrade”