VMware vCenter Reduced Downtime Upgrade with Automatic Switchover
VMware vCenter RDU (Reduced Downtime Upgrade (or Update)) is a relatively new feature that allows you to update your vCenter to the next version with limited downtime, just like the name indicates. It works similarly to the process for upgrading from vCenter 7 to vCenter 8, which is also very similar to doing a fresh install of VMware vCenter.
In October 2021, VMware introduced the vCenter Reduced Downtime Upgrade feature. However, the feature was not available for on-premises vCenters. In September 2023, vSphere 8 Update 2 introduced the feature for on-premises vCenters. With the release of vSphere 8 Update 3 in June 2024, more features have been added, including one called automatic switchover, allowing the whole process to be even more seamless.
The magic that makes vCenter RDU work is the vCenter installer ISO. When you mount the ISO to your existing vCenter, the RDU process will create a new upgraded vCenter VM. Once that part is completed, it will transfer the settings from your current vCenter to the newly upgraded vCenter VM and cut you over. This process reduces the time that VMware vCenter is down and can also reduce some risks of in-place upgrades.
My blog post, Install VCSA Updates, covers the traditional method of upgrading VMware vCenter in-place.
In this post, I will show you step-by-step how to upgrade VMware vCenter using the Reduced Downtime Upgrade with Automatic Switchover.
Prerequisites
- Backup of vCenter.
- VMware vCenter ISO.
- Temporary IP for the new upgraded vCenter VM.
- Temporary root password for the new upgraded vCenter VM.
The Process
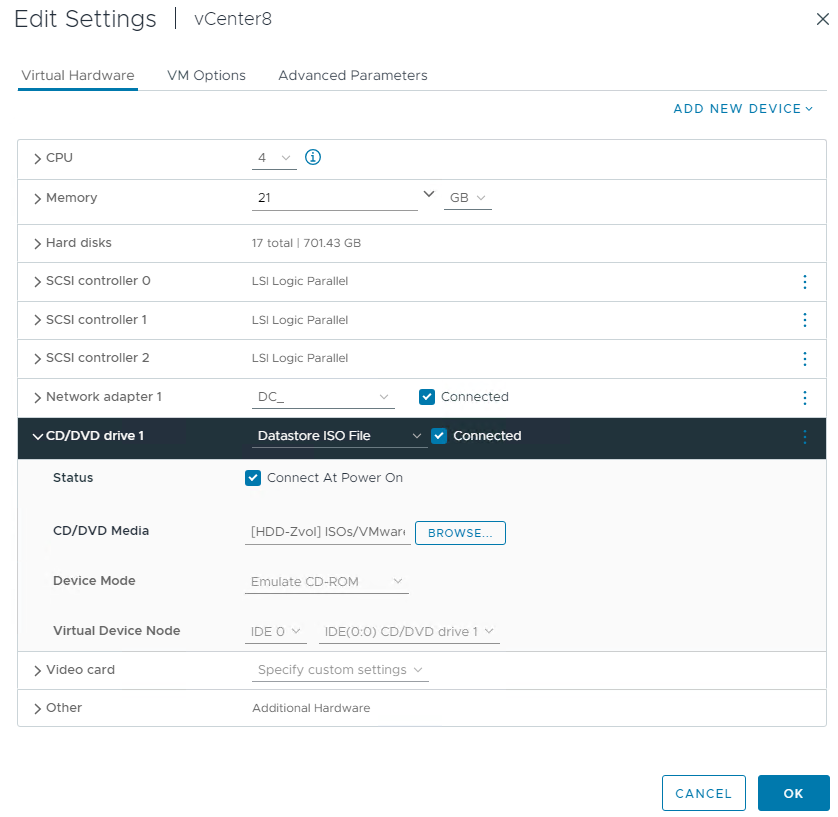
- Upload the VMware vCenter Server Appliance ISO to a datastore in vCenter.

- Attach the VCSA ISO to your current vCenter VM.
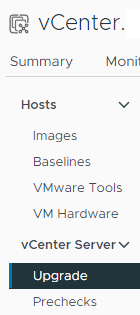
- Click on your vCenter and select the Updates tab.

- Under the vCenter Server section, click on Upgrade.
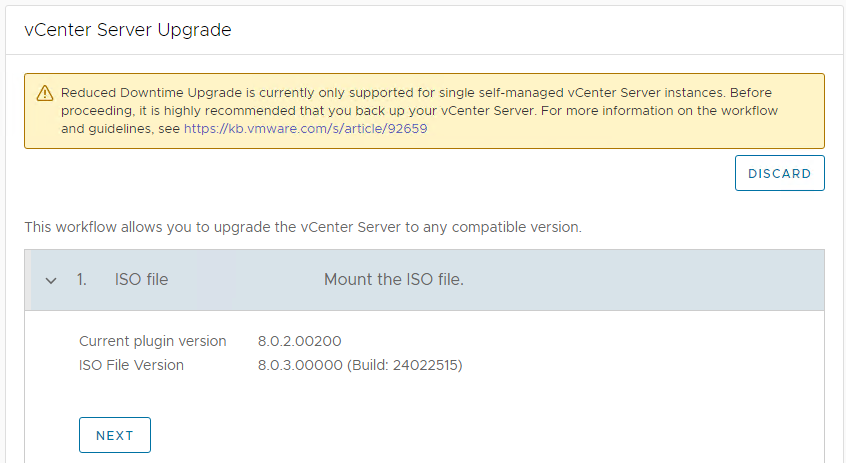
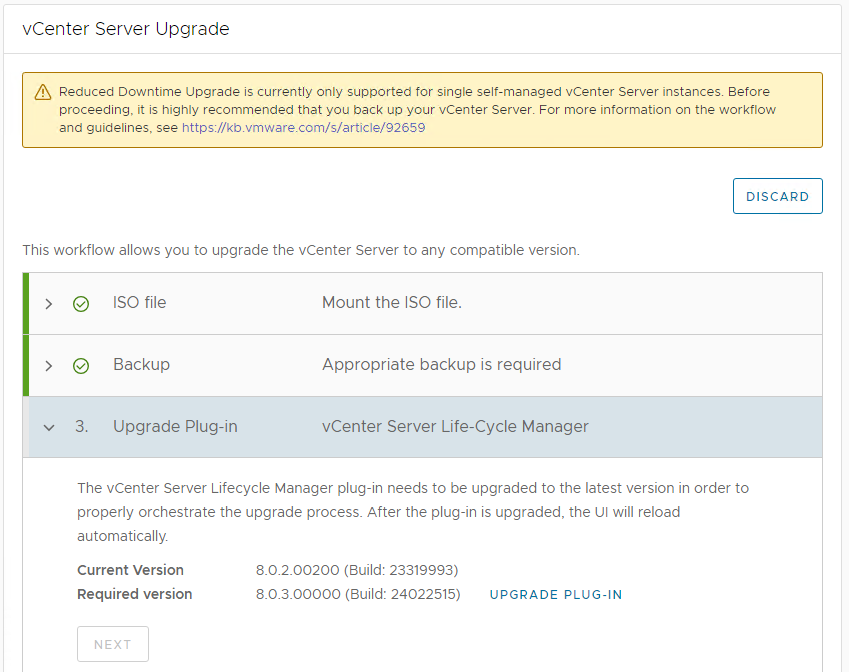
- The process will check and confirm that your upgrade path is supported. If all is good, click Next.
In my example, I am upgrading from vCenter 8 Update 2b to vCenter 8 Update 3.
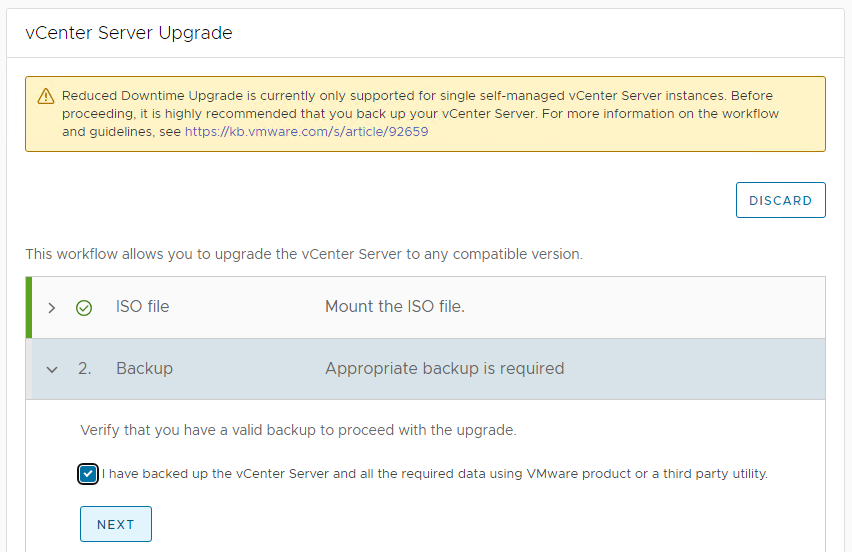
- Confirm that you have a backup and click Next.
- Click on Upgrade Plug-in to upgrade the vCenter Server Life-Cycle Manager plug-in.
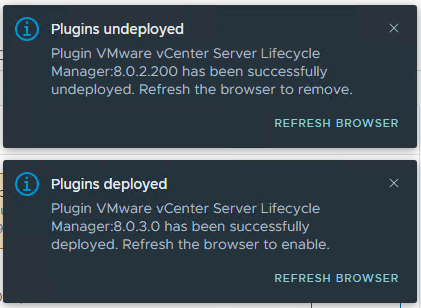
- Once the vCenter Lifecycle Manager plug-in is upgraded, refresh your browser for the changes to take effect.
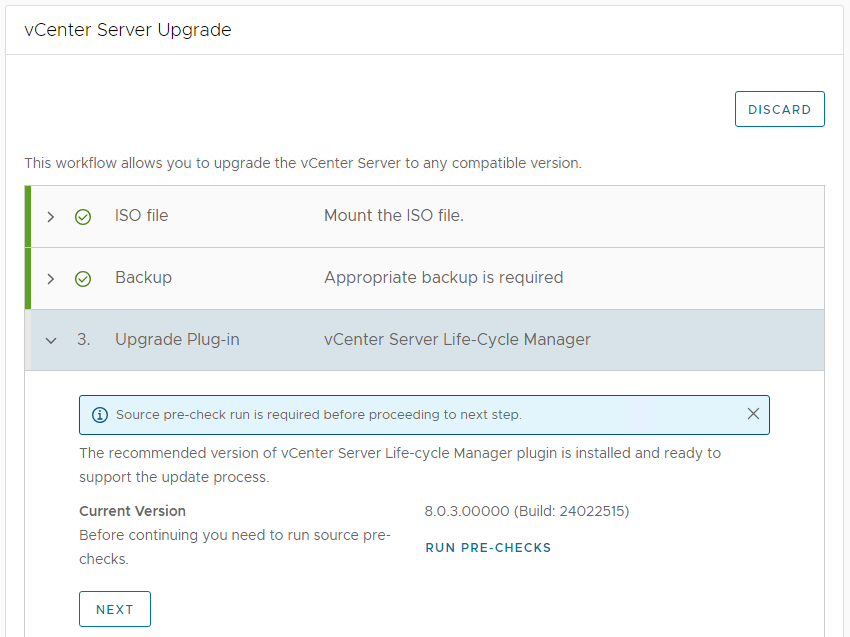
- Now, you can click on Run Pre-Checks to make sure everything will work.
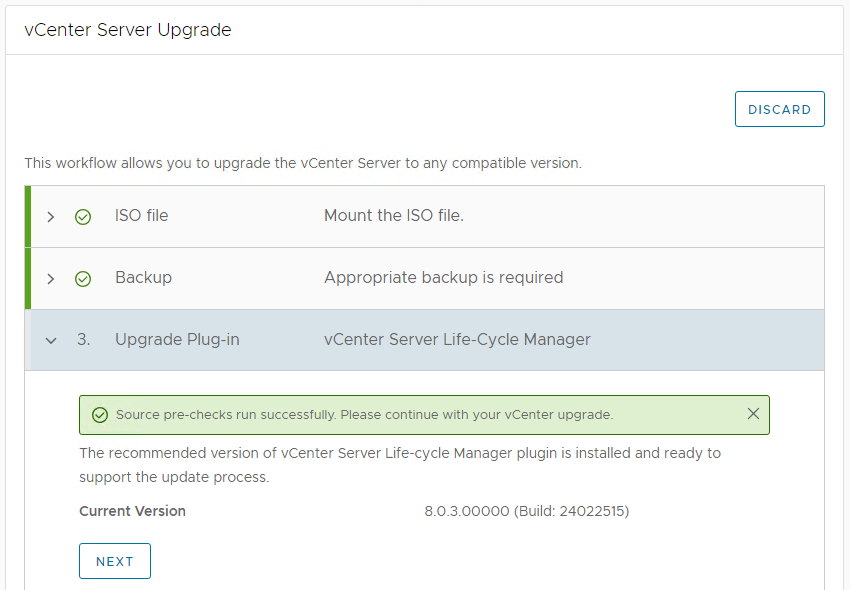
- Once the pre-checks pass, click Next.
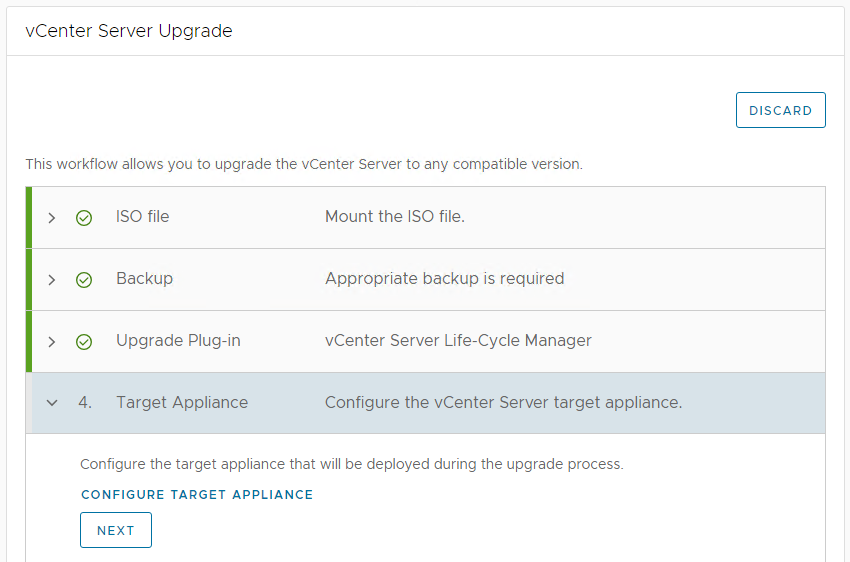
- Click on Configure Target Appliance to configure the new upgraded vCenter VM that will be deployed.
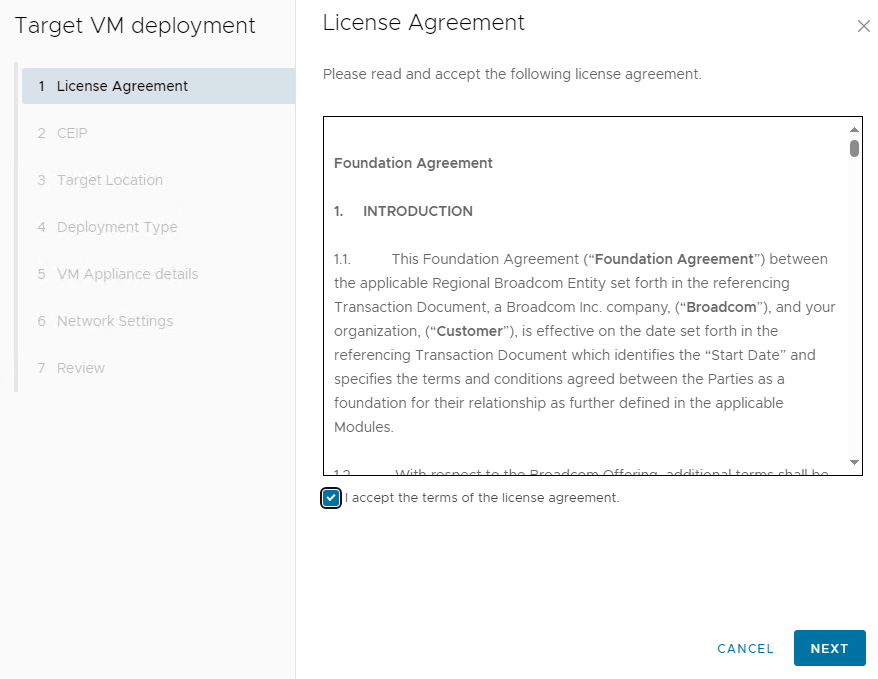
- Agree to the license agreement and click Next.
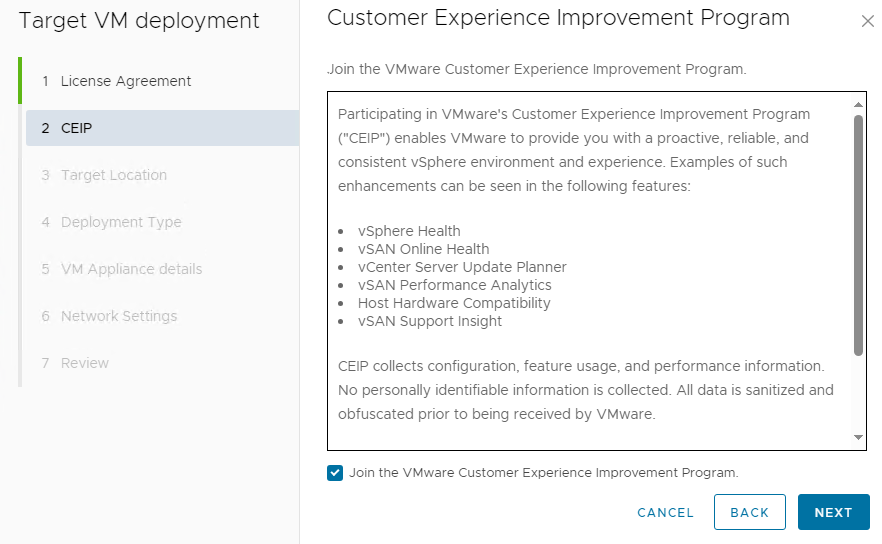
- Select if you want to Join the VMware Customer Experience Improvement Program and click Next.
I like to join it as the more data VMware has, the better they can make their products.
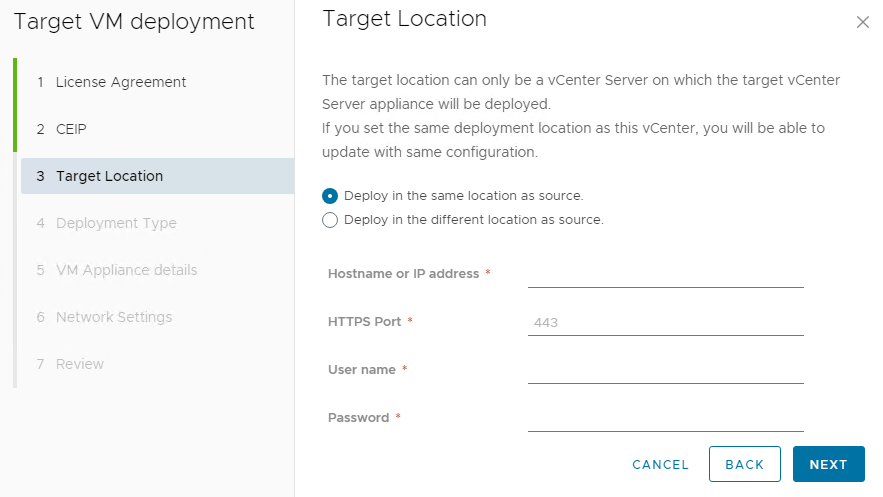
- Select if you want to deploy the upgraded vCenter in the same location or a different location and click Next.
In my example, I will use deploy in the same location as source.
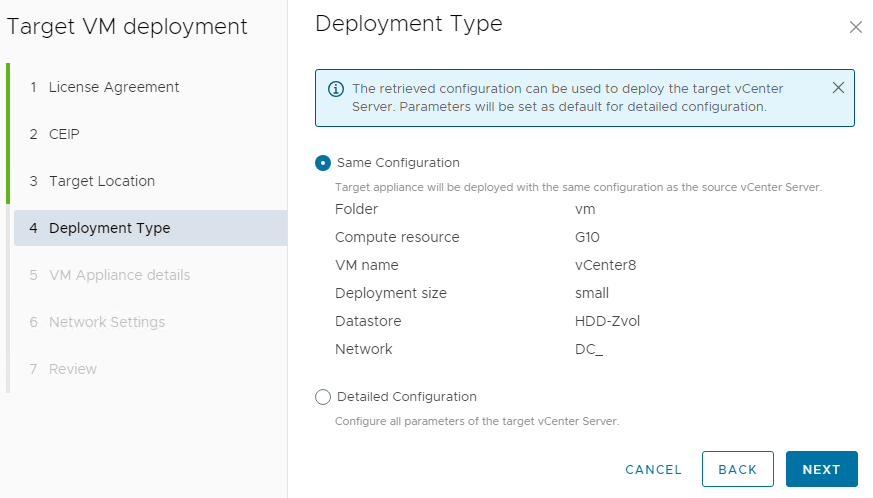
- Select your deployment type and click Next.
In my example, I will use the same configuration.
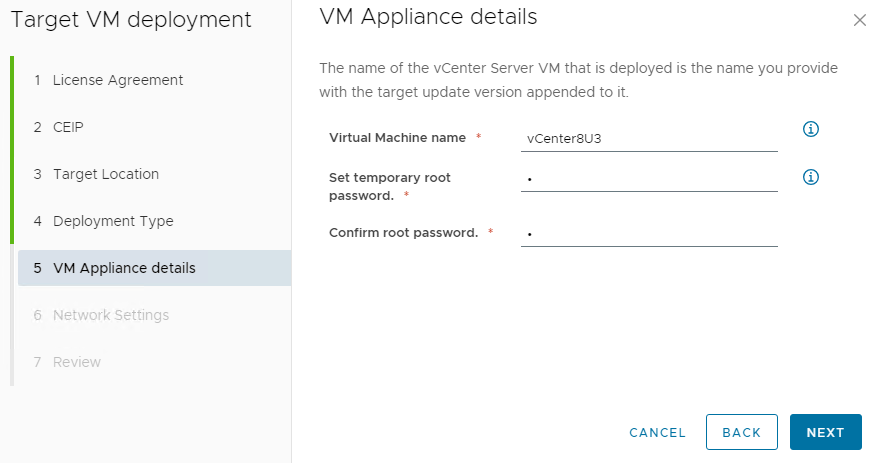
- Enter a name for your new upgraded vCenter VM, create a temporary root password and click Next.
The VM name will be the name for your new upgraded vCenter VM. In my example, I will name it vCenter8U3
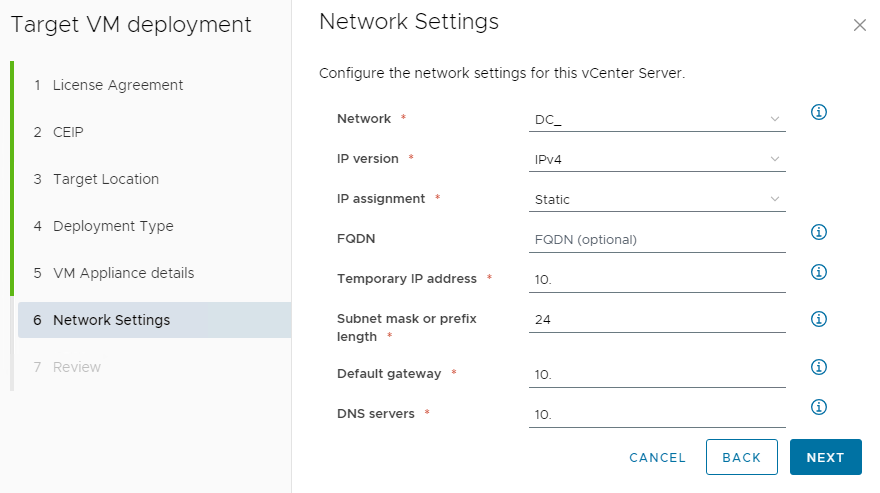
- Enter the network settings that will be used on the upgraded vCenter VM and click Next.
The temporary IP will only be used to set everything up and sync all the settings from the current vCenter to the new upgraded vCenter.
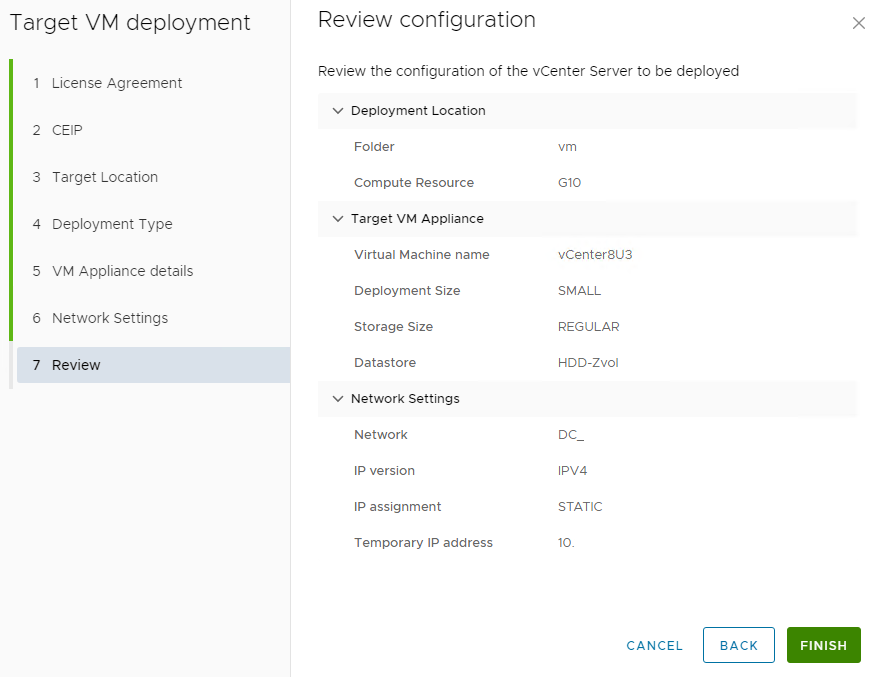
- Review the settings, and if everything looks good, click Finish.
- Now that the Target Appliance is configured, we can click Next.

- Select if you want a manual switchover or an automated switchover, and click Start Upgrade.
In my example, I will use Automated Switchover.
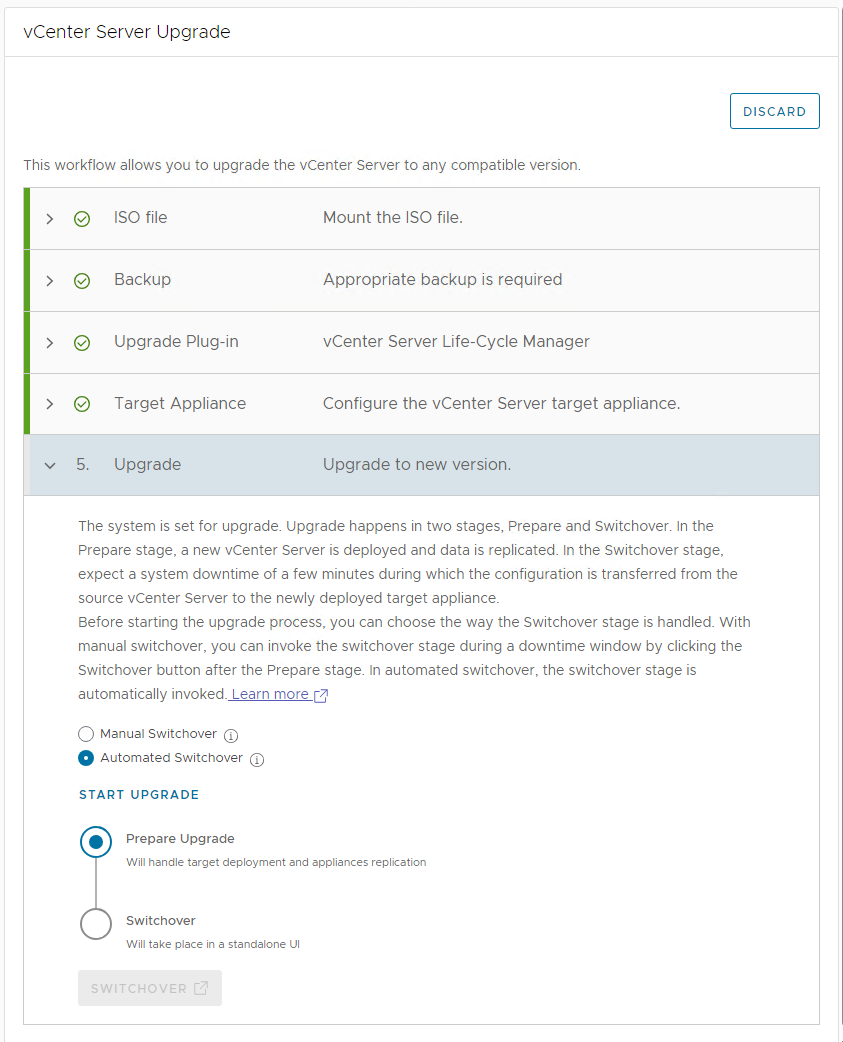
The vCenter reduced downtime upgrade will deploy a new OVF for the upgraded vCenter using the settings you specified. You can monitor this in vCenter tasks. Once the new upgraded vCenter is ready, the current vCenter will be stopped, and the final settings will be copied over. The only time your vCenter is down is that short window to copy over the last settings.
If you log in to VMware vCenter Server Management on the temporary IP you gave the upgraded vCenter VM, you can watch the process and see that it performs a fresh vCenter install.
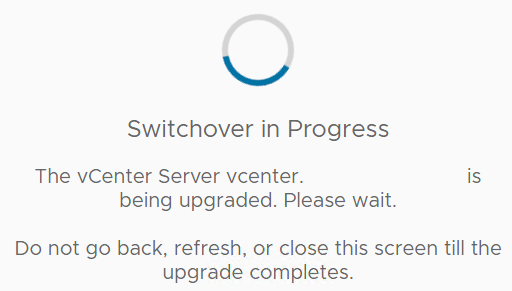
- Once the upgraded vCenter VM is ready, the switchover will take place.
- Once the switchover is completed, you can use vCenter again.
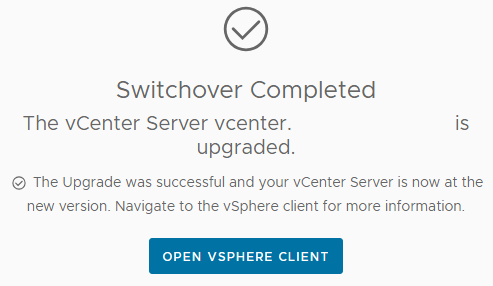
- When you log in to vCenter, you will see that it has been updated.

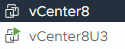
If you look at your list of VMs, you will see your old vCenter VM and the new upgraded vCenter VM. When you are ready, you can delete the old vCenter VM.
That is the whole process of updating VMware vCenter using a reduced downtime upgrade. I actually prefer this method as it feels cleaner and fresher, and I have run into issues with in-place upgrades of vCenter. When I upgraded my VMware vCenter using RDU my vCenter was down for about 8 minutes during the switchover process.
If you want to read more about the VMware vCenter RDU, here is the VMware by Broadcom documentation.