Microsoft Entra ID Governance Access Package Workflow
An Access Package is a feature of Entitlement Management within Microsoft Entra ID Governance. With an Access Package, users gain self-service access to groups, applications, or SharePoint sites. You can also configure an Access Package to require approval before access is granted.
The post is a follow-up to my blog post, Configure Microsoft Entra ID Governance Entitlement Management Access Packages, and shows you the workflow for an Access Package.
In this post, I will show each stage of an Access Package, including approvals and views from the user, approver, and admin perspectives.
Prerequisites
- An active Access Package.
If you haven’t set up an Access Package, my blog post Configure Microsoft Entra ID Governance Entitlement Management Access Packages details the entire setup process.
The Process
There are several stages of an Access Package.
- User Request
- First Approval
- Second Approval
- Alternate Approvers
- Approval Not Actioned
- Request Denied
- User Cancel Access Request
- Access Granted
- Access Extend
- Access Review
- Access Ended
- Manual Assignments
User Request
To start the workflow for an Access Package, a user requests access to the Access Package.
- The user goes to https://myaccess.microsoft.com/
- The user clicks My Access > Access packages.
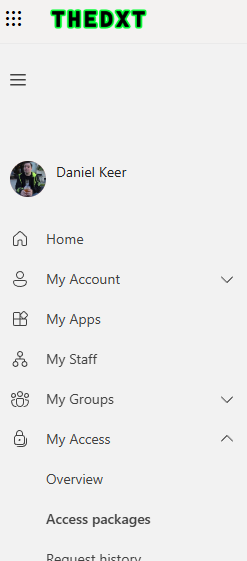
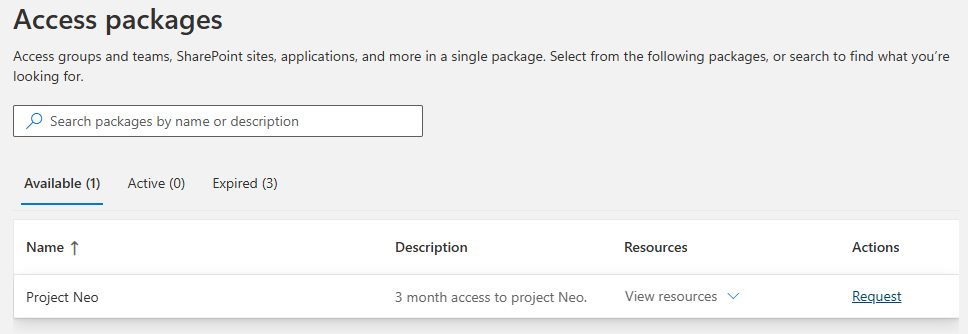
- The user finds the Access Package they want and, under Actions, clicks Request.
- On the Request details tab, the user clicks Continue.
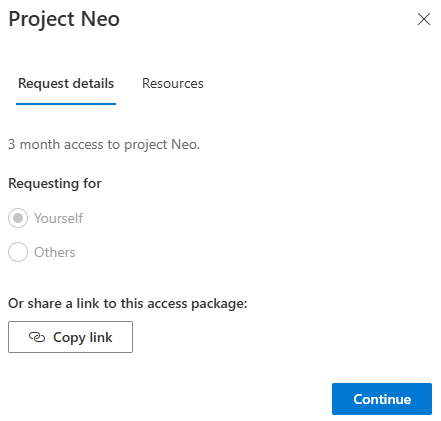
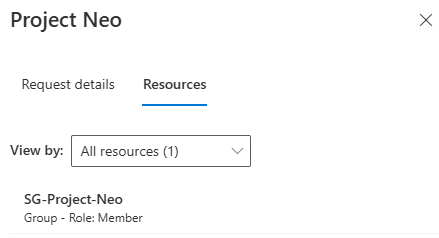
If the user clicks the Resources tab, they can see what resources they will gain access to.
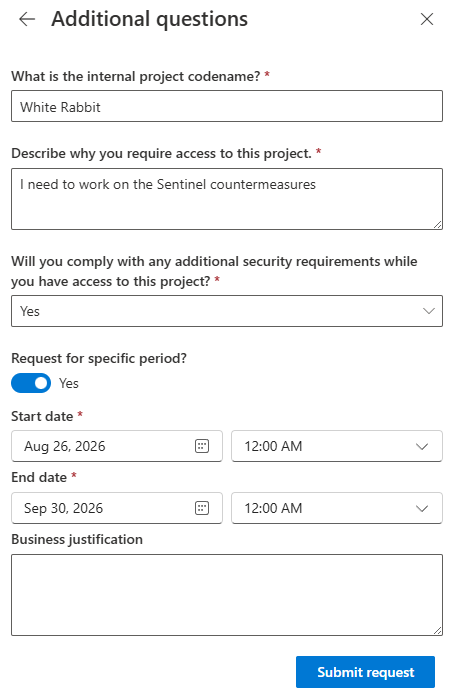
- The user fills in the required details, then they click Submit request.
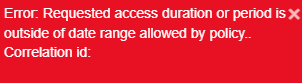
If the Access Package has an expiry configured and the user enters a longer period, they will receive an error when submitting the request.
If a user does not enter specific period dates, the expiry countdown begins once they have access to the Access Package.
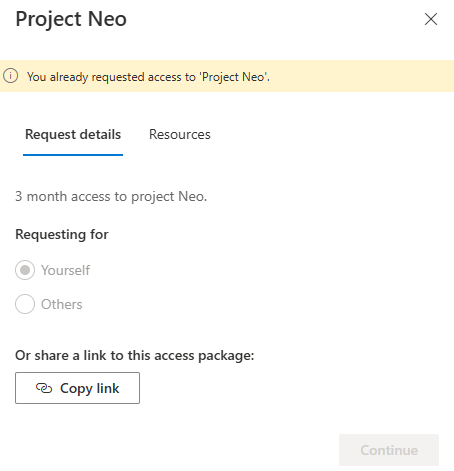
Once a user requests access to an Access Package, they cannot request it again until the request is approved or denied.
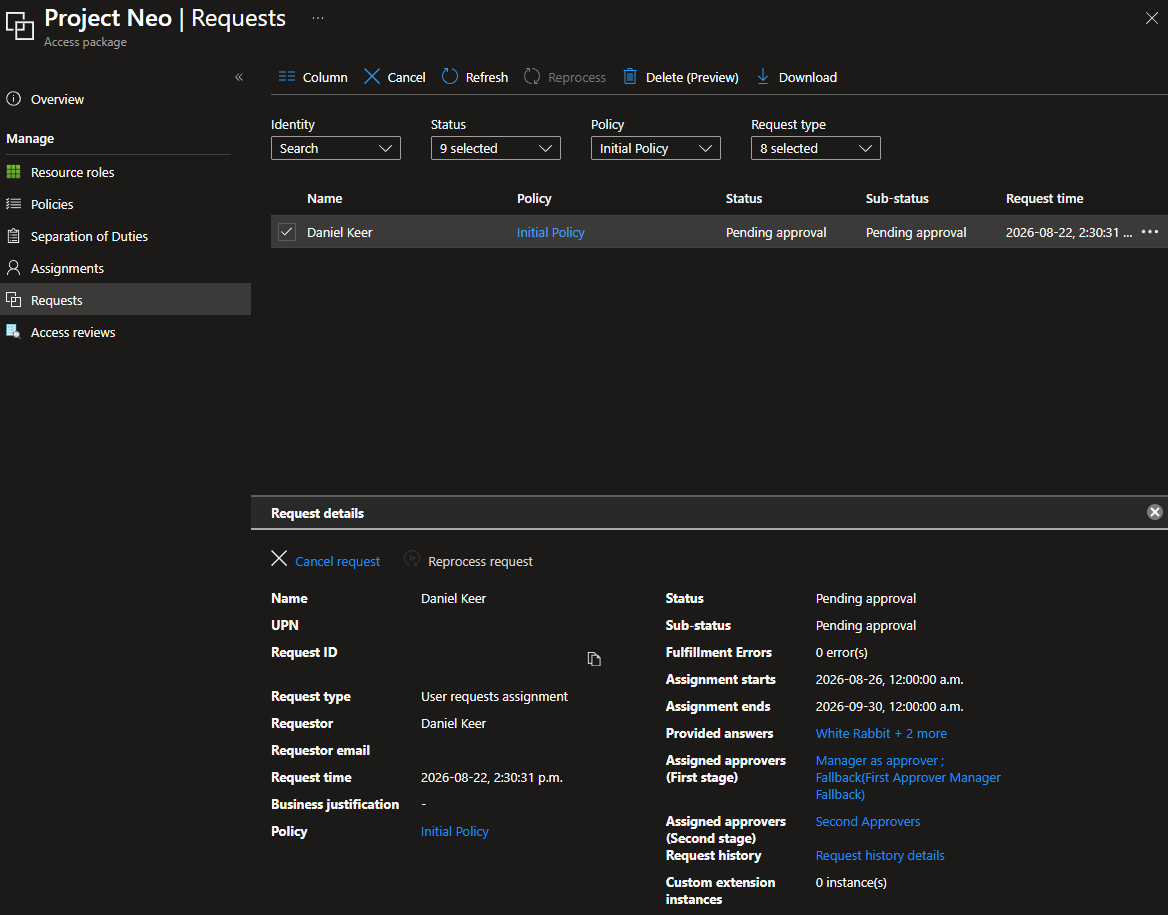
From the admin side, go to the Access Package, click Requests, and select the user to view the request details.
First Approval
If the Access Package has approvals configured, the user’s request is sent for approval.
- The first approvers will get an email about the access request.
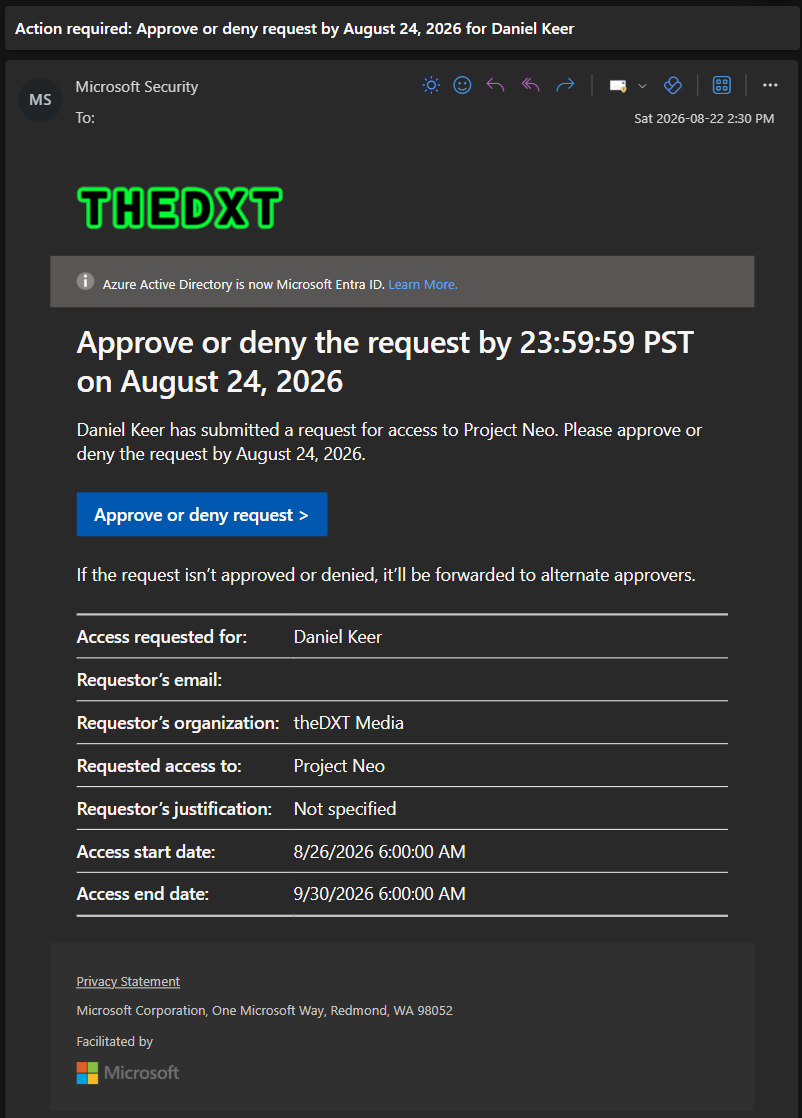
The email approvers see shows the access start and end times in UTC, and the user’s answers are not visible.
- The first approver clicks the link in the email or goes to https://myaccess.microsoft.com/
- The first approver clicks My Access > Approvals.
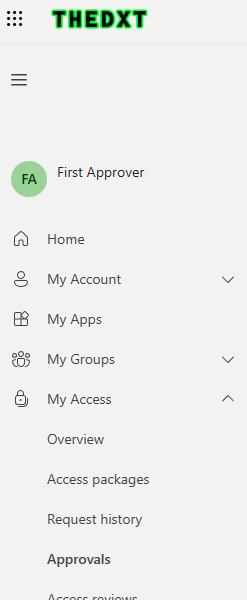
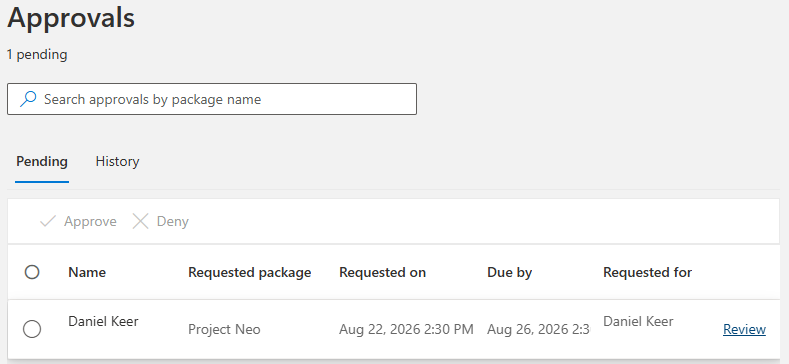
- The first approver locates the request and clicks Review.
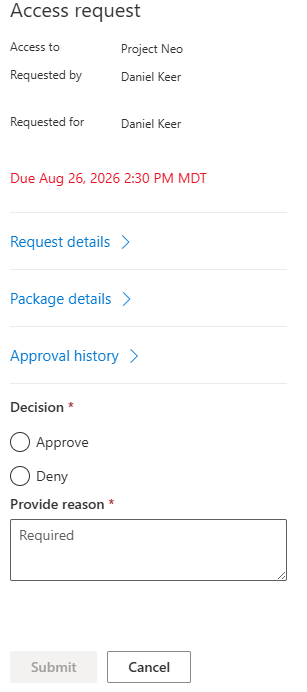
- The first approver can see some basic information, such as when they are required to make a decision.
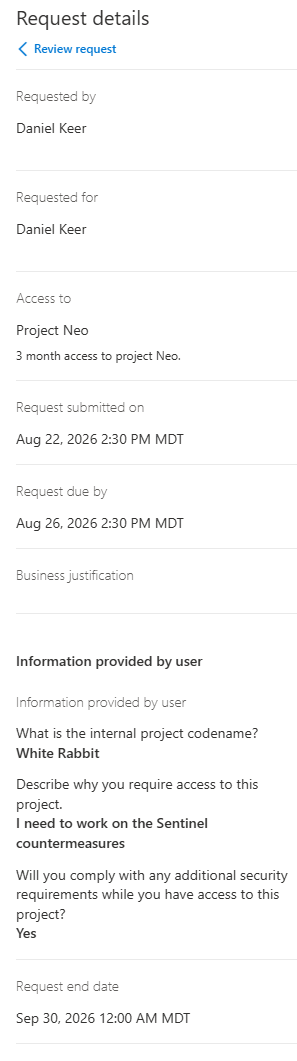
- The first approver can click Request details to view all the information the user provided.
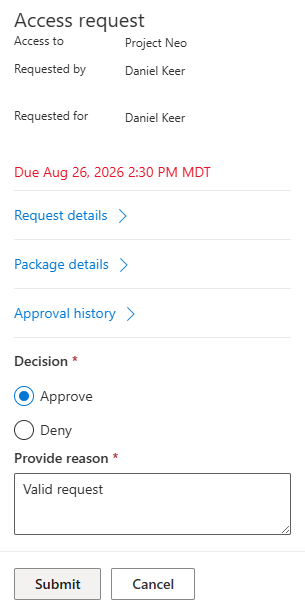
- The first approver selects Approve or Deny, provides a reason for their decision, and clicks Submit.
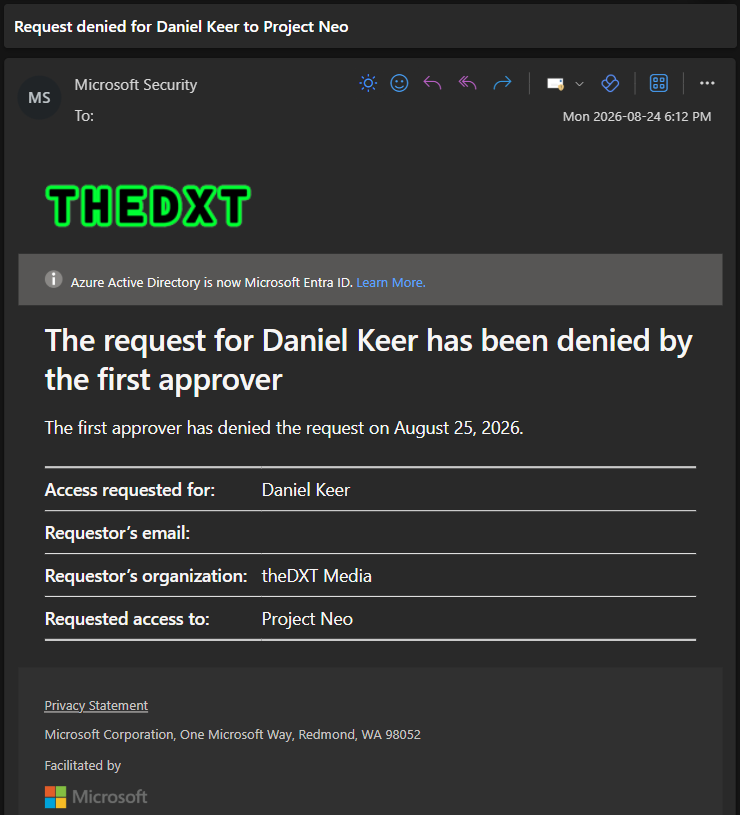
If any first approver denies the request, all first approvers are notified of the denial.
If any first approver approves the request, all first approvers are notified of the approval and that the request is moving to the next approver.
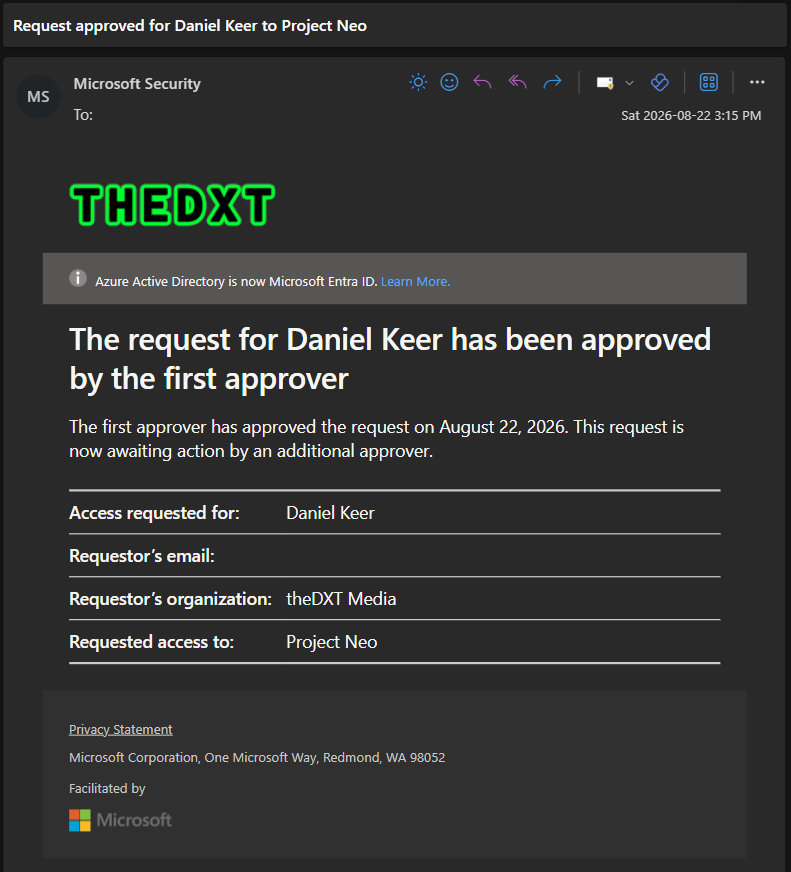
Second Approval
If the Access Package has a second approval configured, the request is routed for second approval.
- The second approvers receive an email notifying them of the access request after the first approver has approved the user’s request.
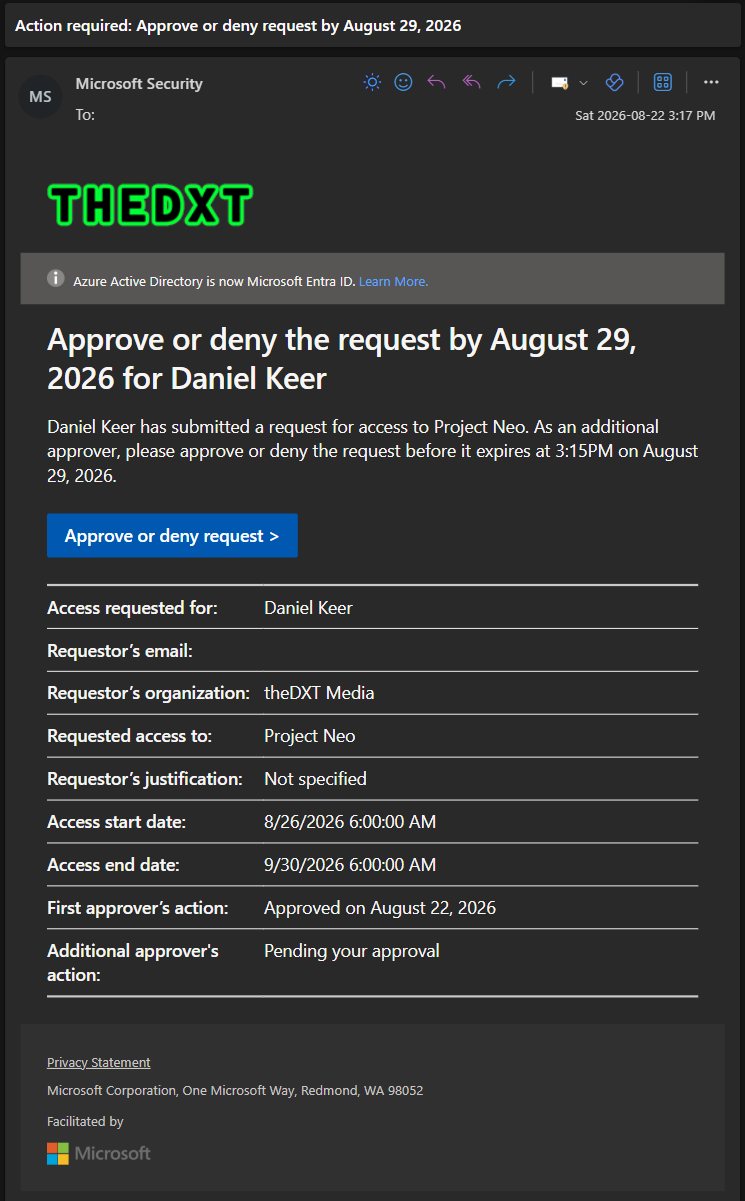
The email the second approvers receive shows access start and end times in UTC. The user’s answers and the first approver’s approval reason are not visible.
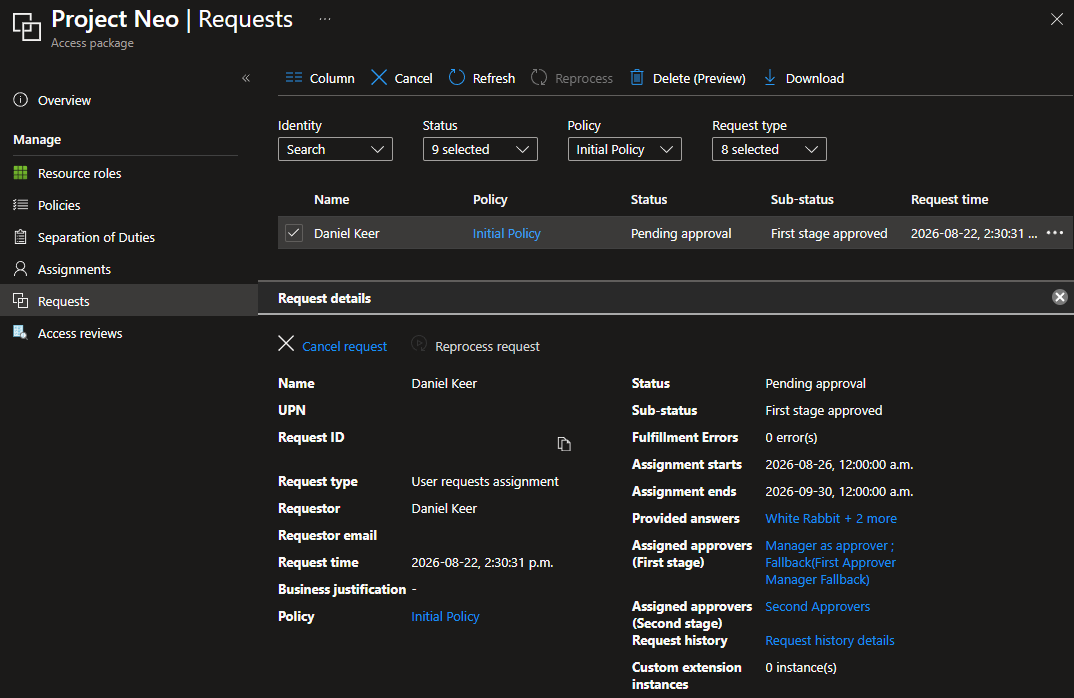
From the admin side, go to the Access Package, click Requests, and select the user. We can see details about the current process and that the first approval stage is approved.
- The second approver clicks the link in the email or goes to https://myaccess.microsoft.com/
- The second approver clicks My Access > Approvals.
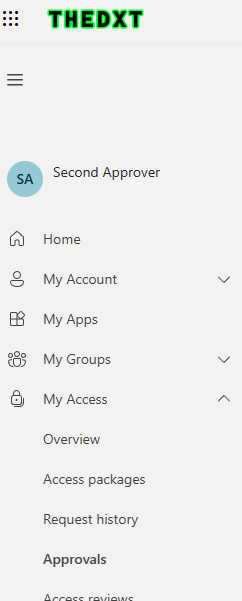
- The second approver locates the request and clicks Review.
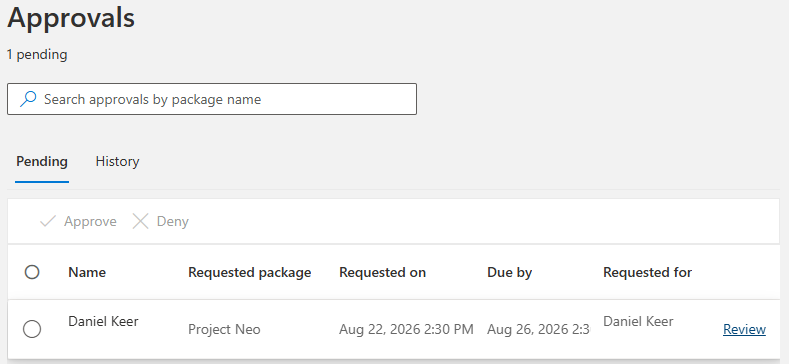
- The second approver can see some basic information, such as when they are required to make a decision.
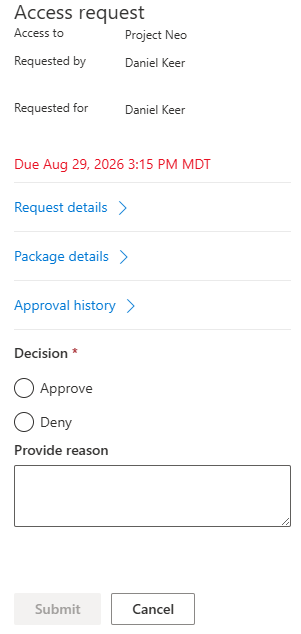
- The second approver clicks Approval History and clicks More to see the reason the first approver approved the request.
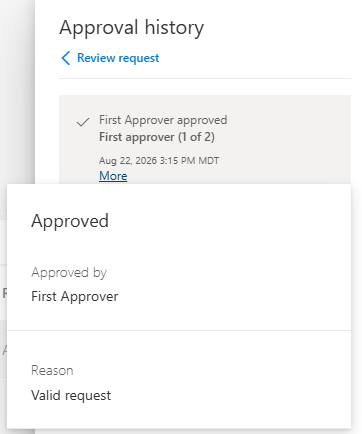
- The second approver selects Approve or Deny and clicks Submit.
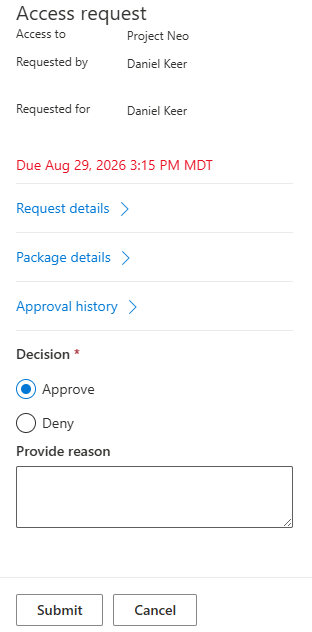
If any second approver denies the request, all second approvers are notified of the denial.
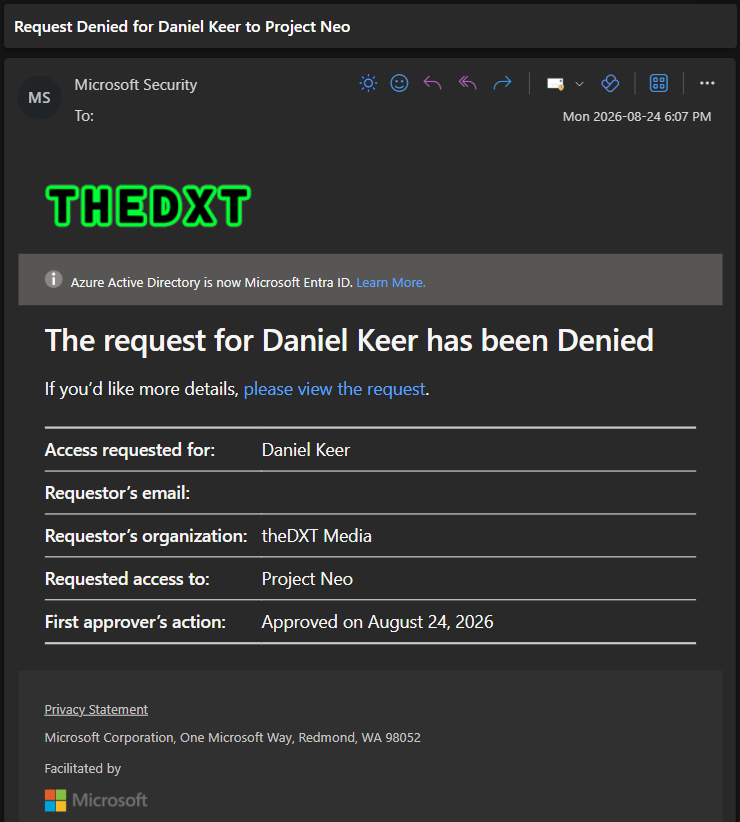
If a second approver approves the request, all second approvers are notified, and the user gains access to the Access Package.
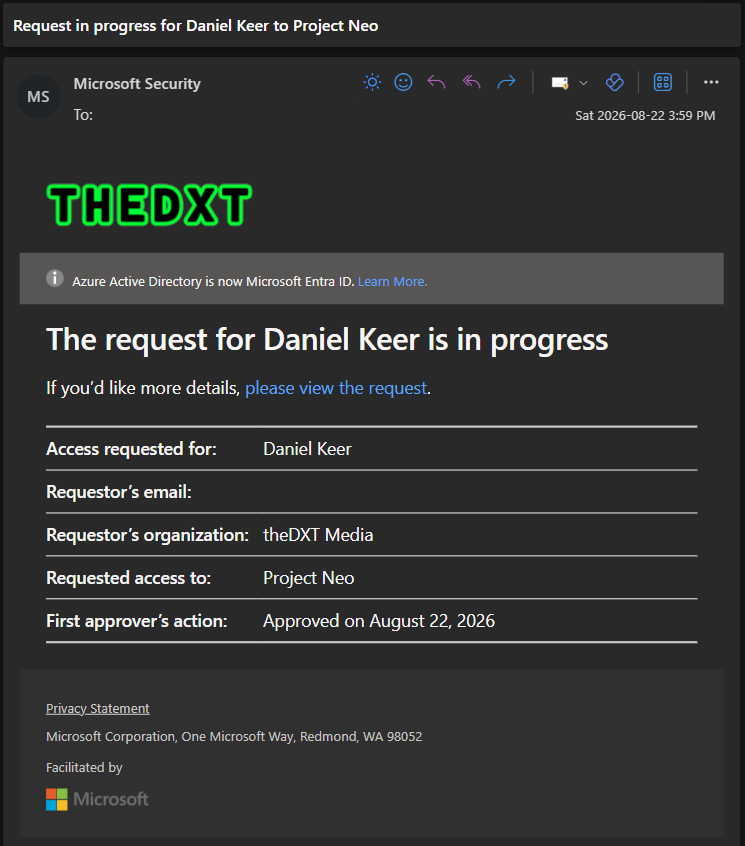
From the admin side, go to the Access Package, click Requests, and select the user. We can see the user is now scheduled to receive access.
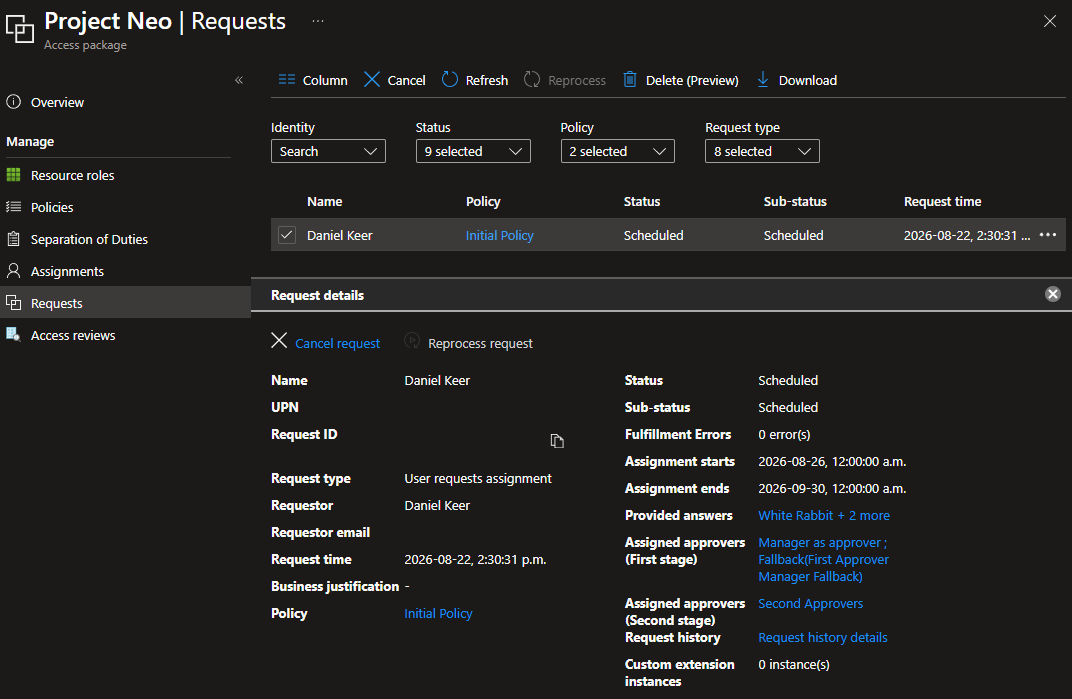
Alternate Approvers
If alternate approvers are configured and a request is not actioned in time, the alternate approvers receive an email notification and can approve or deny the request.
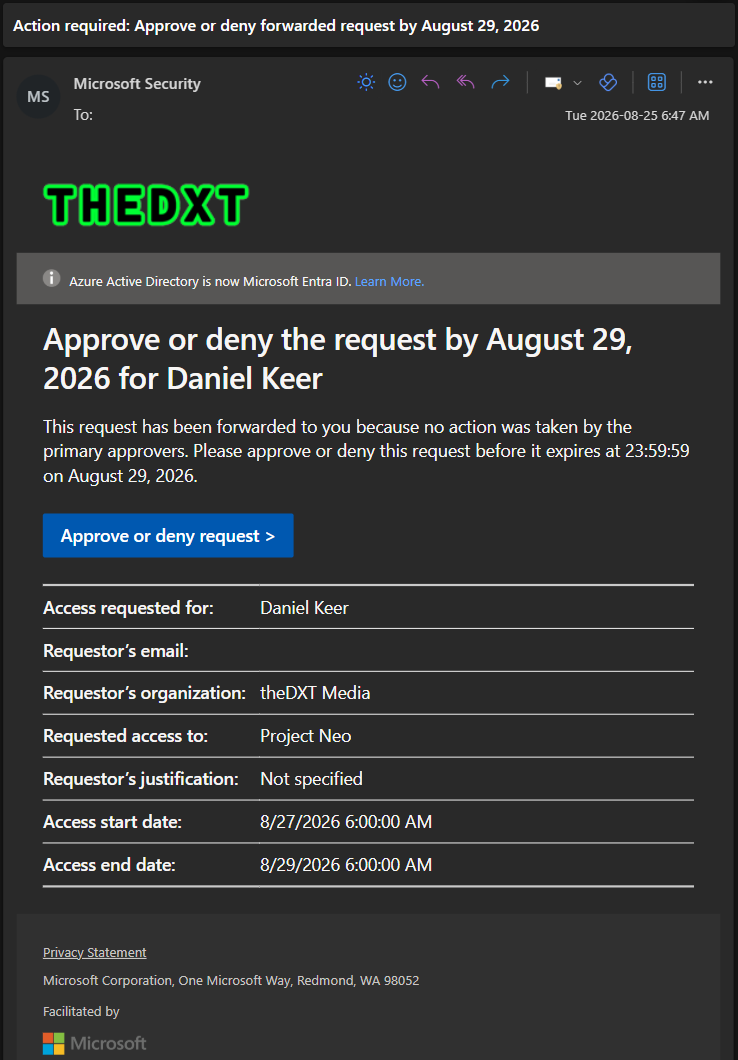
The email the alternate approvers see shows access start and end times in UTC, and the user’s answers are not visible.
Approval Not Actioned
If no approver acts on the Access Package request within the required timeframe, the request is denied and the user is notified.
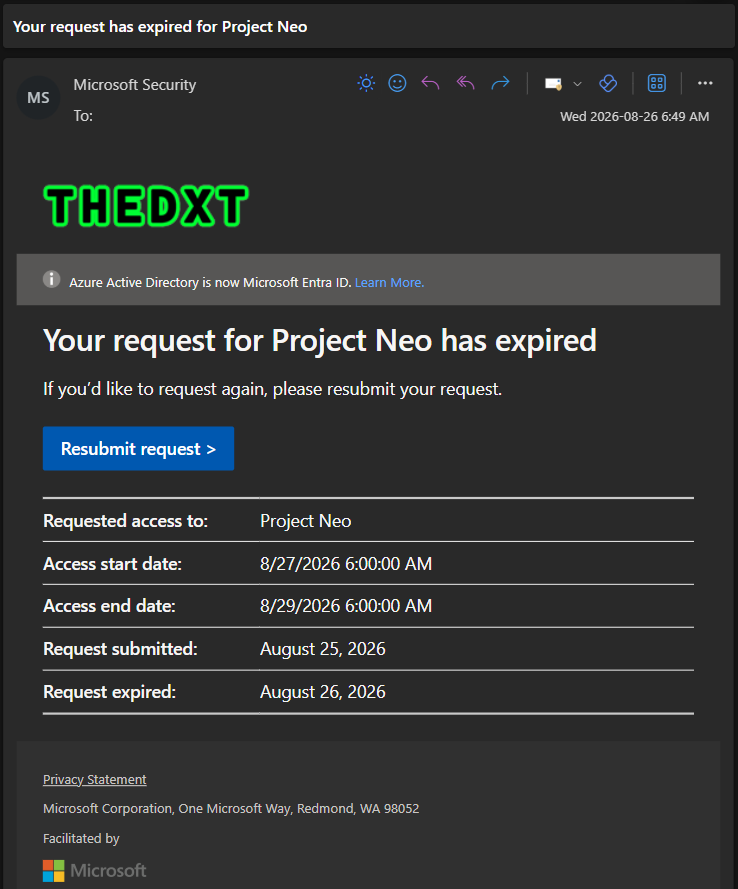
The email the user sees shows the access start and end times in UTC.
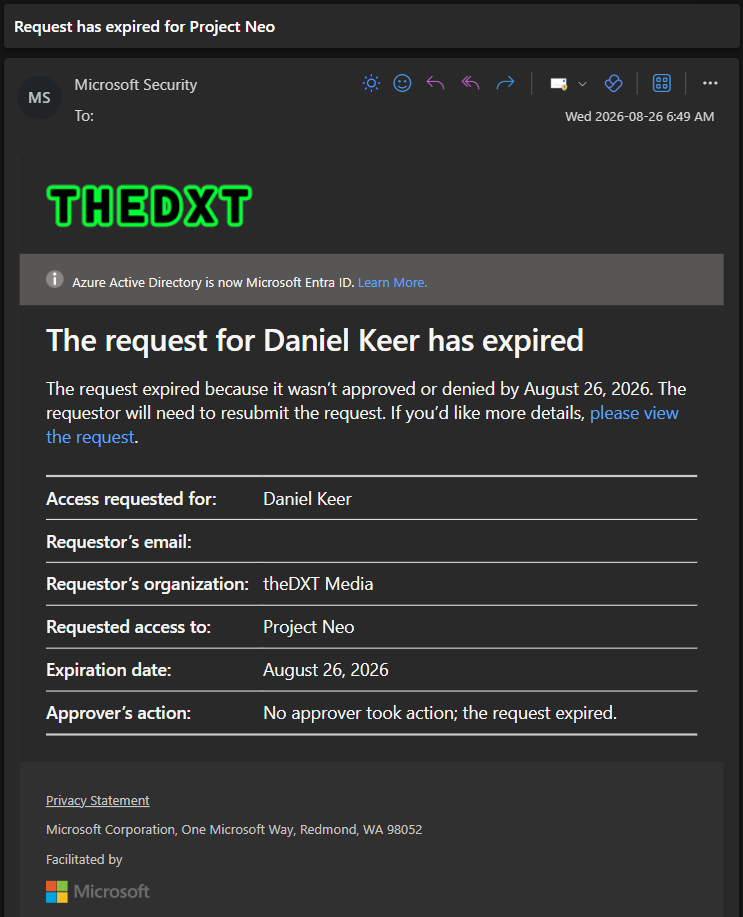
The approvers are also notified that no one acted on the Access Package request in time.
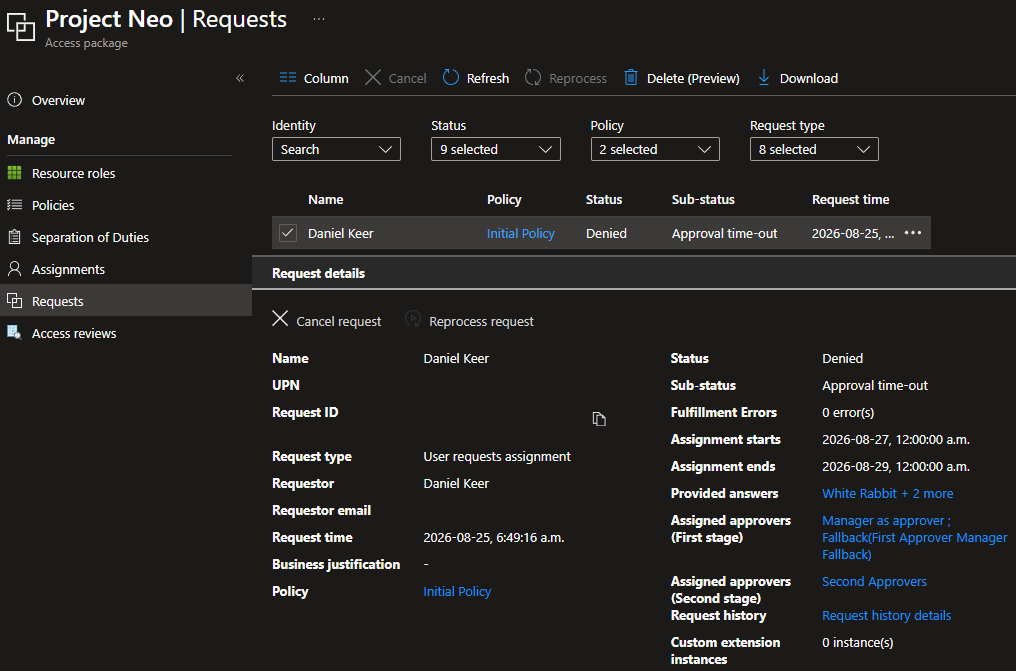
From the admin side, go to the Access Package, click Requests, and select the user. We can see the request was denied due to the approval timeout.
Request Denied
- If the user’s Access Package request is denied at any point, the user receives an email notification.
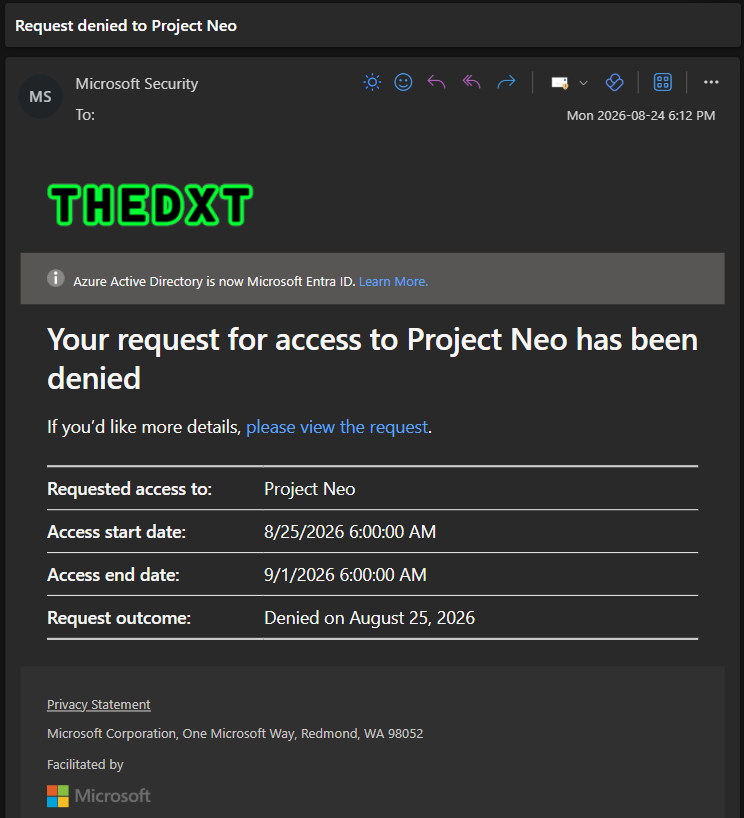
The email the user sees shows the access start and end times in UTC.
- The user can view denial details by clicking the link in the email or going to https://myaccess.microsoft.com/
- The user clicks My Access > Request history.
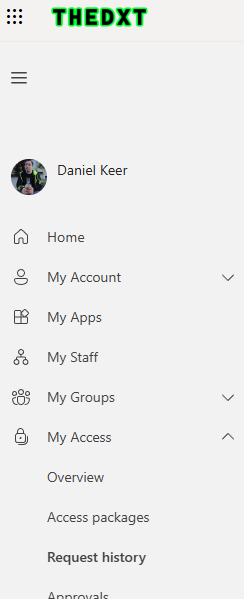
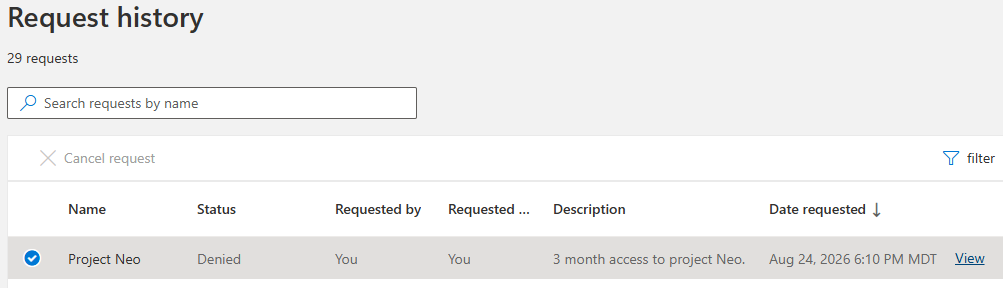
- The user selects the Denied access request and clicks View.
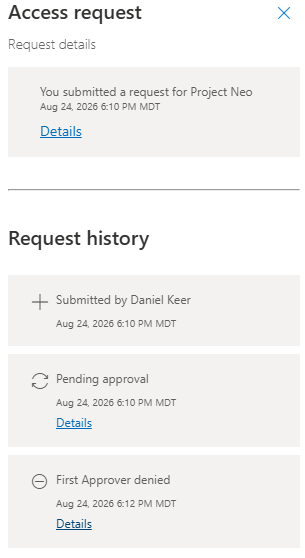
- In the Request history section, the user clicks Details for the denial.
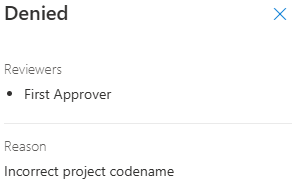
- If the approver who denied the request provided a reason, the user can see why.
User Cancel Access Request
The user can cancel their request at any point during the Access Package process.
- The user goes to https://myaccess.microsoft.com/
- The user clicks My Access > Request history.
- The user locates the access request that is Pending approval and clicks View.
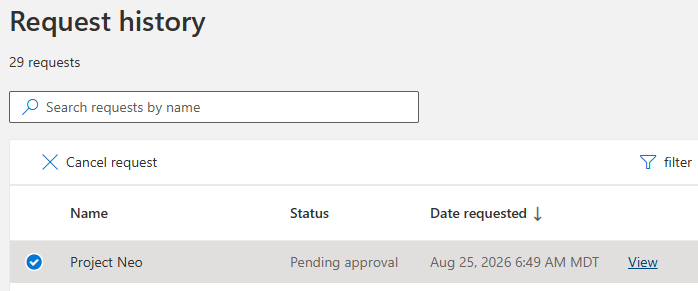
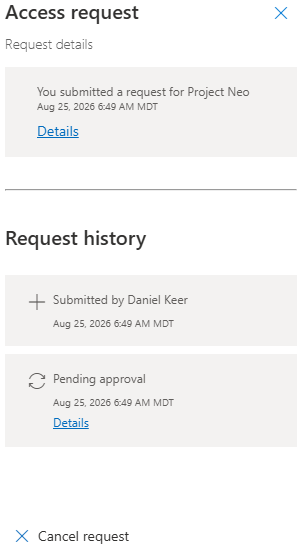
- The user clicks Cancel request to cancel the Access Package request.
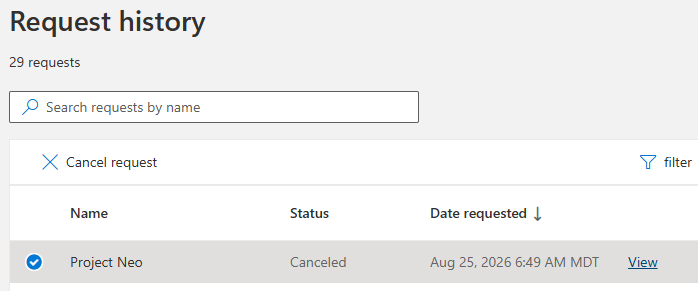
- The user will see their request status change from Pending approval to Canceled.
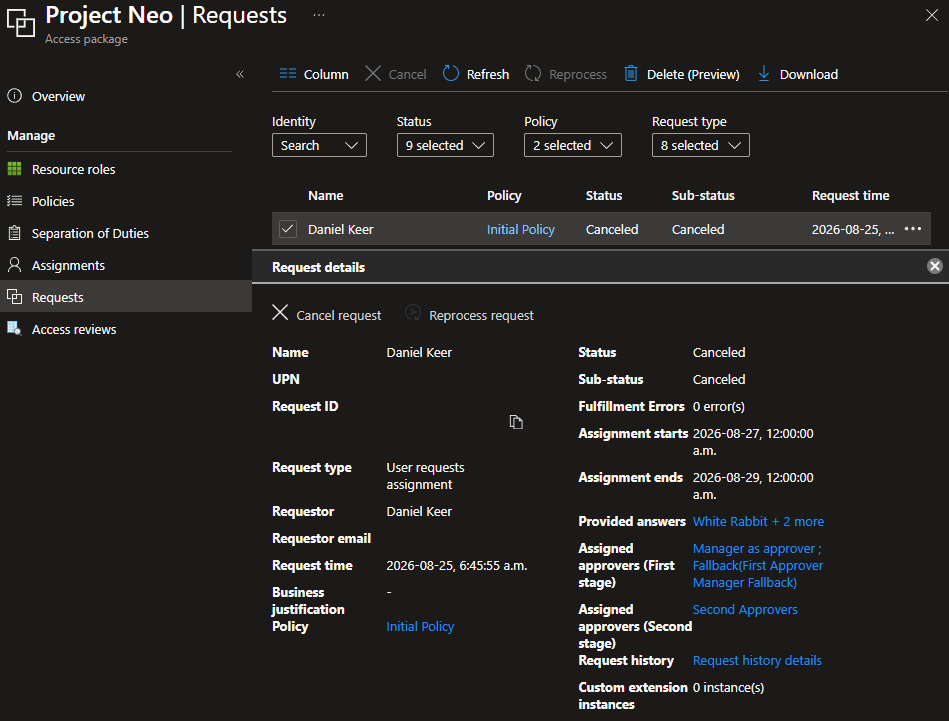
From the admin side, go to the Access Package, click Requests, and select the user. We can see the access request was canceled.
Access Granted
If the user did not provide a start date for their Access Package request, they are notified they have access once everything is fully approved. Otherwise, they are informed when the start date is reached.
- When the Access Package start date is reached, the user receives an email notifying them that they now have access to the Access Package.
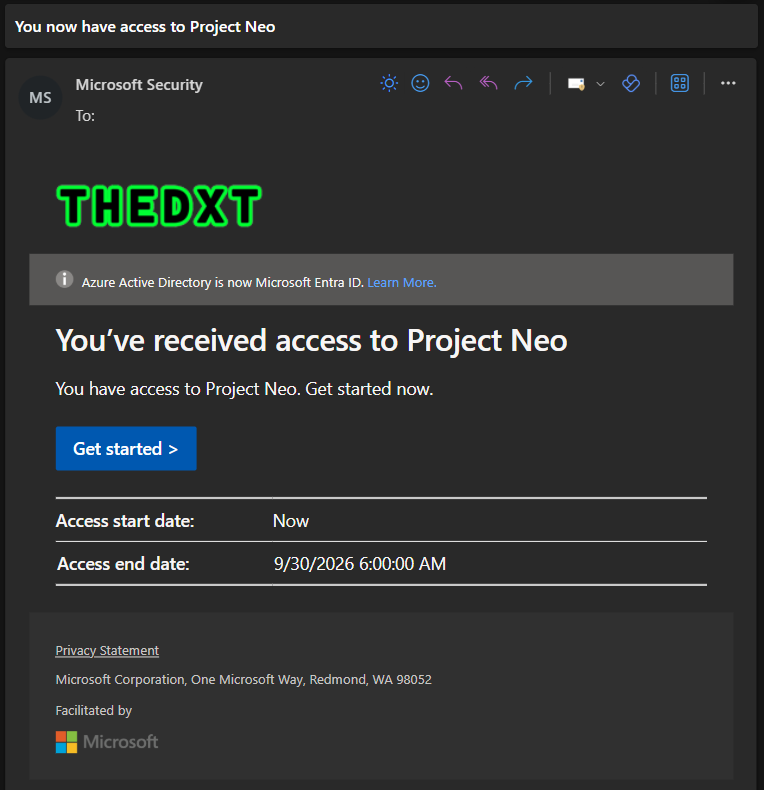
The email the user sees shows times in UTC.
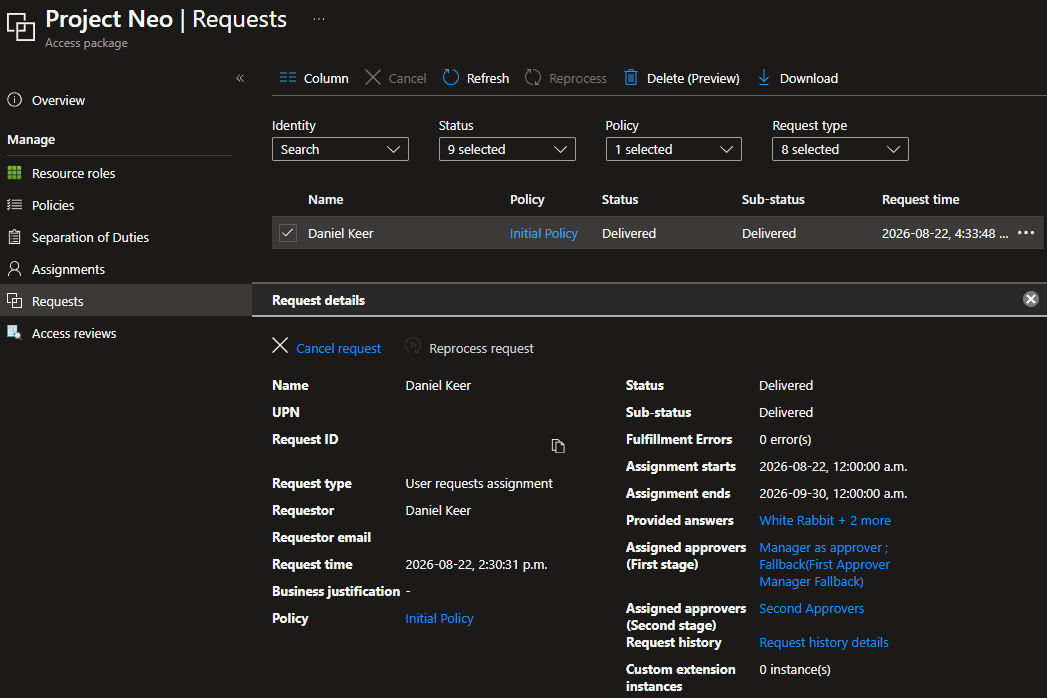
Once the Access Package start date is reached, from the admin side go to the Access Package, click Requests, and select the user. We can see the access has been delivered to the user.
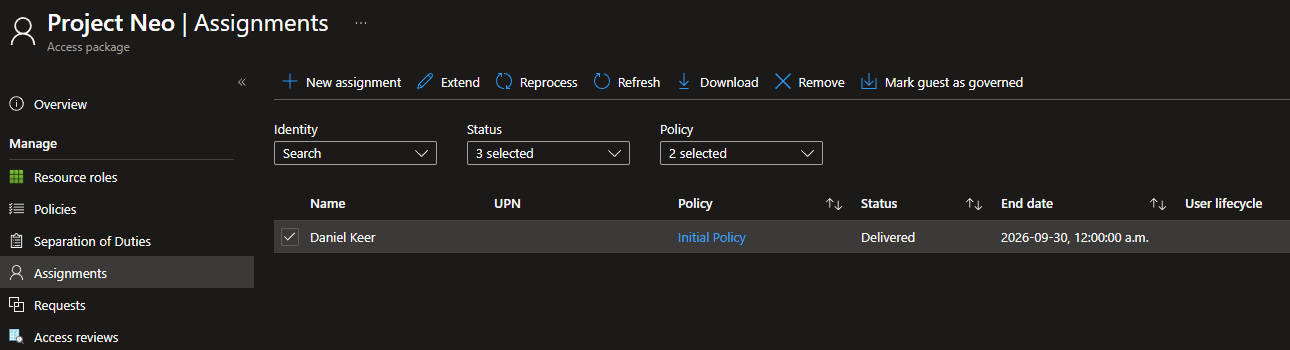
After the Access Package has been delivered, on the admin side click the Access Package, then click Assignments. We can see who currently has the Access Package and when their access will expire.
Access Extend
If the Access Package allows access extensions, users can extend access before it expires.
- The user receives emails 14 days and 1 day before their Access Package access expires.
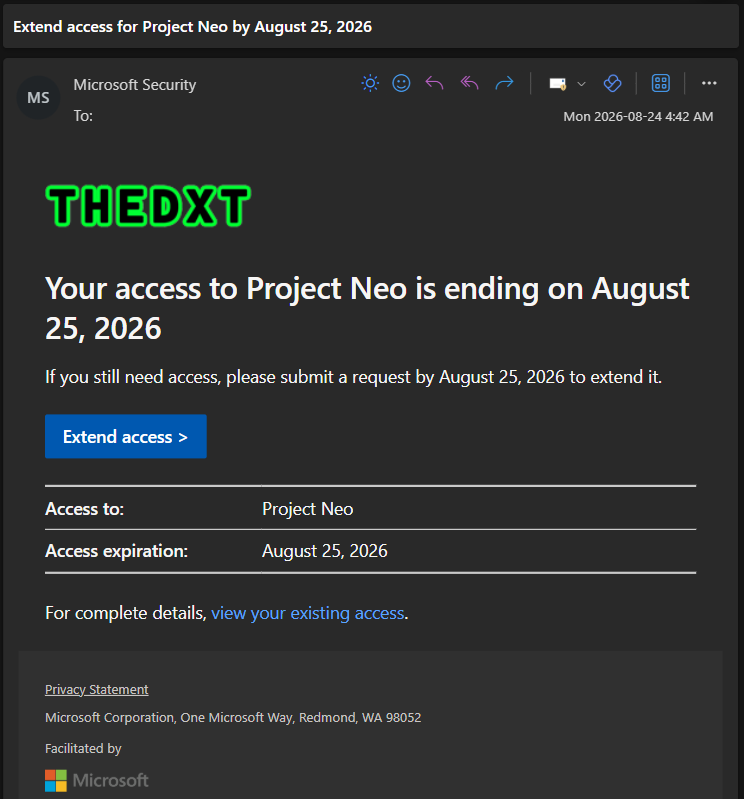
- The user can extend access by clicking the link in the email or going to https://myaccess.microsoft.com/
- The user clicks My Access > Access packages.
- The user clicks the Active tab.
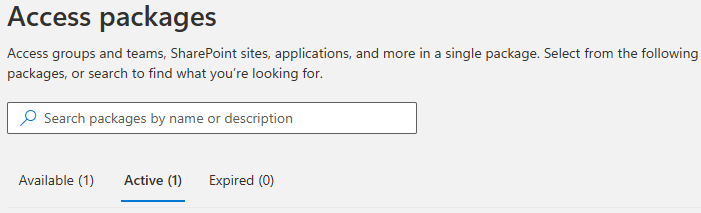
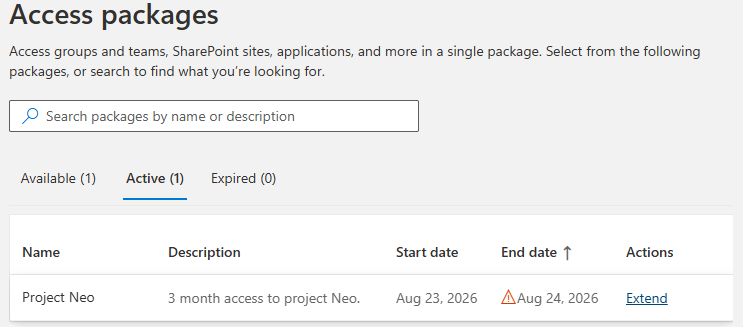
- The user locates the Access Package to extend, then under Actions, clicks Extend.
- The user fills out the required information and clicks Submit.
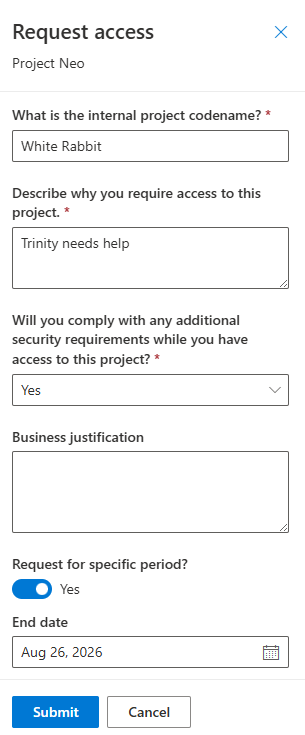
If approvals are configured for extensions, then the request is routed for approval.
Access Review
If an Access Package has an access review configured, the access reviewers will be required to review the users who currently have access.
- When it is time for the access review, reviewers receive an email notification.
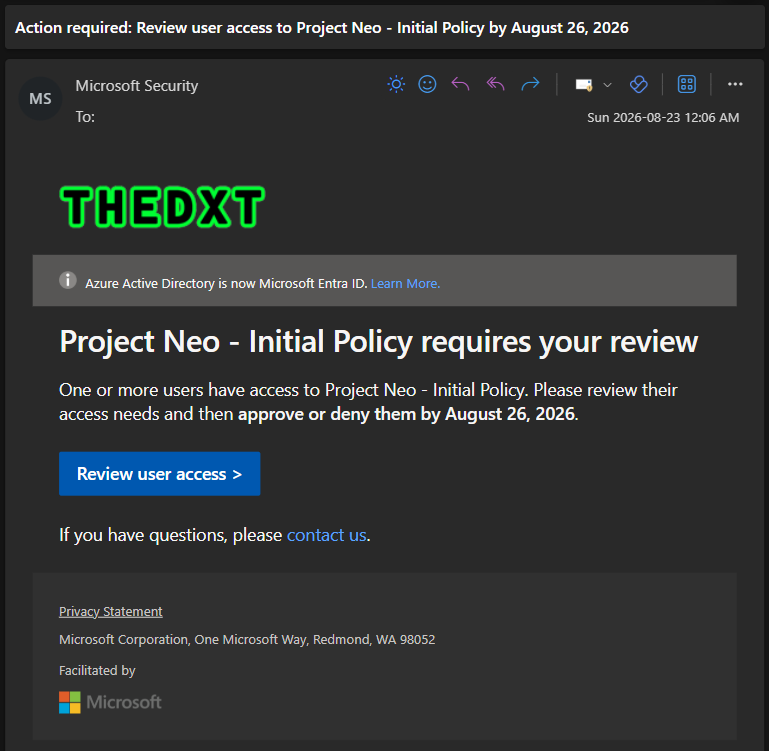
- The access reviewer clicks the link in the email or goes to https://myaccess.microsoft.com/
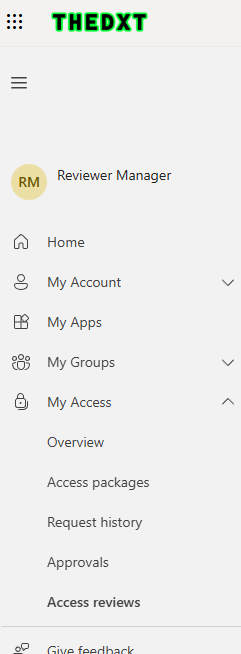
- The access reviewer clicks My Access > Access Reviews.
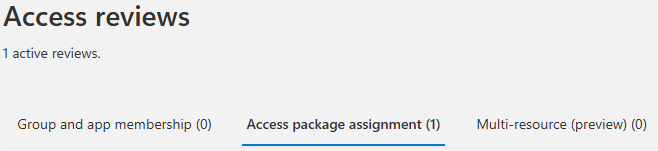
- The access reviewer clicks the Access package assignment tab.
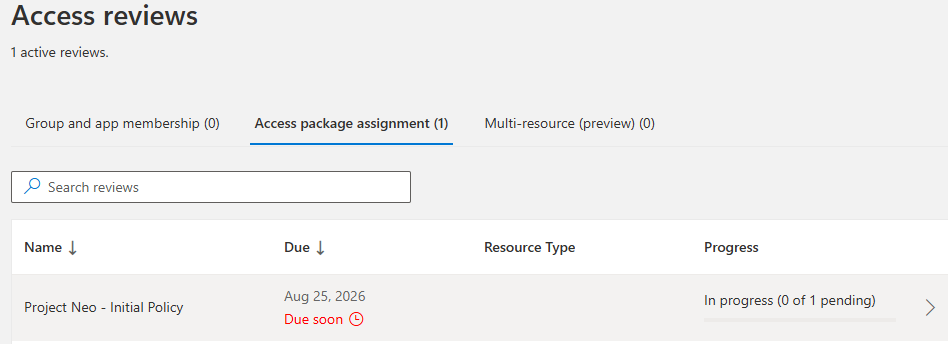
- The access reviewer clicks the Access package they want to review.
- The access reviewer clicks Details next to the user.
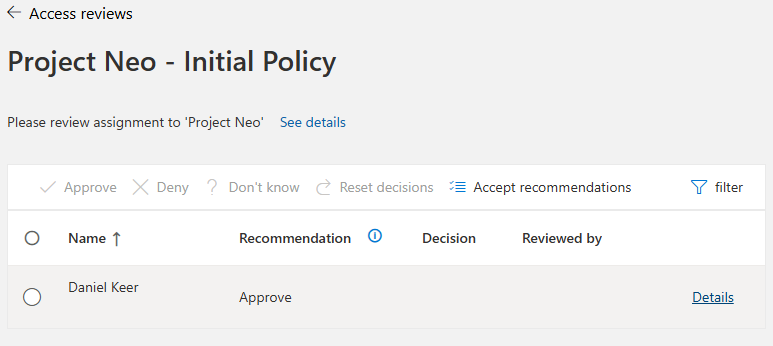
- The access reviewer decides whether to Approve or Deny the user’s access, provides a reason, and clicks Submit.
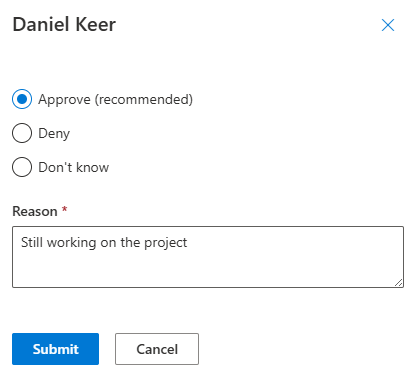
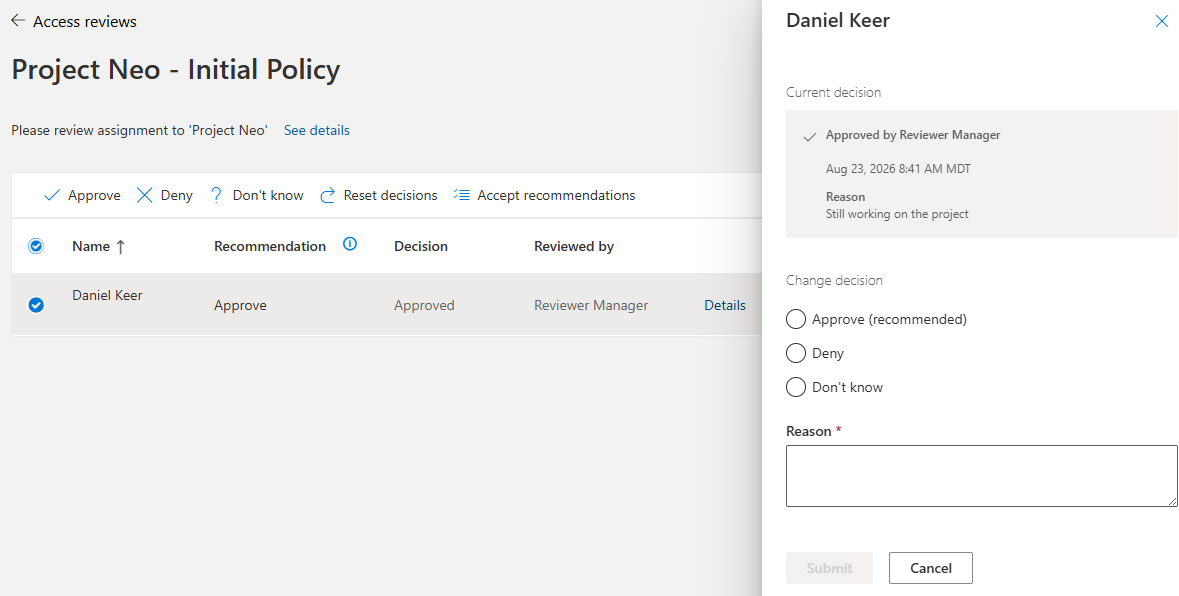
During the review window, if one reviewer makes a decision, others can override it.
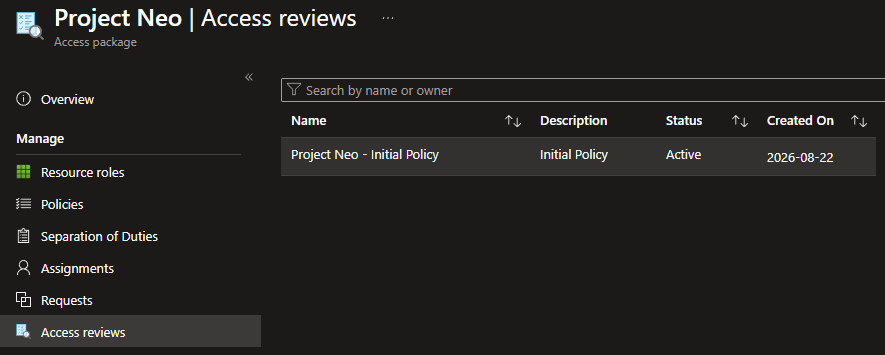
From the admin side, go to the Access Package, click Access reviews, then click the access review.
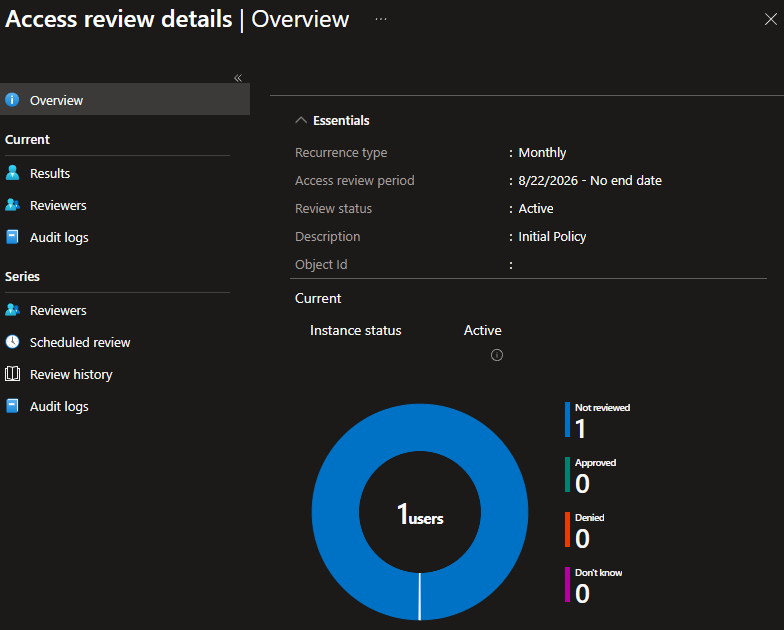
The overview page shows the current status of the access review.
Once a reviewer has made a decision, we can view more details by clicking Results.
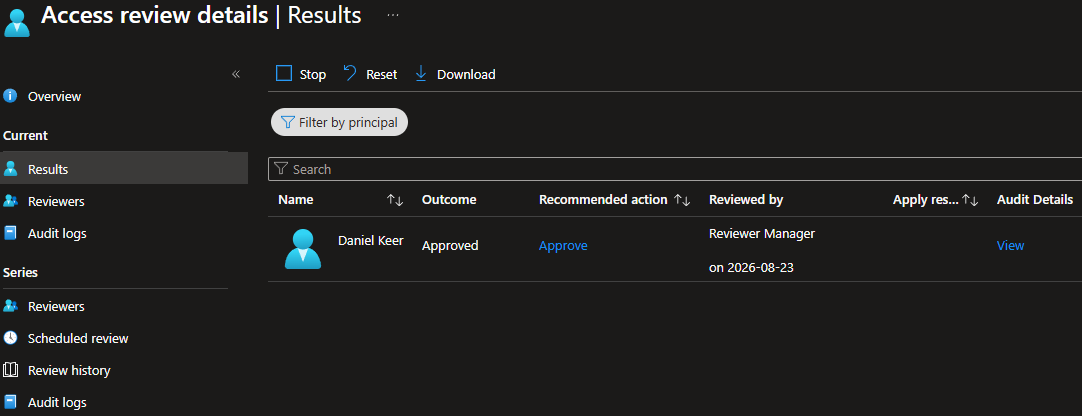
When the review window closes, if reviewers deny a user or take no action, the user’s Access Package access is removed.
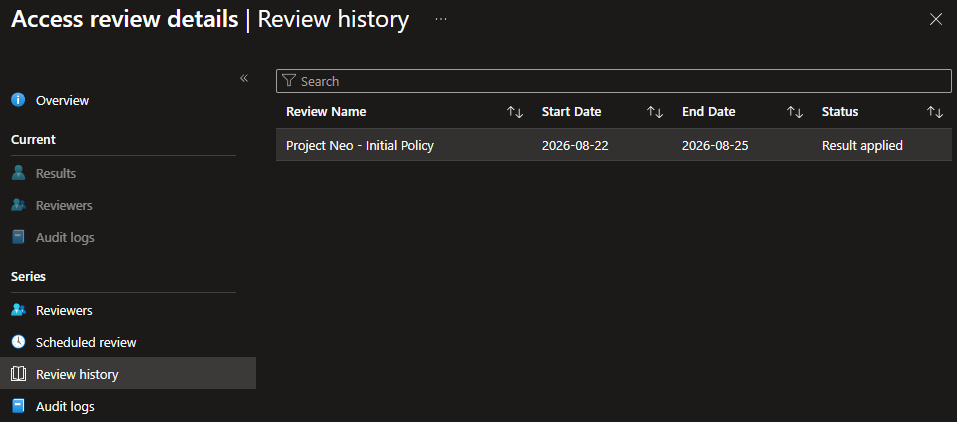
Once an Access Package access review is complete, on the admin side we can see the results by clicking Review history, then clicking on the review.
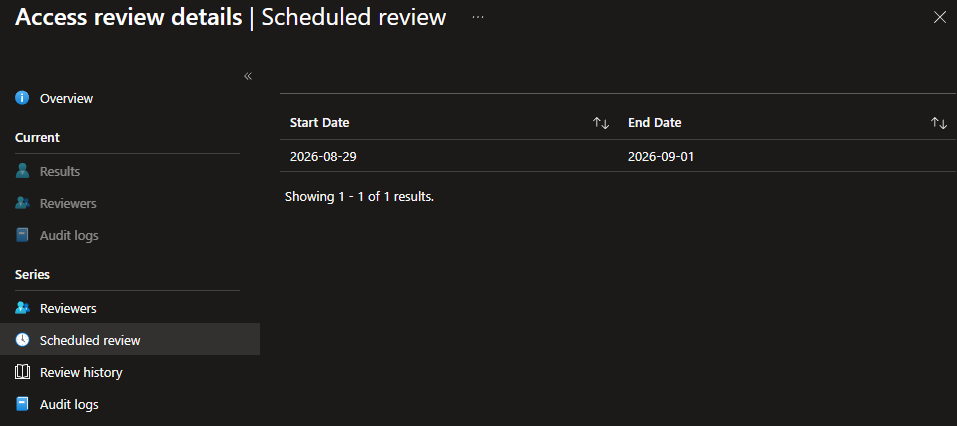
On the admin side, we can view when the next access review is scheduled to start by clicking Scheduled review.
Access Ended
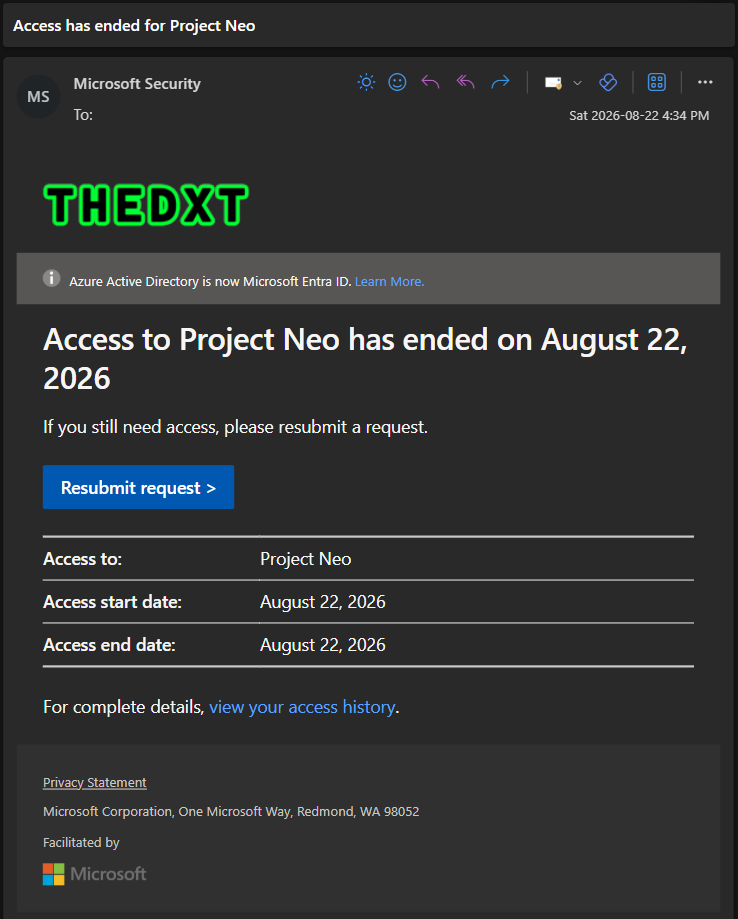
The user is automatically removed from the resources when an Access Package end date is reached or if an access review denies their access.
- The user receives an email notifying them that their access has been removed.
Manual Assignments
Typically, users submit Access Package requests themselves. However, an admin can manually add a user to an Access Package.
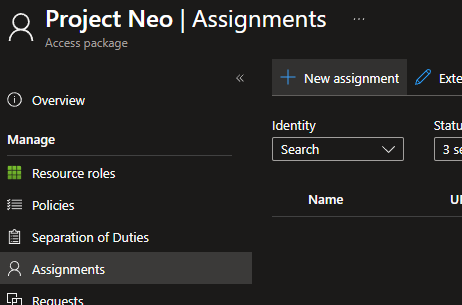
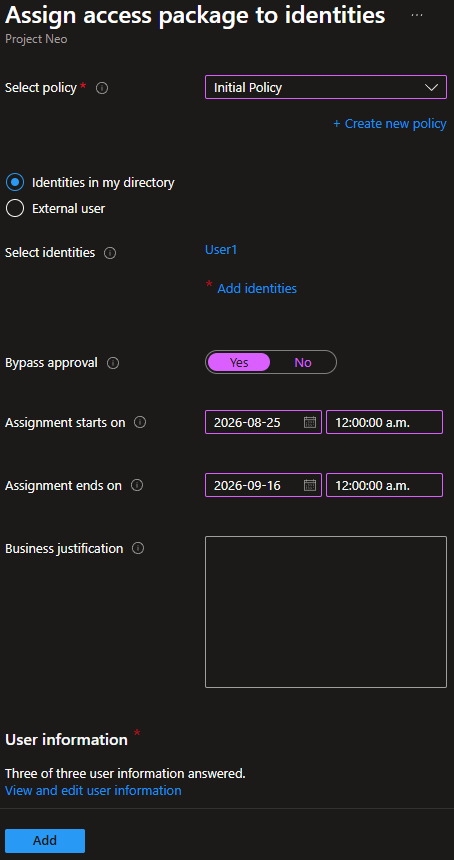
- From the admin side, go to the Access Package, click Assignments, then click New assignment.
- Now we need to fill in the details for the manual Access Package assignment.
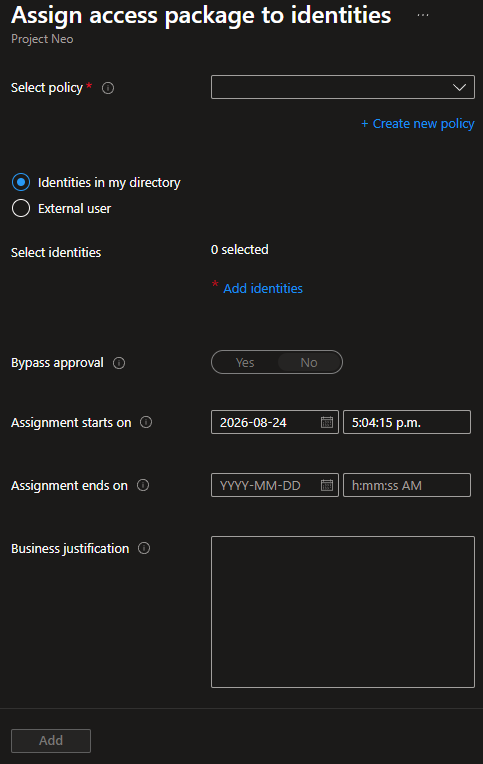
- For Select policy, pick the policy you want the user to follow.
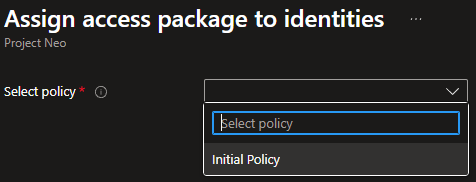
In my example, I will select the policy Initial Policy.
- Select whether the user you want to add is an Identities in my directory or an External user.
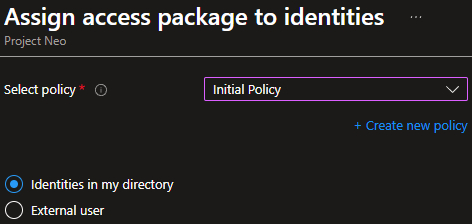
In my example, I will select Identities in my directory.
- For Select identities, click Add identities and select the user you want to add.
If the Access Package policy includes questions, only one user can be added at a time.
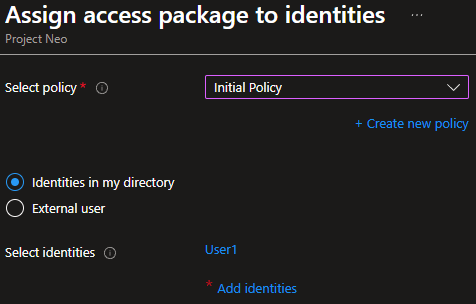
In my example, I will select the user named User1.
- For Bypass approval, decide if the manual assignment should follow the policy’s approval process.
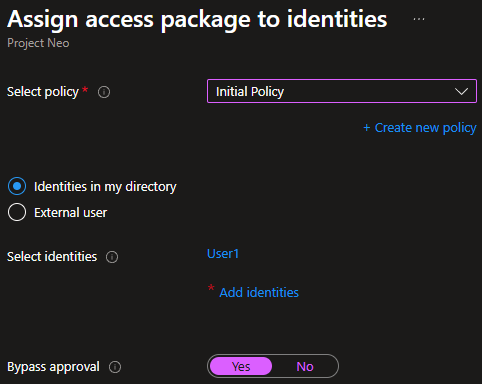
In my example, I selected Yes to skip the approval process.
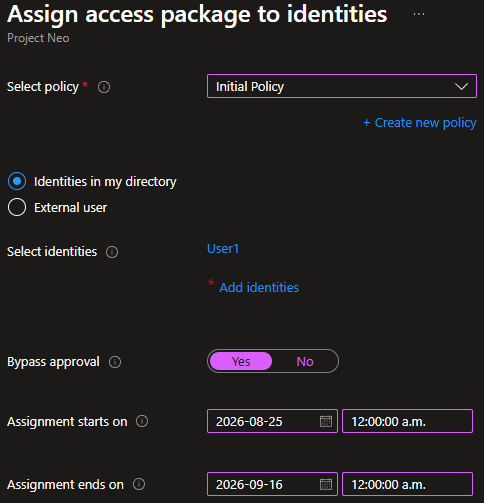
- For Assignment starts on and Assignment ends on, enter when the user should have access to the Access Package and when it should expire.
If the Access Package policy has an expiry date, the end date you enter must be less than the maximum number of days allowed by the policy.
If no end date is entered, the expiry countdown begins when the user is added and follows the Access Package expiry setting.
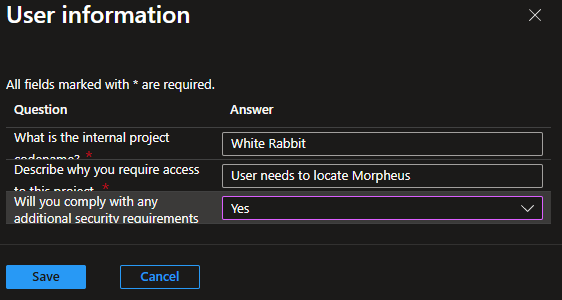
If the Access Package policy contains any required questions, they must be completed before the user can be manually added to the Access Package.
- Click View and edit user information.
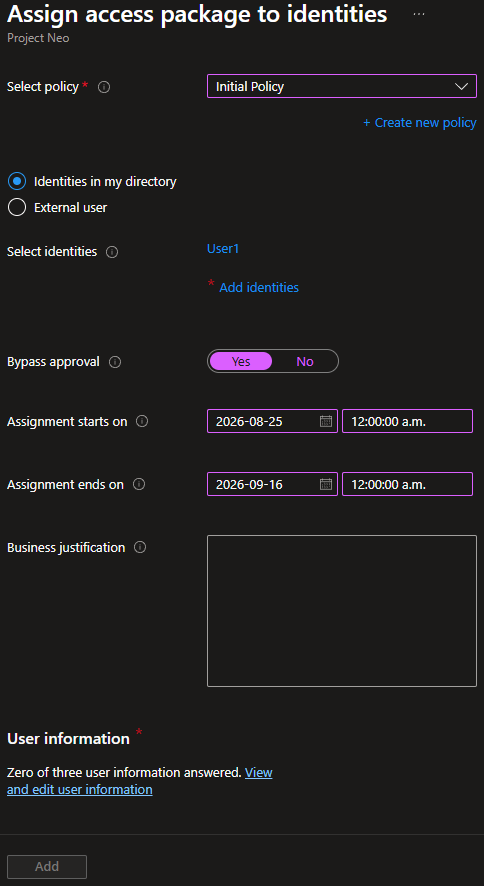
- On the User information panel, fill out the required questions, then click Save.
- Once the info is populated, click Add.
- The manually added user will be added to the Access Package on the specified start date.
Summary
That is the complete workflow of the Access Package request feature of Entitlement Management within Microsoft Entra ID Governance.
If you want to read more about the Access Package request process, here is the Microsoft documentation.