
Deploy VCF Installer
When you want to deploy VCF (VMware Cloud Foundation) or VVF (VMware vSphere Foundation), you typically use the VCF installer. Even though the VCF installer has VCF in its name, it can be used to deploy VVF.
In this post, I will show you step by step how to deploy the VCF installer on VMware ESX.
Prerequisites
- Static IP for the VCF Installer appliance.
- FQDN for the VCF Installer appliance with forward and reverse DNS records.
- Enough resources to run the VCF Installer VM.
- The VCF Installer VM will need:
- 4 vCPU
- 16GB RAM
- 914GB disk space
- The VCF Installer VM will need:
- A root password for the VCF Installer appliance.
- A local user password for the VCF Installer appliance.
- NTP Servers.
The Process
The entire VCF Installer deployment process is divided into two sections.
Download VCF Installer
Before we can deploy the VCF Installer, we need to download it first.
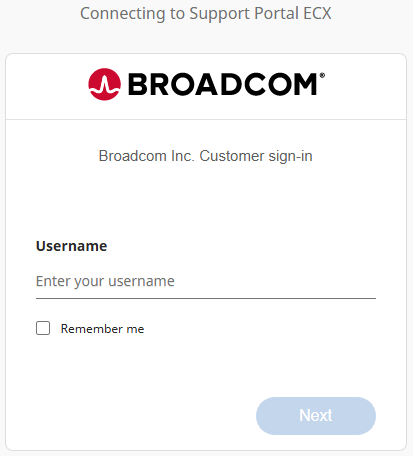
- Login to the Broadcom Support Portal https://support.broadcom.com/.
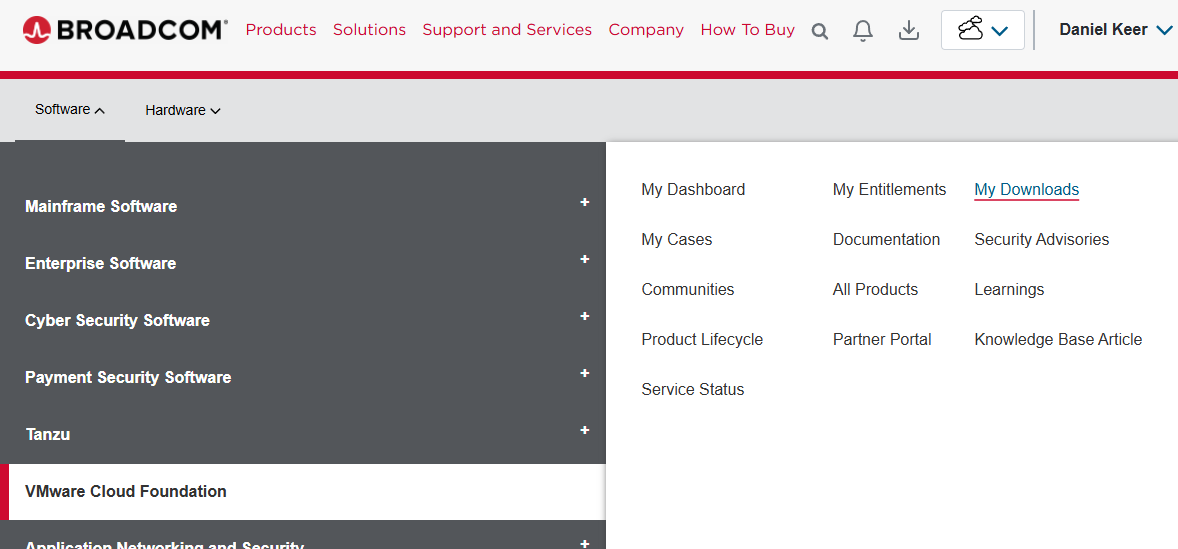
- Click on Software > VMware Cloud Foundation > My Downloads.
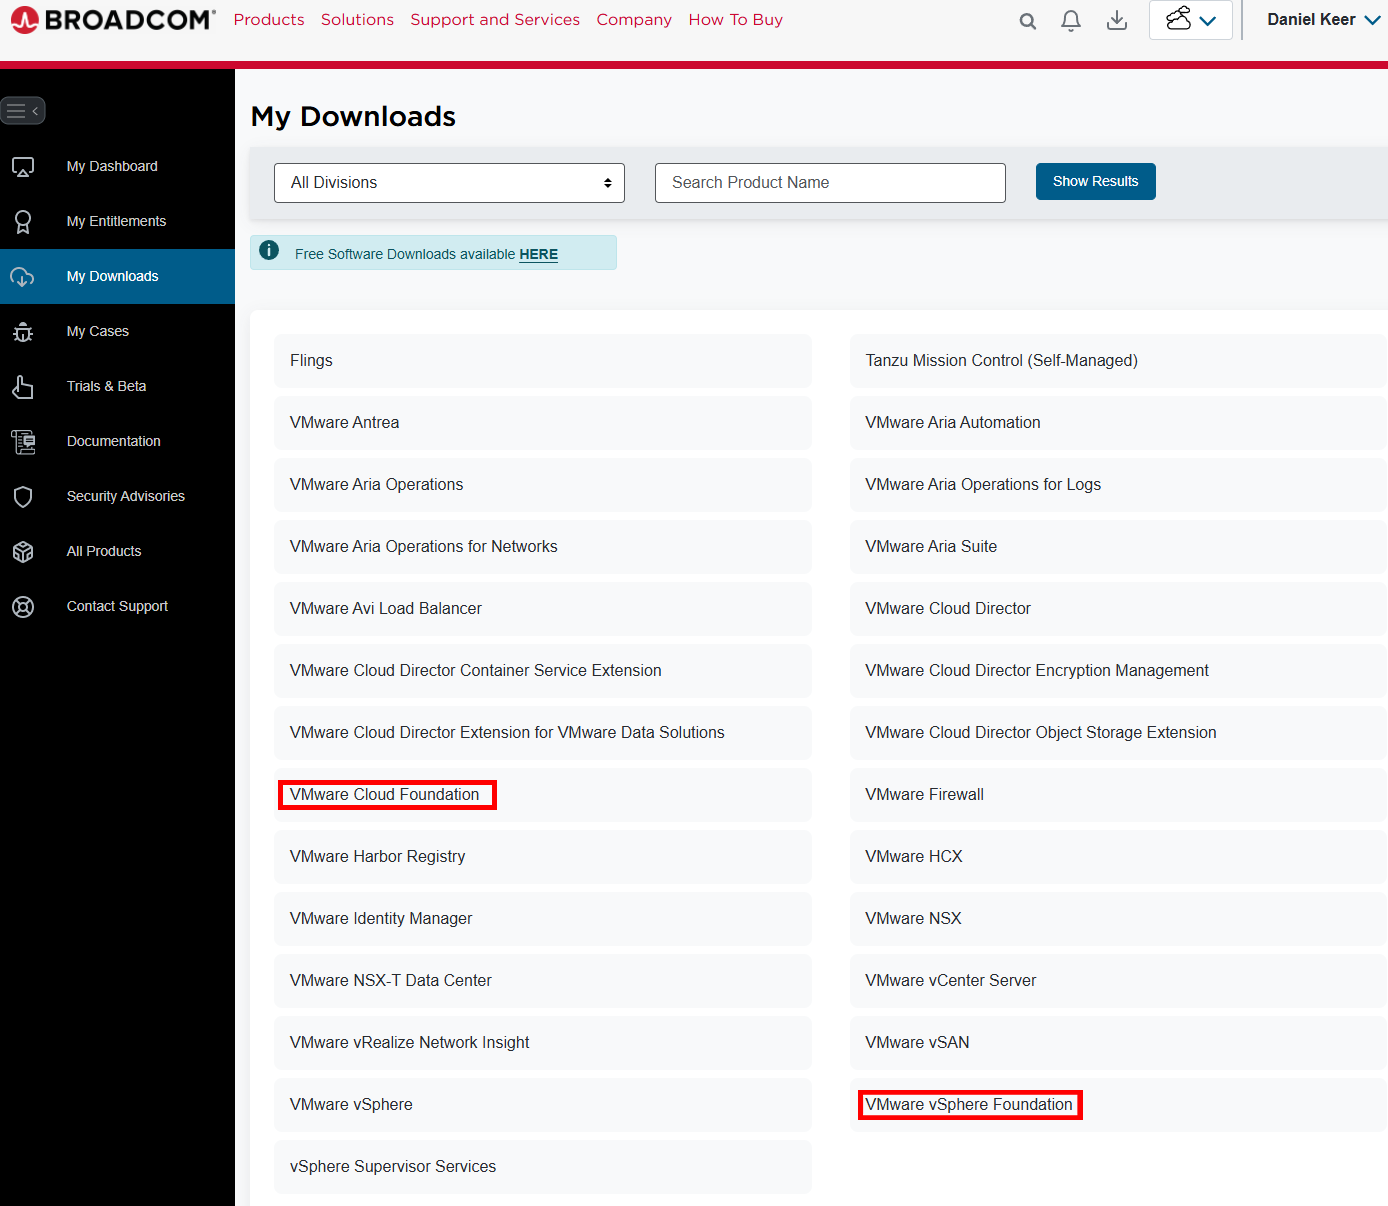
- Click on VMware Cloud Foundation or VMware vSphere Foundation.
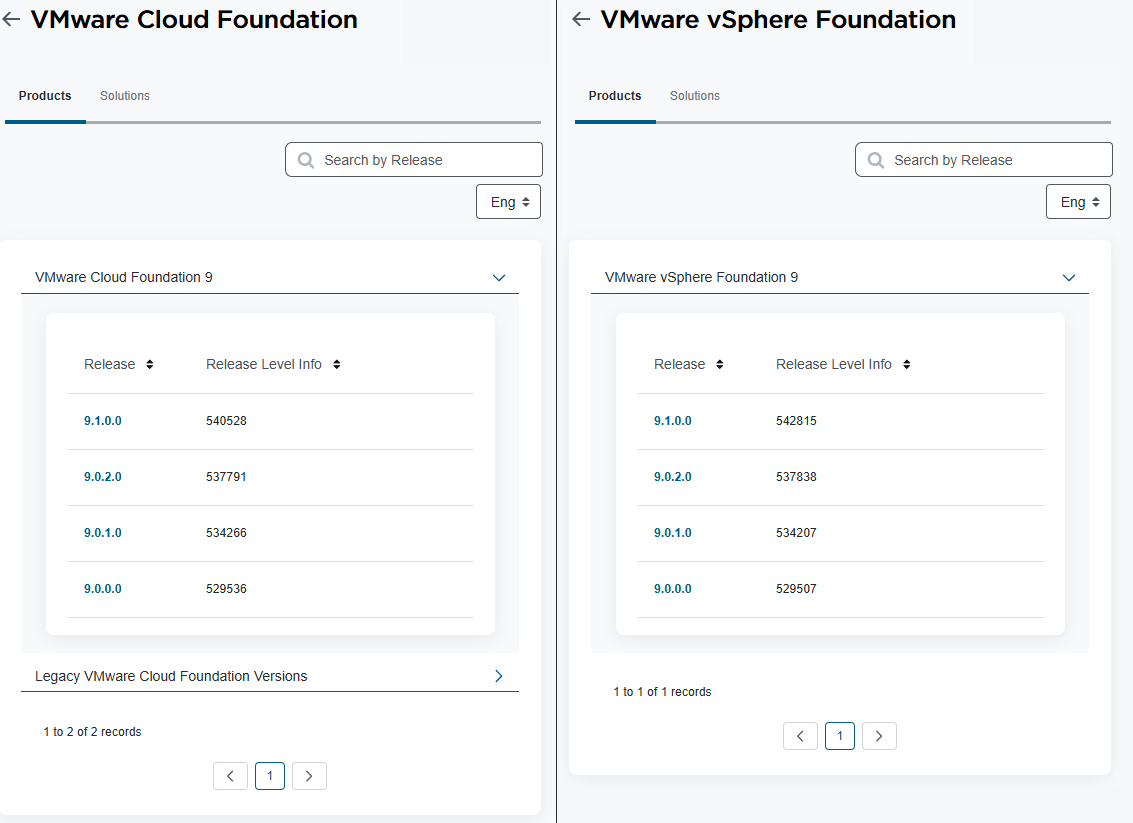
- Click VMware Cloud Foundation 9 or VMware vSphere Foundation 9 to expand the releases, then click the release you want.
- Beside VCF Installer click on View Group.
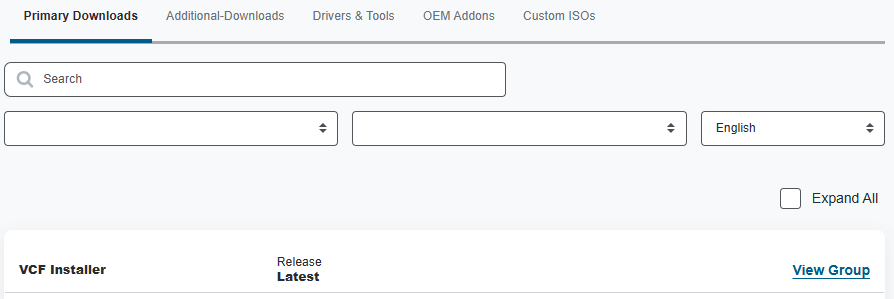
- Before you can download anything, you need to read and review the Terms and Conditions and the Compliance Reporting Terms and Conditions.
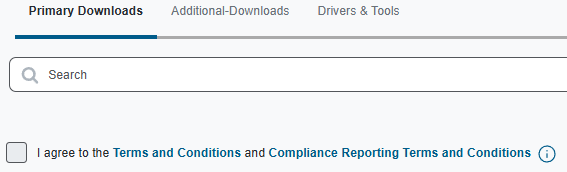
- Click on Terms and Conditions to read them.
- Click on Compliance Reporting Terms and Conditions to read them.
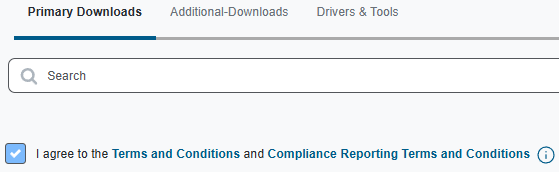
- After reading, if you agree to the Terms and Conditions and the Compliance Reporting Terms and Conditions, select I agree.
- Download the VCF SDDC Manager Appliance OVA.
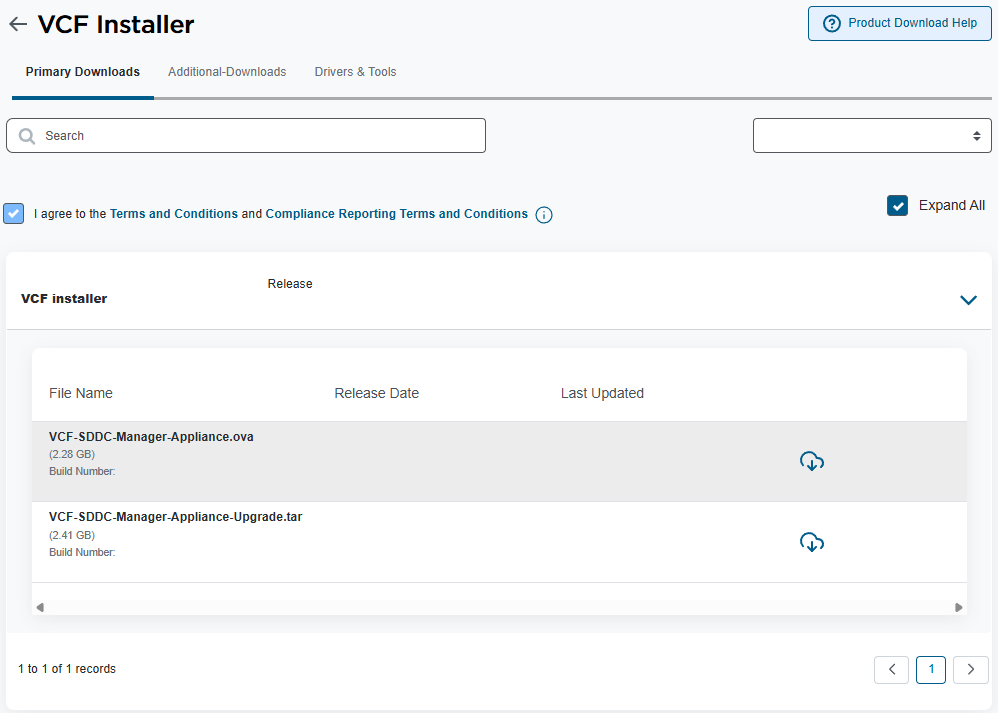
Technically, you are downloading the VCF SDDC (Software Defined Datacenter) Manager.
The SDDC Manager has two purposes:
- The VCF Installer for VCF and VVF
- The SDDC Manager for VCF.
- If you deploy the VCF Installer on an ESX host that will be part of your VCF management domain, the VCF Installer will convert into your SDDC Manager.
Deploy VCF Installer
Now that we have the VCF Installer downloaded, we can deploy it.
If you deploy the VCF Installer to an ESX host that will be used for the VCF Management Domain, it will convert to the SDDC Manager and can no longer be used as an installer.
- To use the VCF Installer, you need to deploy it to something. The following are supported:
- VMware vCenter
- VMware ESX
- VMware Workstation
- VMware Fusion
In my example, I will deploy the VCF Installer to an ESX host. The process will be similar on other platforms.
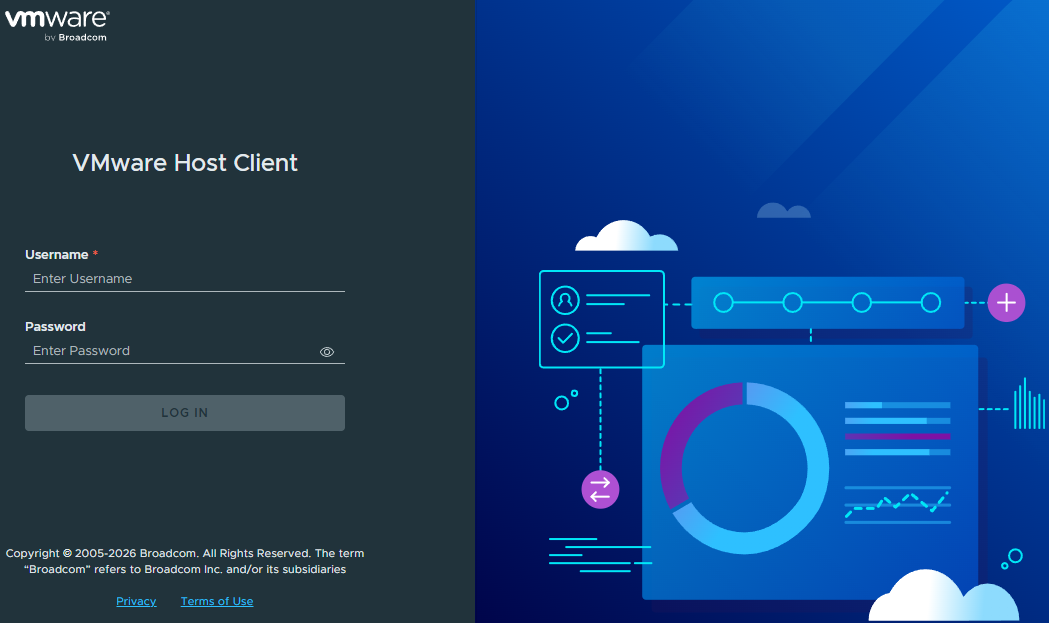
- Login to VMware ESX.
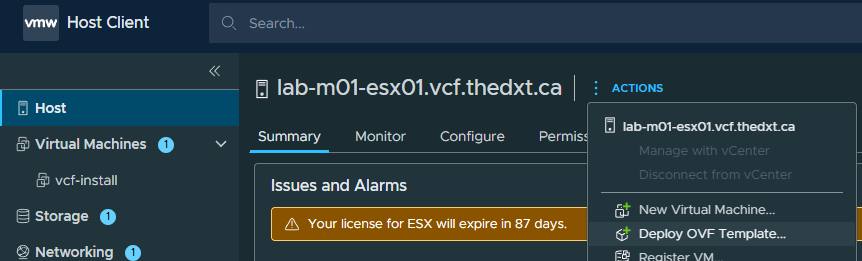
- Click on Actions > Deploy OVF Template.
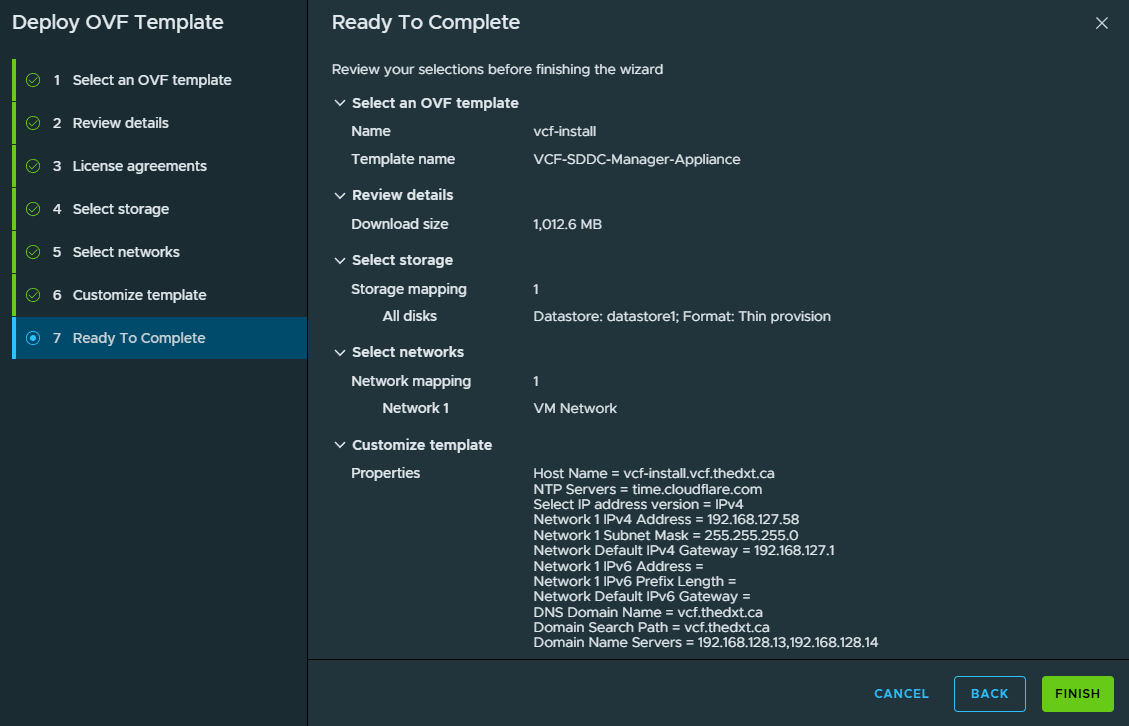
- Enter a name for the VCF Installer appliance VM.
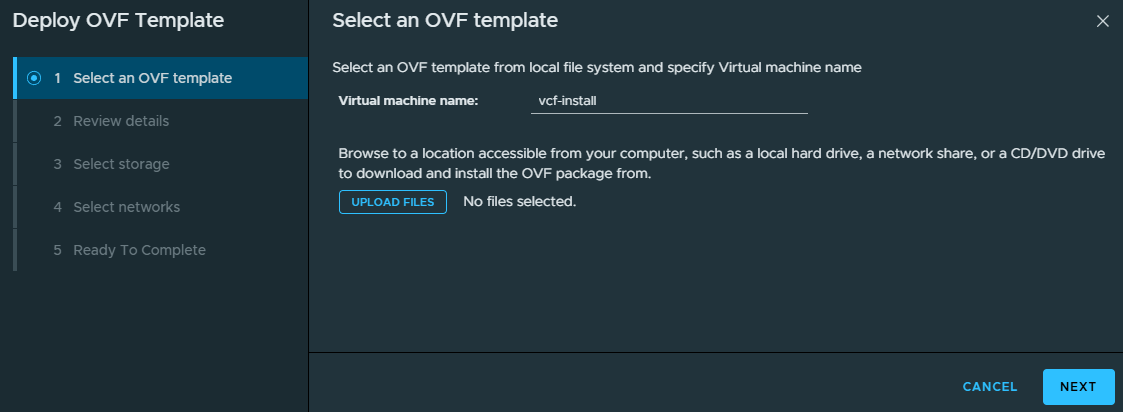
In my example, I will use the name vcf-install.
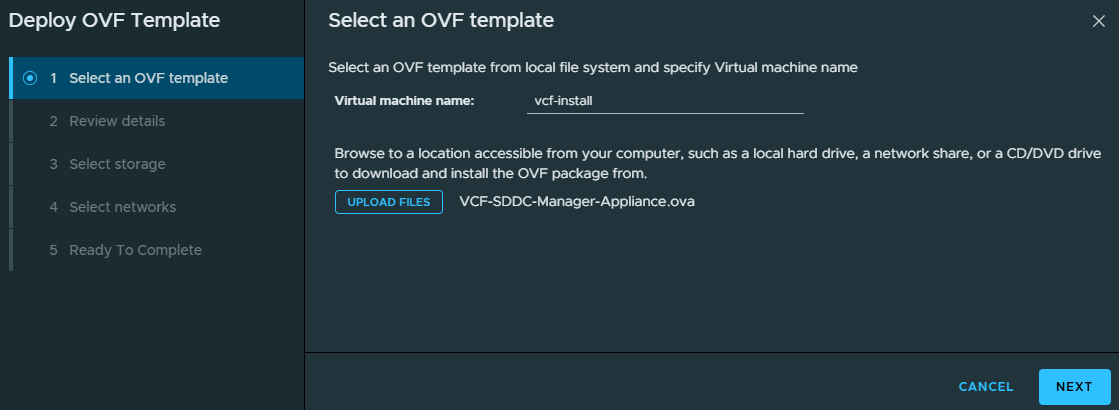
- Click Upload Files, then select the VCF Installer/VCF SDDC Manager OVA. Then click Next.
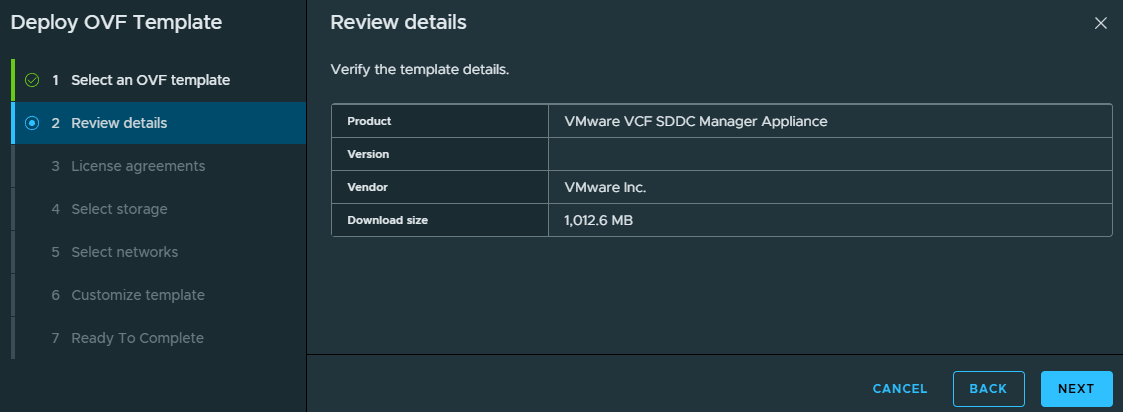
- Review the details, then click Next.
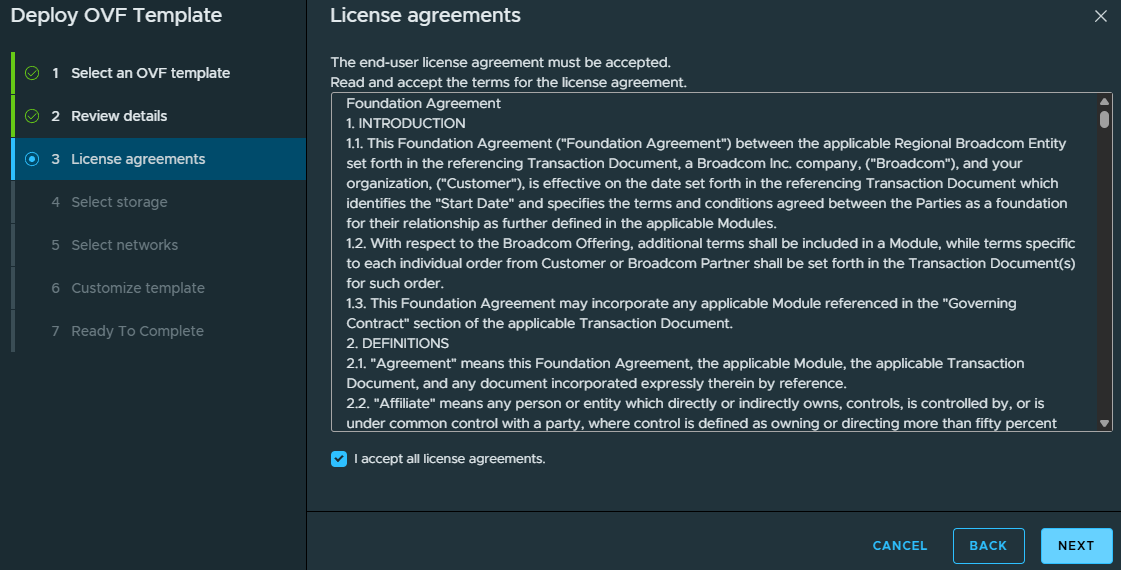
- Review the license agreements. If you agree, select I accept all license agreements and click Next.
- Select where you want the VCF Installer configuration and disk files stored, then click Next.
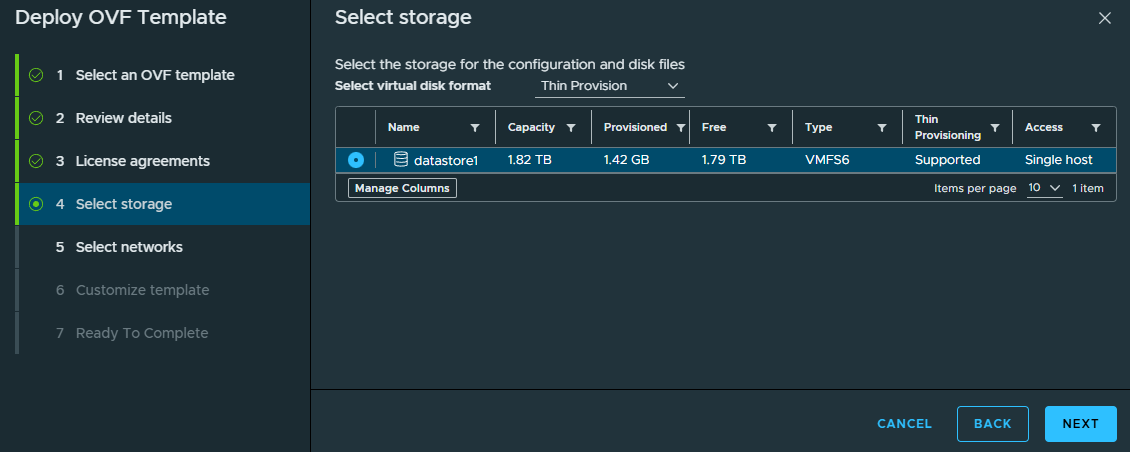
In my example, I will select datastore1.
- Select the network to use, then click Next.
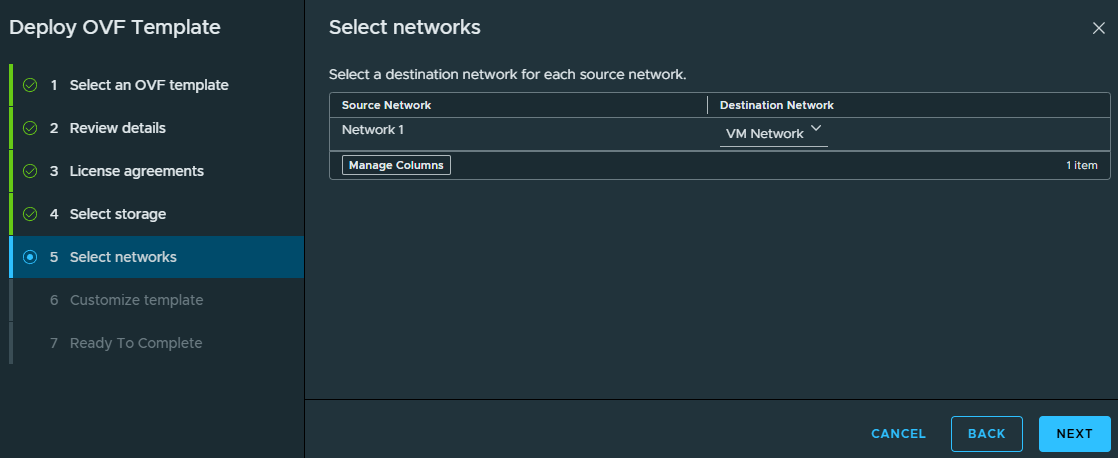
In my example, I will select VM Network.
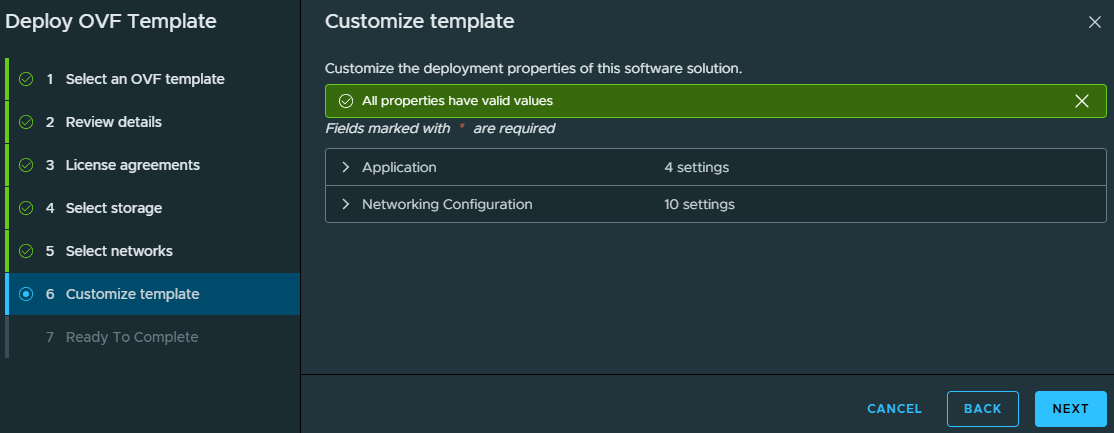
- Now we need to configure all the VCF Installer settings.
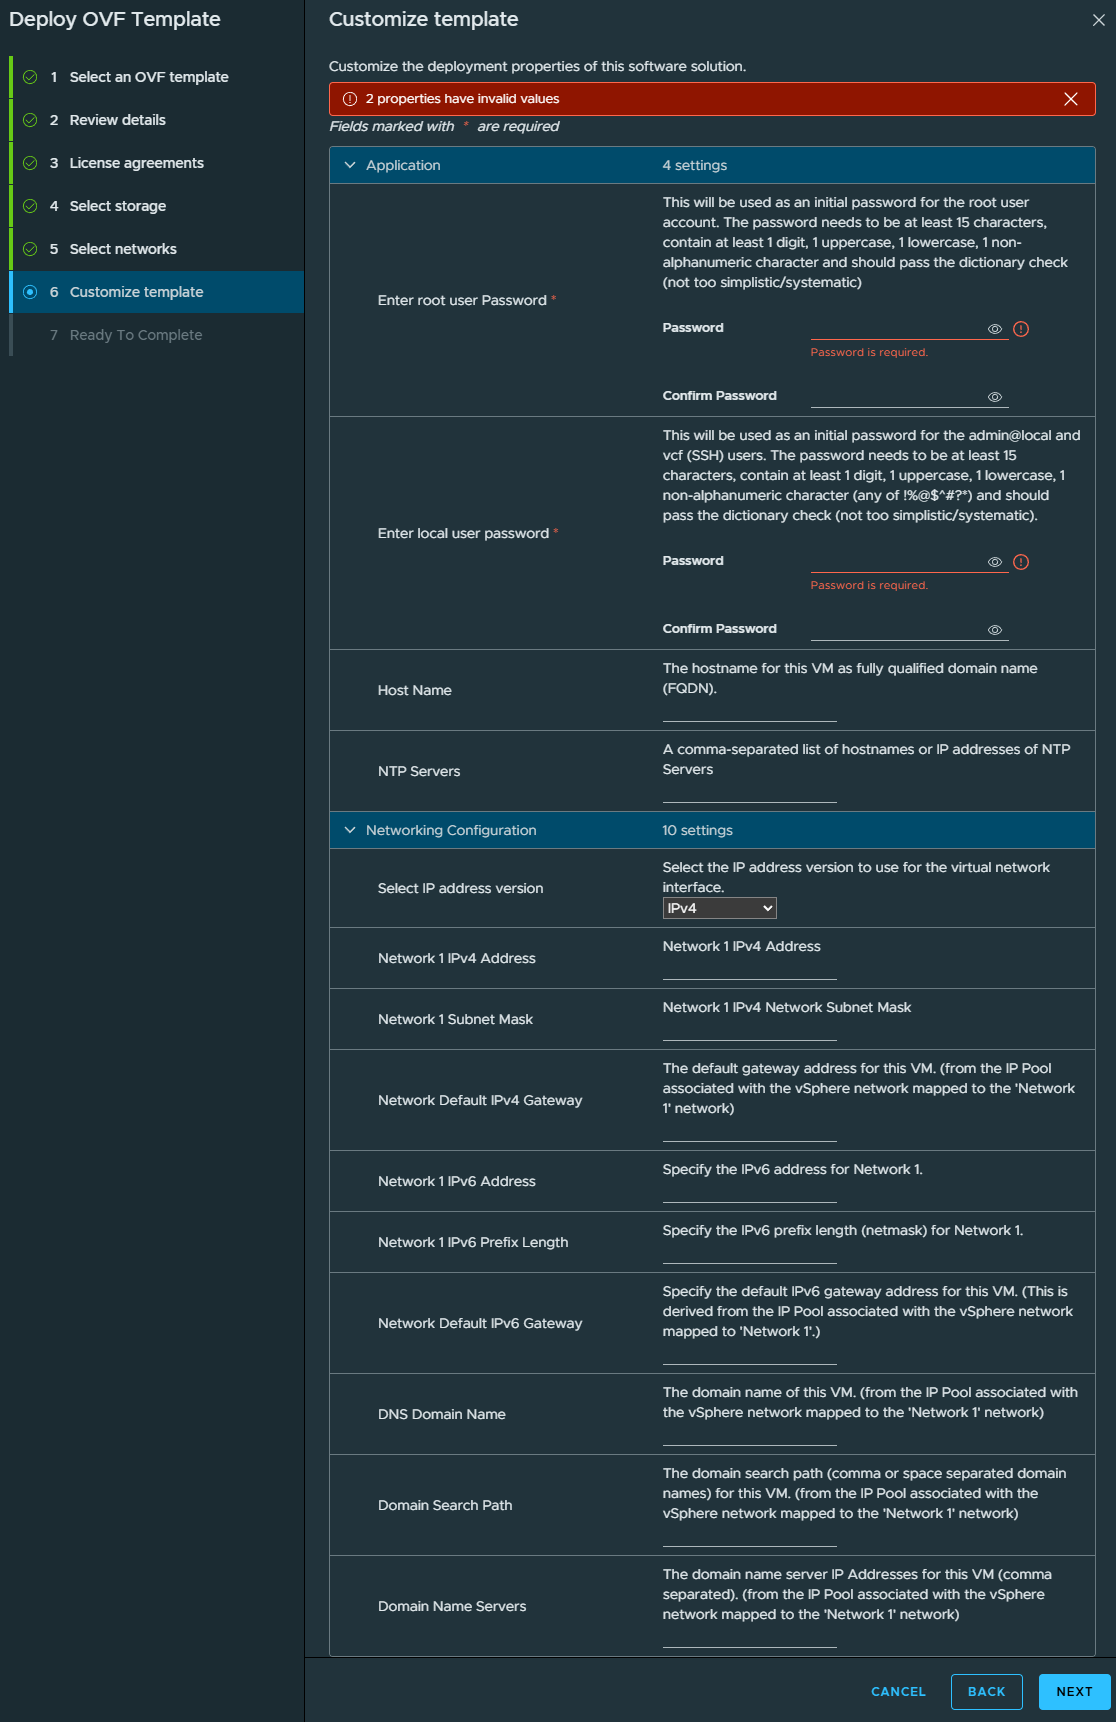
- For the root user password, enter the password you want the root user to use.
You can only use the following special characters @ ! # $ % ? ^.
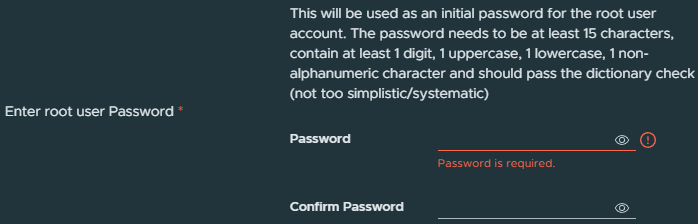
- For the local user password, enter the password you want the local user account
admin@localto use.
You can only use the following special characters @ ! # $ % ? ^.
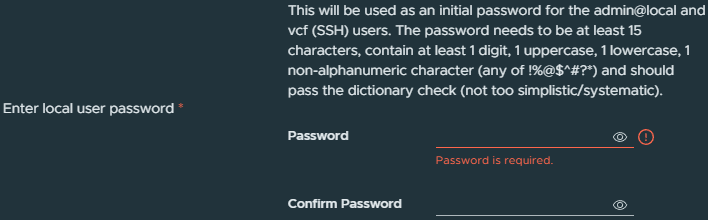
- For Host Name, enter the FQDN you will use for the VCF Installer appliance.

In my example, I will use vcf-install.vcf.thedxt.ca.
- Enter your NTP Servers.

In my example, I will use time.cloudflare.com.
- For Select IP address version, choose whether to use IPv4 or IPv4 and IPv6.

In my example, I will select IPv4.
- For Network 1 IPv4 Address, enter the IP for the VCF Installer appliance.

In my example, I will enter 192.168.127.58.
- For Network 1 Subnet Mask, enter the subnet mask for the network.

In my example, I will enter 255.255.255.0.
- For Network Default IPv4 Gateway, enter the IP of the network’s default gateway.

In my example, I will enter 192.168.127.1.
- If you are using IPv6, then fill out the IPv6 Address, Prefix Length, and Gateway.
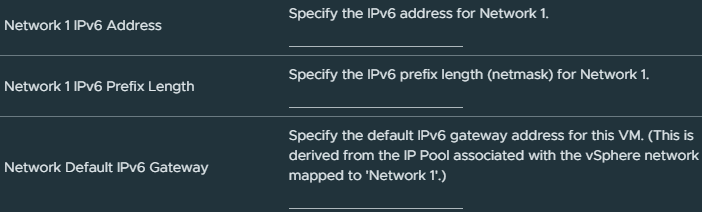
In my example, I am only using IPv4, so I will leave them blank.
- For DNS Domain Name, enter the domain name you are using for the VCF Installer appliance.

In my example, I will enter vcf.thedxt.ca.
- For Domain Search Path, enter domain names you want the VCF Installer appliance to search when resolving hostnames.

In my example, I will enter vcf.thedxt.ca.
- For Domain Name Servers, enter the IPs of the DNS servers. Do not use more than two DNS servers.

In my example, I will use 192.168.128.13, 192.168.128.14.
- Once you have completed configuring all the options, click Next.
- Review everything you’ve configured and click Finish.
- Wait while ESX deploys the VCF Installer appliance VM.

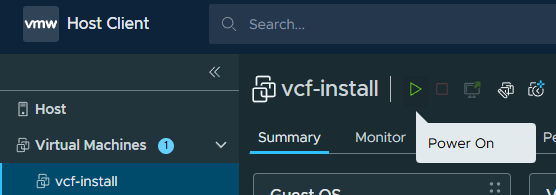
- Once the VCF Installer appliance is deployed, locate the VM and Power On the VCF Installer VM.
- Wait for the VCF Installer VM to boot up.
- In a web browser, use HTTPS and go to the FQDN or IP you set for the VCF Installer.
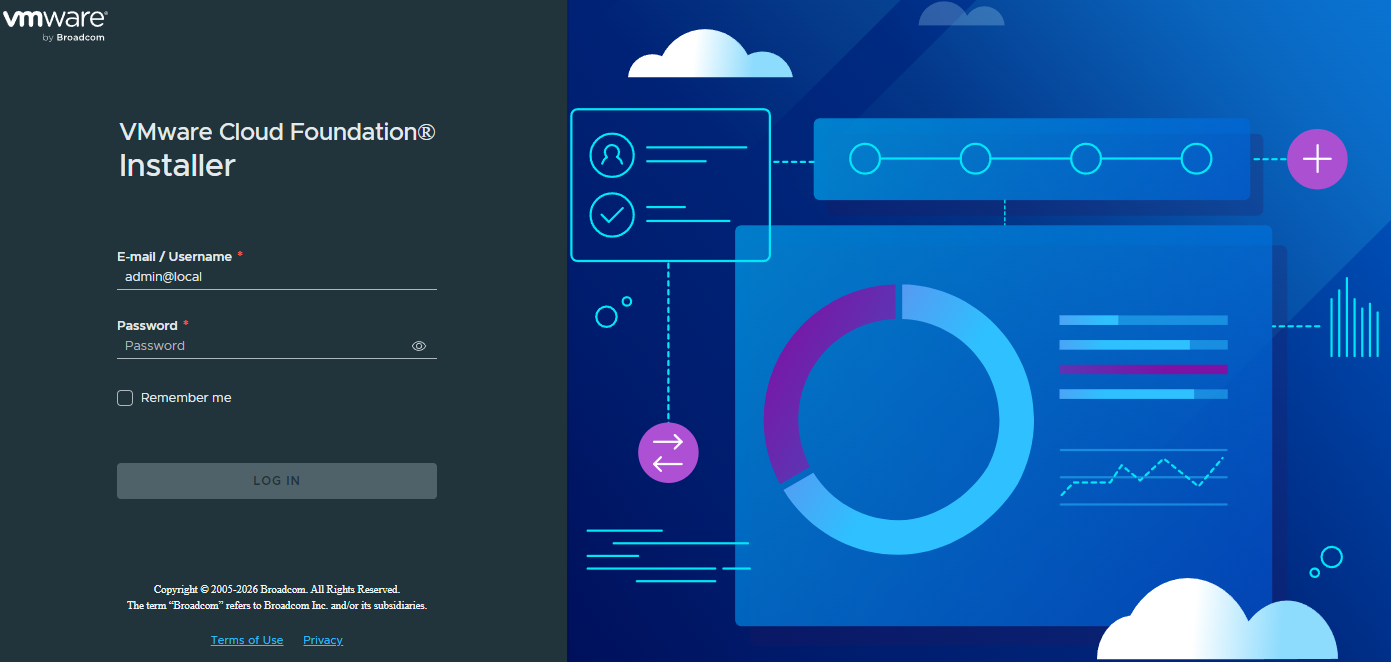
The username to log in will be admin@local, and the password will be the one you set for the local user option during the OVA deployment customizations.
That’s all it takes to deploy the VCF Installer for VCF or VVF.
If you want to read more about deploying the VCF Installer, here is the Broadcom documentation.




One thought on “Deploy VCF Installer”