Install VMware ESX
The first time you install VMware ESXi might feel a bit daunting. Once you’ve done it at least once, the process is very straightforward.
In this post, I will show you step-by-step how to install VMware ESX.
Prerequisites
- ESX install ISO.
- ESX host time zone set to UTC.
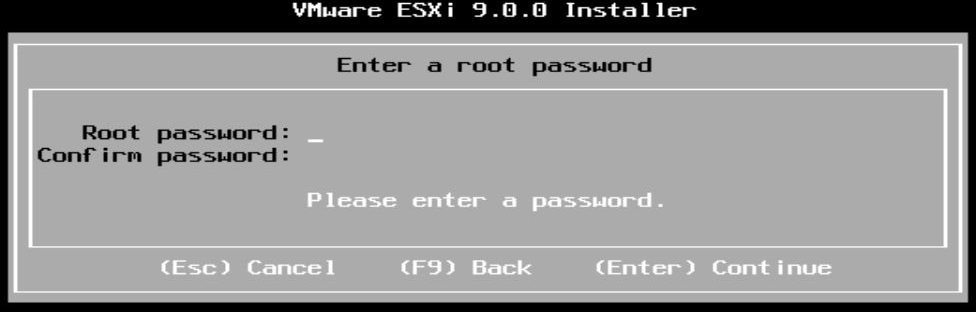
- A password for the root user.
The Process
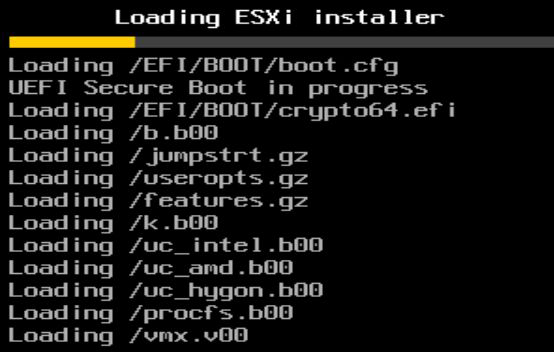
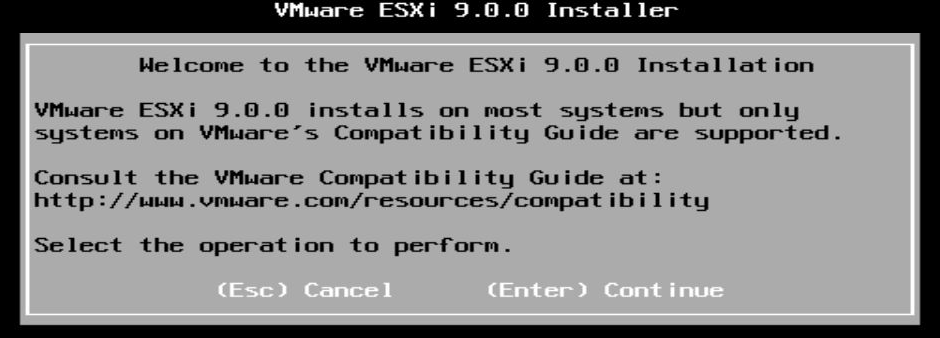
- Boot off the ESX install ISO.
- Press Enter to confirm you want to move ahead with the ESXi Installer.
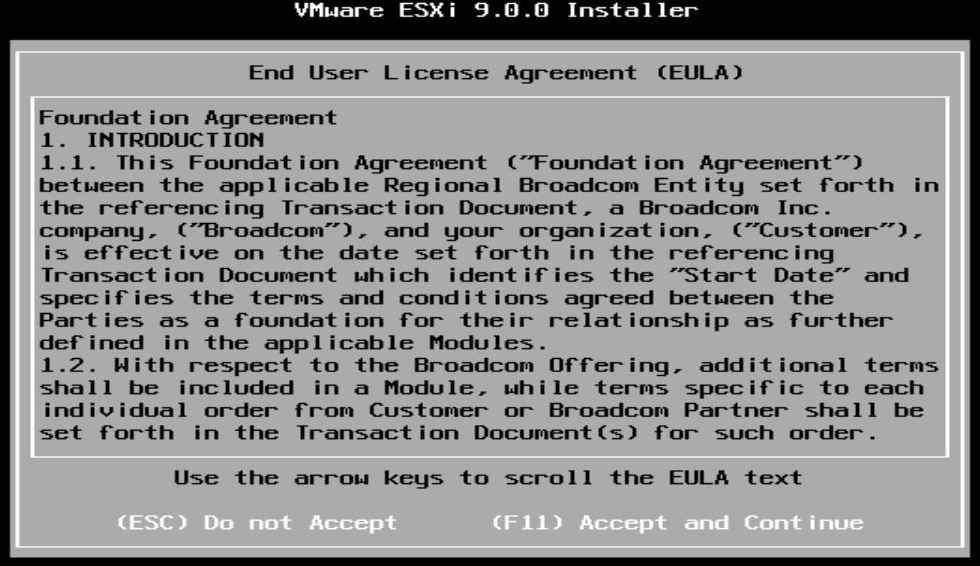
- Press F11 to accept the EULA and move ahead with the ESX installation.
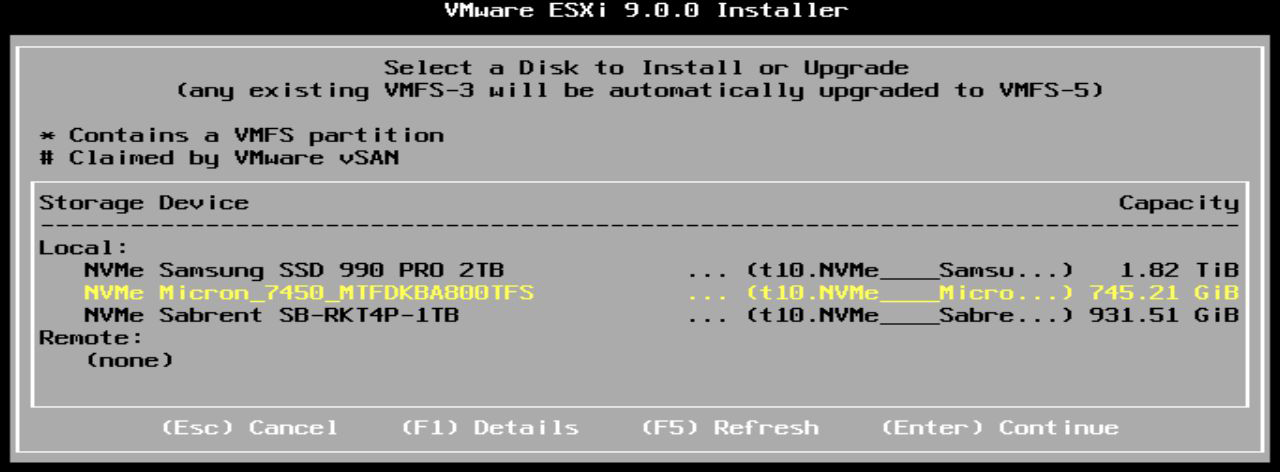
- Wait while the ESXi installer scans for devices.

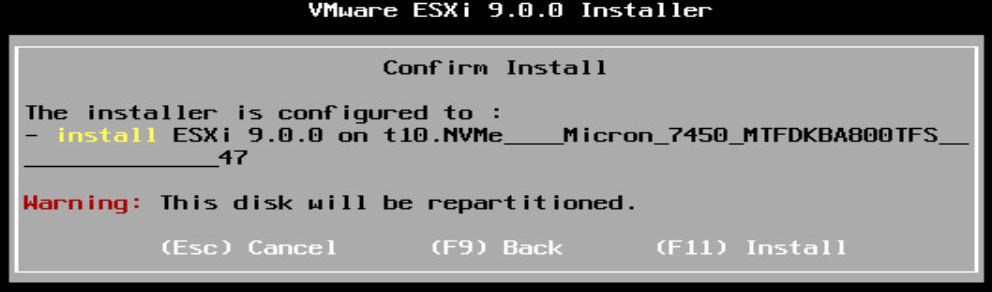
- Select the disk you want to install ESXi on and press Enter.
I will select the NVMe Micron.
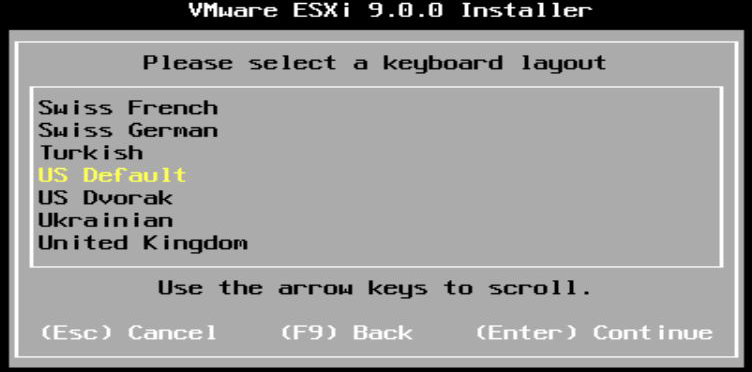
- Select your keyboard layout and press Enter.
I will select US Default.
- Enter a password for the root account and press Enter.
- Press F11 to confirm that you want to install ESXi on the selected disk.
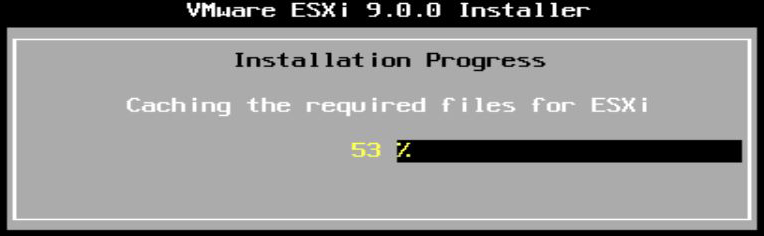
- Wait while the VMware ESXi Installer installs ESXi to the disk you selected.
- Once the ESXi installation is completed, remove the install media and press Enter to reboot the host.

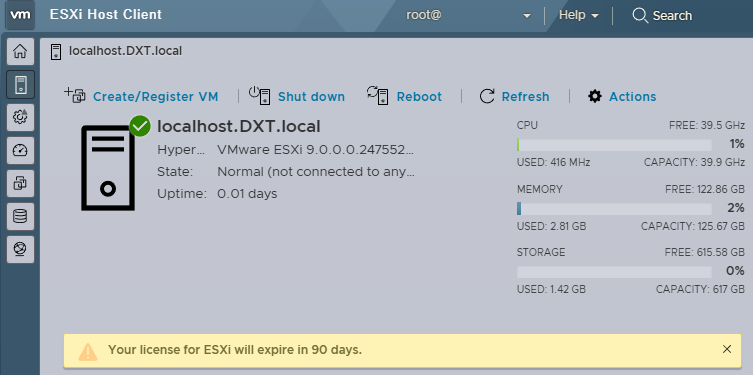
The VMware ESXi Installer will say that ESXi will operate in evaluation mode for 60 days, which is true for all versions of ESXi that are not 9. With ESX 9, the evaluation mode is now 90 days.
- Wait while the ESXi host reboots.

- Your ESXi host will now boot into the freshly installed ESXi.
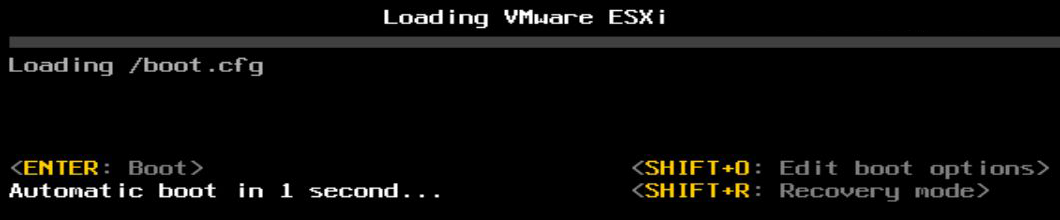
- Once the booting process is completed, you will now see the ESXi direct console interface.
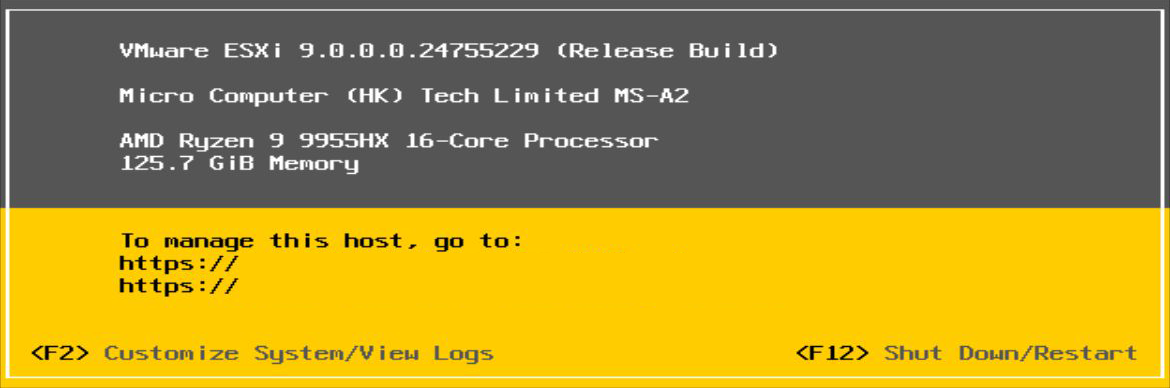
Common next steps are changing the host name and setting a static IP.
If you’ve never changed an ESXi hostname, my blog post ESXi changing the host name goes into detail, and if you’ve never set a static IP in ESXi, my blog post ESXi Setting a static IP goes into detail.
If you want to read more about installing VMware ESXi, here is the Broadcom documentation.