Adding a host to VCSA
Here is how to add a host to VCSA (vCenter Server Appliance specifically version 7)
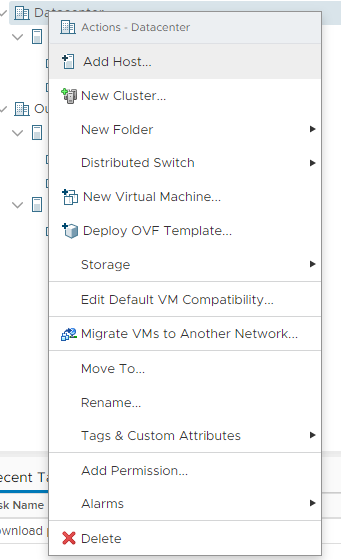
- Right click on the location where you want to add the host and click Add Host
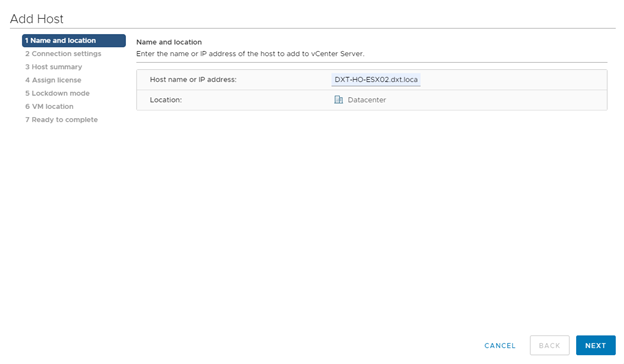
- Enter the hostname or IP (after it has been added if you want to change it you will need to remove it and re add it)
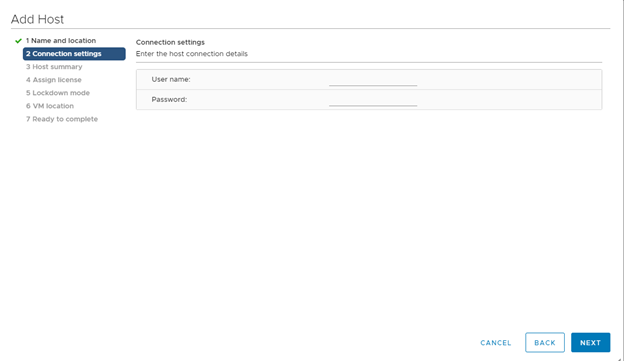
- Feed it the login info
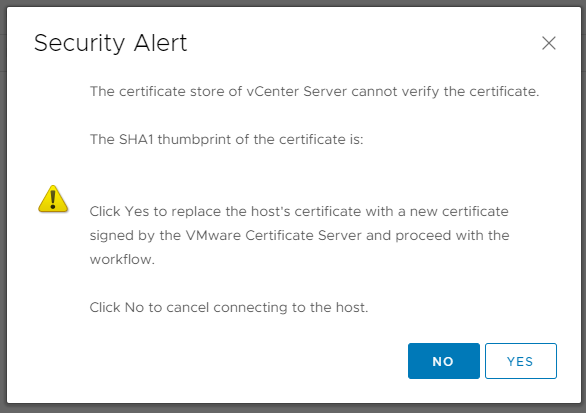
- Click yes on the SSL warning
- Click Next
- Give it a license if you have one or leave it on evaluation
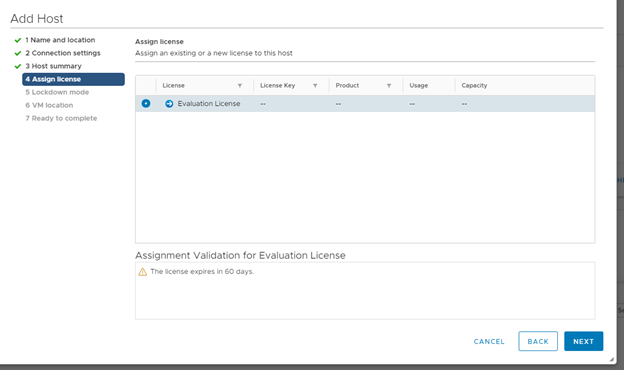
- Click Next
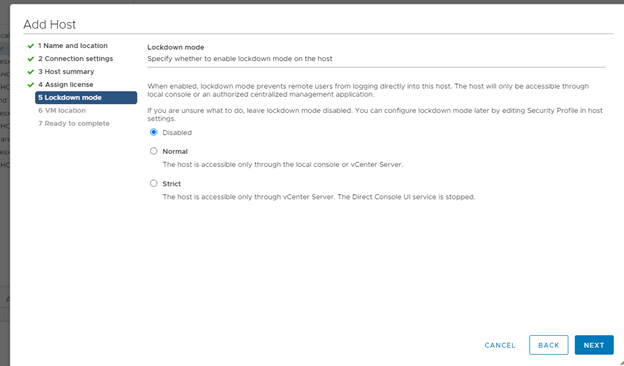
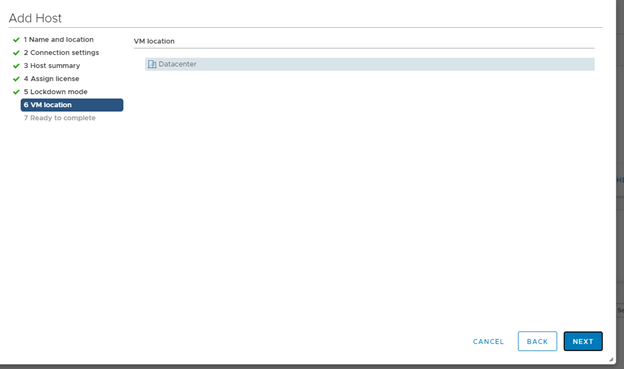
- Click Next
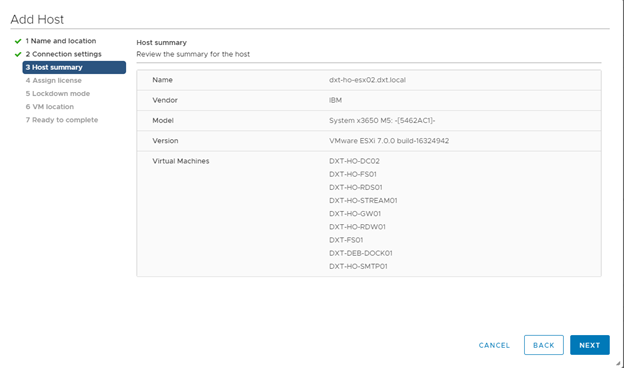
- If all the info looks right click finish

- It will now add the host into VCSA

You have now added a host to VCSA