Microsoft Entra ID Protected Actions
Microsoft Entra ID has a feature called Protected Actions. When you configure Protected Actions, you can use them with Conditional Access policies to add extra layers of security before the protected action executes.
The following actions can be configured with Protected Actions:
- Conditional Access policy management
- Named Location management
- Protected Actions management
- Cross-tenant Access policy management
- Hard deletions of soft-deleted items
In this post, I will show you step by step how to configure Microsoft Entra ID Protected Actions with Conditional Access.
The Process
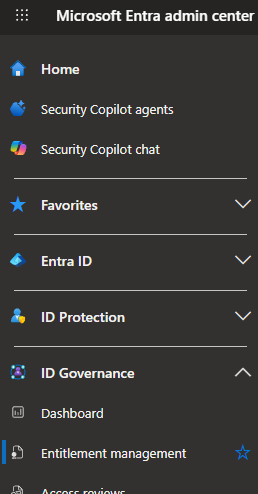
- Login to the Microsoft Entra admin center.
- Click on Entra ID > Conditional Access.
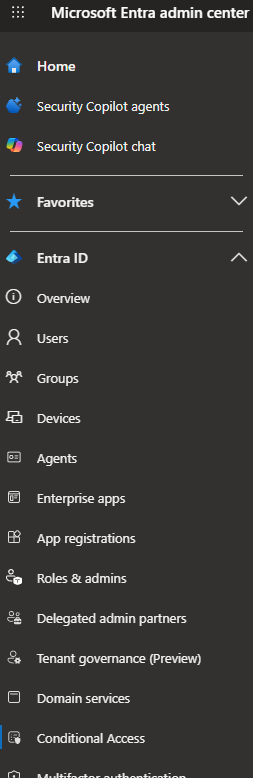
- Click on Authentication contexts.
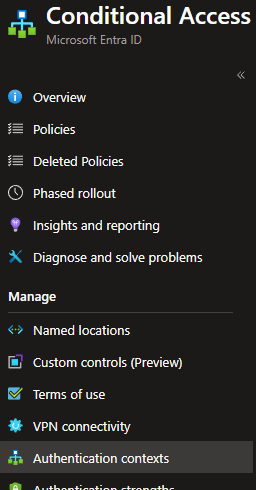
- Click on New authentication context.
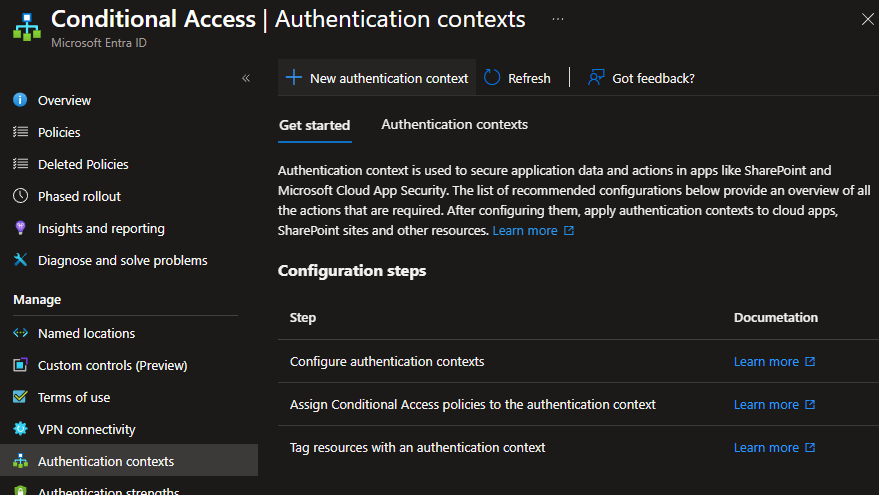
- Enter a name for the Protected Action Authentication context.
- Select Publish to apps.
- Pick an ID.
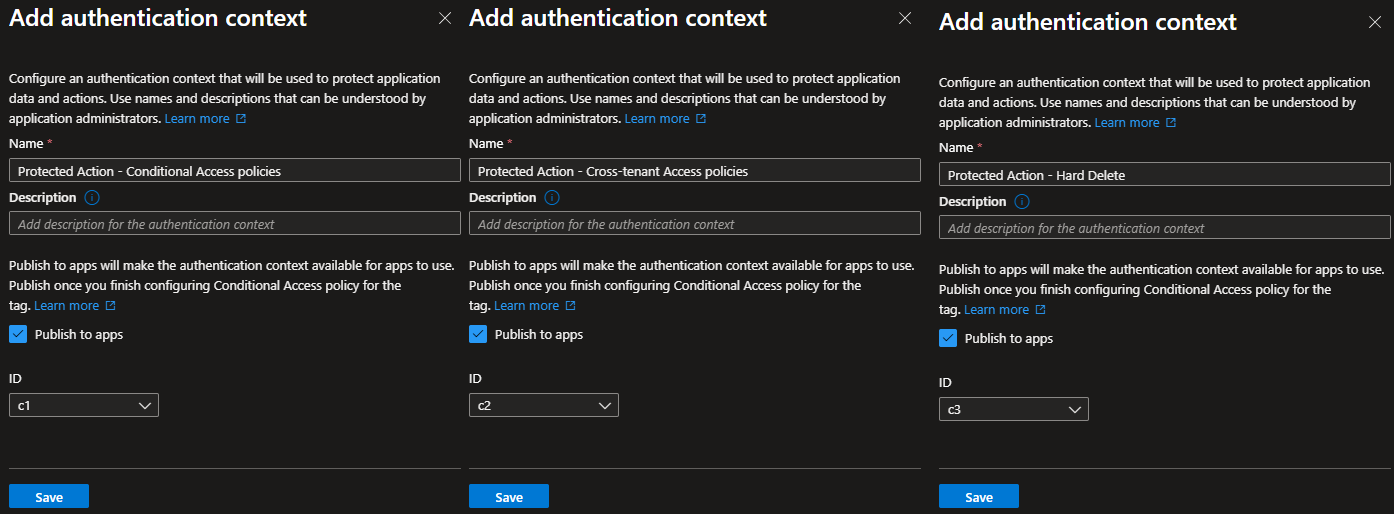
In my example, I will create three authentication contexts: one for Conditional Access policy management, one for Cross-tenant Access policy management, and one for Hard Delete.
Once we have created the authentication contexts, we need to build a Conditional Access policy that uses them.
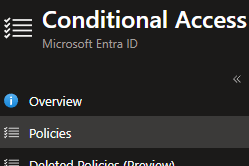
- Click on Policies.
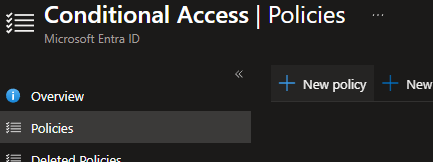
- Click on New policy.
- Next, we need to configure the Conditional Access policy.
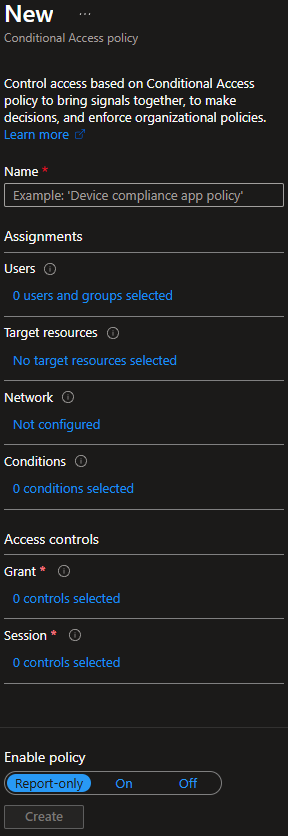
- For Name, enter the name you want to use for your Conditional Access policy.

In my example, I will call it Protected Actions.
- For Users, select the users that you want to apply the policy to and select any users you want to exclude.
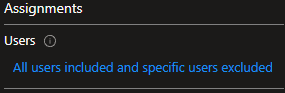
In my example, I will select all users and exclude my break-glass accounts.
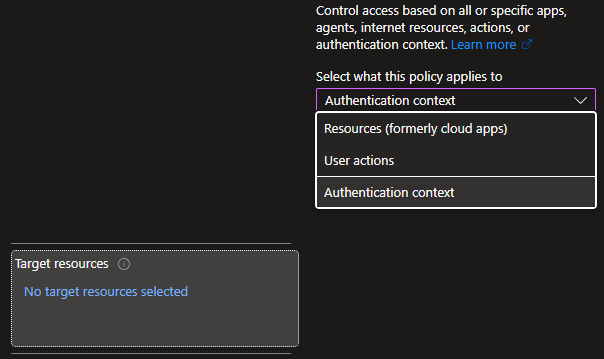
- For Target resources, select Authentication context.