On October 14, 2025, Windows 10 reached end of life and no longer receives updates. To keep getting updates, you must upgrade to Windows 11 or enroll in the Windows 10 ESU (Extended Security Updates) program.
In this post, I will show you step by step how to enable the commercial Windows 10 Extended Security Updates and how to mange ESU in non-persistent VDI setups.
Perquisites
- Windows 10 ESU MAK.
Once you have purchased Windows 10 ESU, you will receive a MAK (Multiple Activation Key).
- Windows 10 version 22H2.
- Windows 10 LTSB or LTSC are not eligible for ESU.
- The following updates must be installed.
- 2025-10 Cumulative Update for Windows 10 Version 22H2 (KB5066791) or newer.
- 2025-11 Security Update for Windows 10 Version 22H2 (KB5072653) installed after KB5066791.
- 2025-10 Cumulative Update for Windows 10 Version 22H2 (KB5066791) or newer.
The Process
- Open Command Prompt or PowerShell as admin.
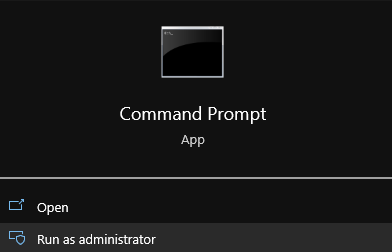
We will use slmgr.vbs which you can use directly or call it from csript. I will call it from csript to keep everything in the command line window. To use csript with slmgr.vbs we just need to prefix the slmgr.vbs command with cscript C:\Windows\System32\.
If you want to read more about slmgr.vbs, my blog post slmgr.vbs goes into detail.
- First, we need to install the Windows 10 ESU MAK product key. We will do this with the following command
slmgr.vbs /ipk YOUR_ESU_PRODUCT_KEYreplaceYOUR_ESU_PRODUCT_KEYwith your Windows 10 ESU MAK product key.

Next, we need to activate the specific ESU component by using its Activation ID.
- For Windows 10 ESU, there are 3 Activation IDs available.
- The Windows 10 ESU Year 1 Activation ID is
f520e45e-7413-4a34-a497-d2765967d094. - The Windows 10 ESU Year 2 Activation ID is
1043add5-23b1-4afb-9a0f-64343c8f3f8d. - The Windows 10 ESU Year 3 Activation ID is
83d49986-add3-41d7-ba33-87c7bfb5c0fb.
- The Windows 10 ESU Year 1 Activation ID is
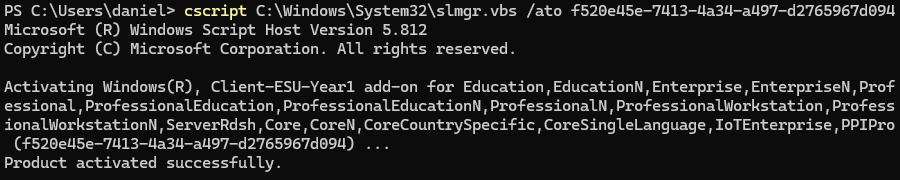
- To activate the ESU, we will use the following command
slmgr.vbs /ato ESU_ACTIVATION_IDreplacingESU_ACTIVATION_IDwith the Activation ID that applies to your situation.
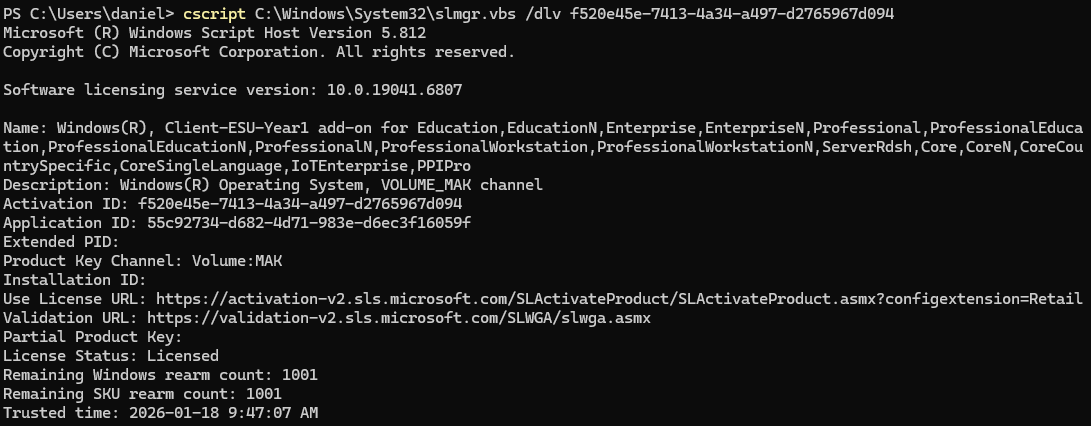
- To confirm everything worked, run the following command
slmgr.vbs /dlv ESU_ACTIVATION_IDreplacingESU_ACTIVATION_IDwith the Activation ID you just activated.
- You can now update your Windows 10 system.
Non-Persistent VDI
When using Windows 10 ESU with non-persistent VDI, you’ll need to deactivate your Windows 10 ESU product key on your golden image before publishing it, or else non-persistent systems may consume all your ESU activations.
- Open Command Prompt or PowerShell as admin.
- Remove the Windows 10 ESU activation with the following command
slmgr.vbs /upk ESU_ACTIVATION_IDreplacingESU_ACTIVATION_IDwith the Activation ID you used.

Known Issues
There are a few known issues with Windows 10 ESU that you should be aware of.
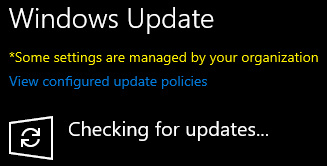
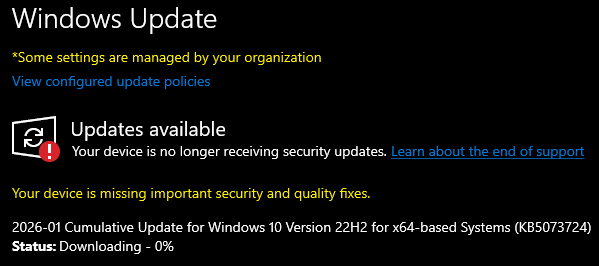
- It’s common after activating the Windows 10 ESU that Windows Updates says your device is no longer receiving security updates. This is just a visual bug, as checking and installing updates works. The update that resolves the issue is available after enrolling in Windows 10 ESU.
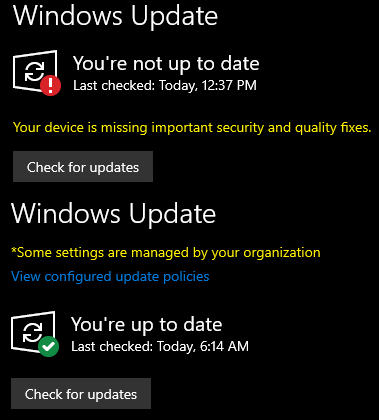
- On some systems, after all Windows 10 ESU updates are installed, Windows Updates may keep saying You’re not up to date and/or Your device is missing important security and quality fixes. But when you check for updates, no new updates are available. This is another visual bug. In my testing, it typically clears up in about 24 hours.
Summary
That’s all it takes to enable the commercial Windows 10 Extended Security Updates and manage it in non-persistent VDI setups.
If you want to learn more about Windows 10 ESU, here is the Microsoft documentation.