Veeam Backup & Replication is a wonderful product that I’ve been using for years. I’ve used it many times to recovery from various situations, and it’s been a real lifesaver.
VBR (Veeam Backup & Replication) is backup software that can back up your systems, whether they are bare-metal, cloud, or VMs. VBR supports various hypervisors, including VMware, Hyper-V, Nutanix, Proxmox, and others, and has expanded its support to include backing up raw file shares or object storage. Veeam keeps adding more and more features to VBR. VBR is part of the Veeam Data Platform.
In this post, I will show you step by step how to install Veeam Backup & Replication 13 on Windows.
Prerequisites
You need a server with the following.
- Windows Server 2016 or newer.
- 8 CPU cores or more.
- 16 GB RAM or more.
- 130GB disk space.
- 5 GB for the Veeam Backup & Replication installation.
- 4.5 GB for Microsoft .NET Framework.
- 10 GB per 100 backed up VMs.
- 100 GB for instant recovery cache folder.
- 10 GB for Logs.
- Port 443 is available.
The required disk space doesn’t all have to be on the C drive. For this post, I’ll keep it on the C drive.
The Process
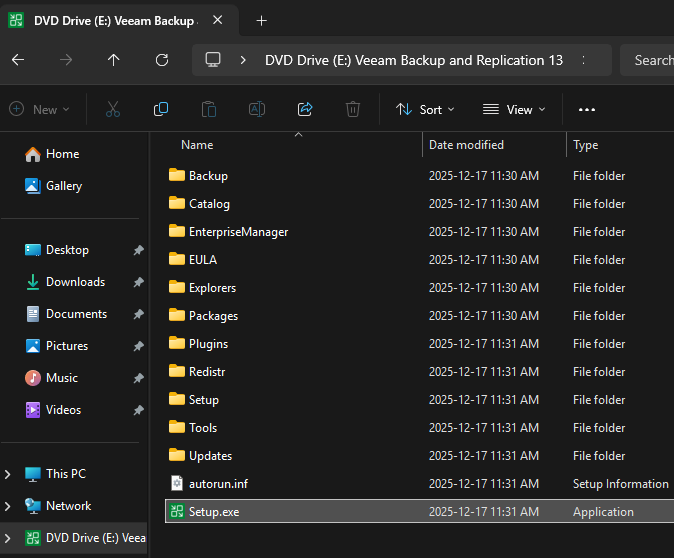
- Mount the VBR ISO.
- Run Setup.exe.
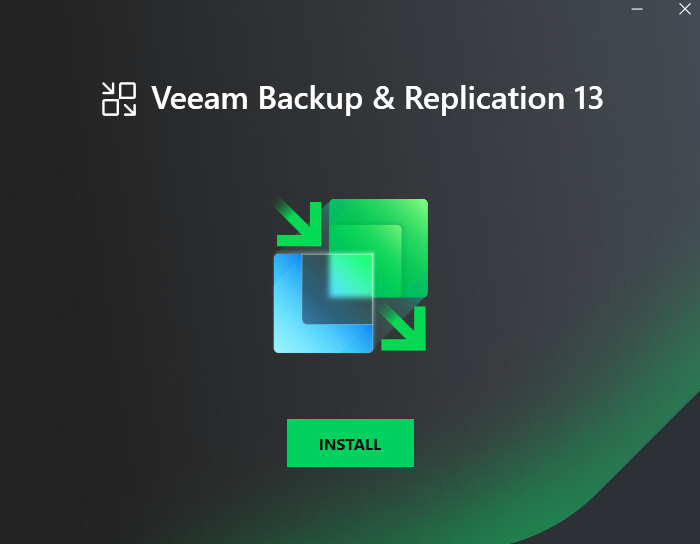
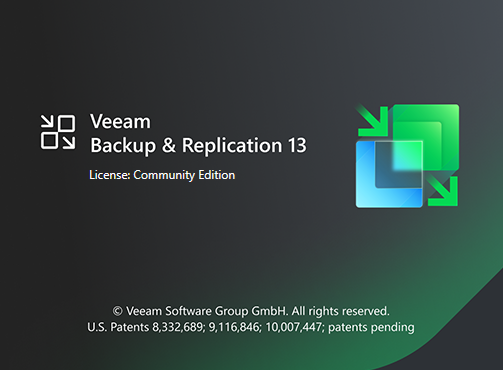
- On the VBR 13 install splash screen, click on Install.
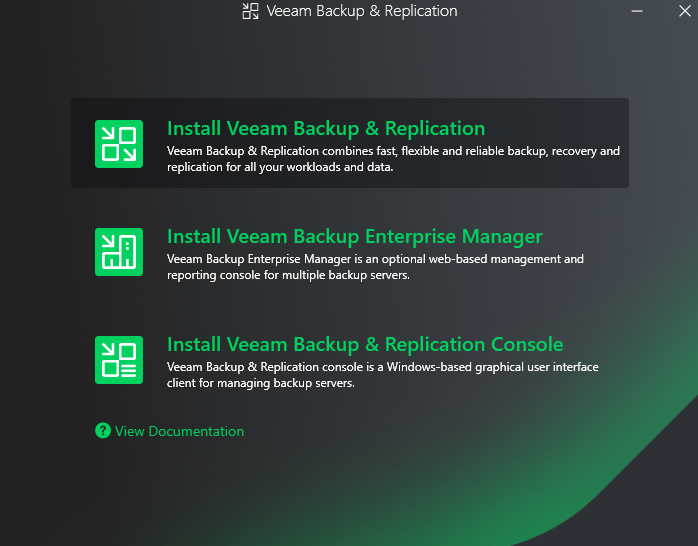
- Click on Install Veeam Backup & Replication.
- Wait while the setup wizard is initialized.

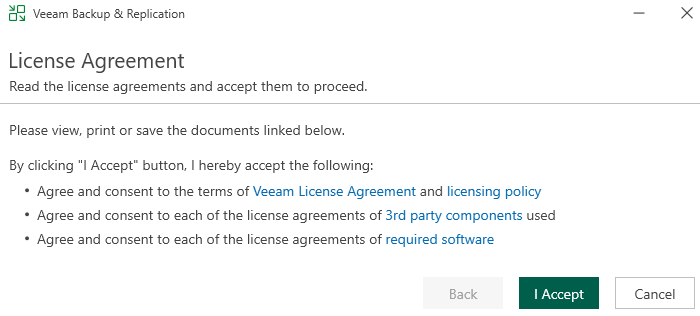
- If you agree to the Veeam license agreements, click on I Accept.
- Enter your Veeam license. Otherwise, the installer installs the community edition.
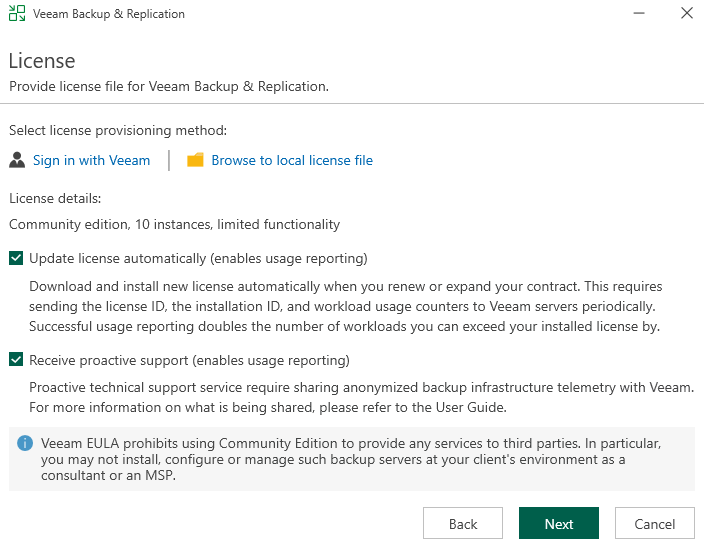
I will use the community edition.
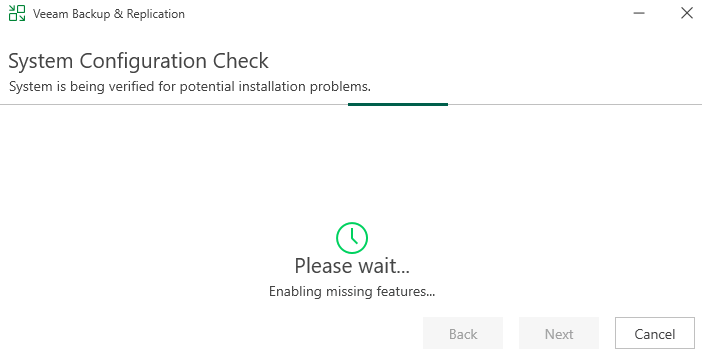
- Wait while the VBR installer checks your system for any potential installation issues.
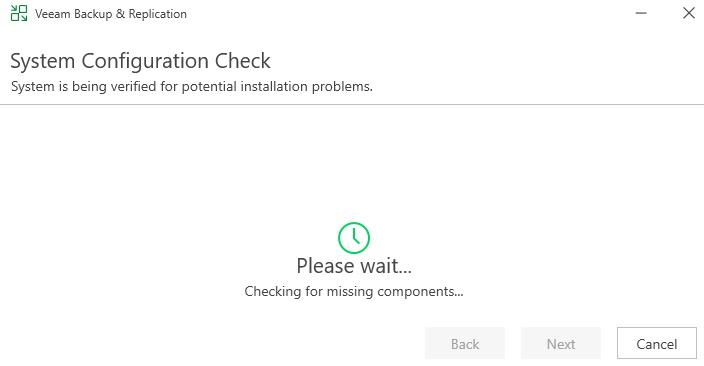
During this process, the VBR installer will install and enable any missing features.
- Decide whether to use the Veeam default installation settings, then click Install or Customize Settings.
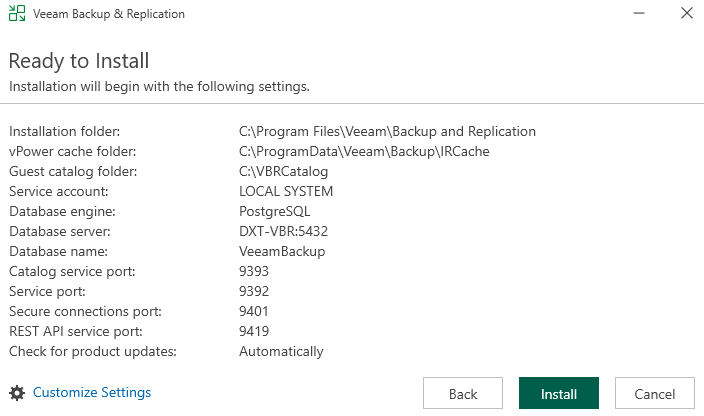
I will use the default settings.
VBR 13 on Windows supports PostgreSQL and Microsoft SQL Server for the configuration database. PostgreSQL is the default, but Microsoft SQL Server remains supported.
- The installation process consists of 8 steps.
- Installs PostgreSQL.
- Installs Veeam Backup & Replication Server.
- Installs Veeam Backup & Replication Console.
- Installs Veeam Explorers.
- Installs Veeam Agents Redistributables.
- Installs Plug-ins for Veeam Backup & Replication.
- Applies the latest update.
- Finalizes the installation and starts services.

During the VBR 13 installation, you will see a few Veeam ads.
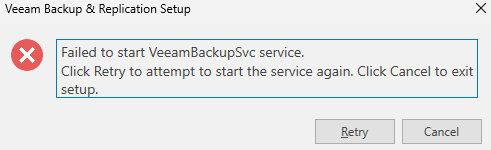
If you are installing Veeam on a slower server, you may encounter an error saying that the VeeamBackupSvc service failed to start. In my testing, clicking retry and waiting a bit typically resolves it.
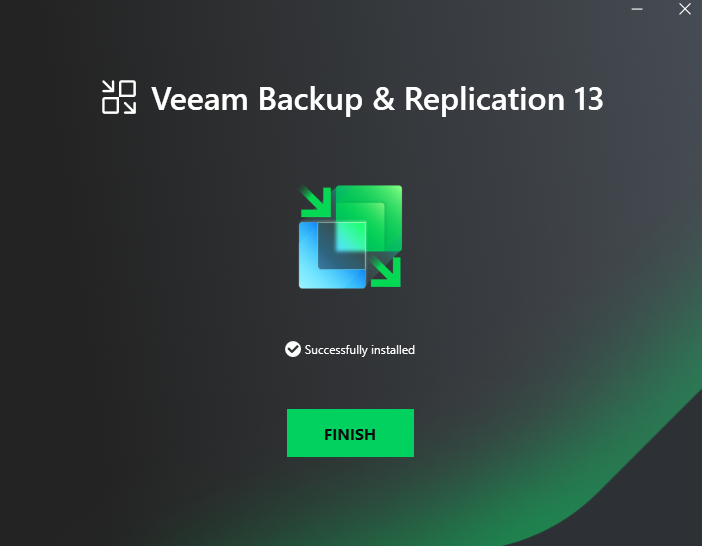
- Click Finish to close the VBR 13 installation splash screen.
- Open the Veeam Backup & Replication Console.
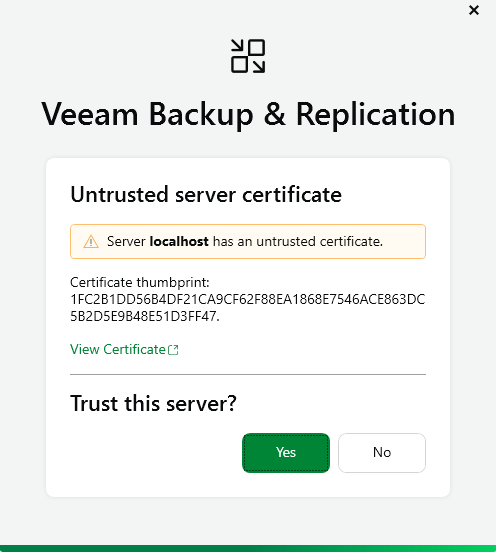
It’s normal for VBR to say that localhost has an untrusted certificate on a fresh install.
- Click Yes to trust the server certificate for your new VBR install.
- Click Sign in as current user.
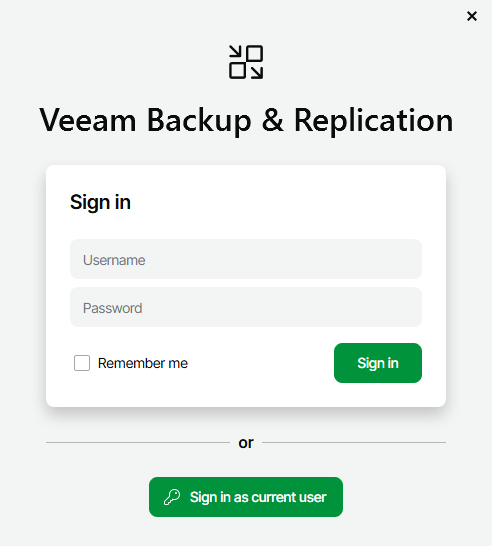
- The VBR Windows console will begin loading.
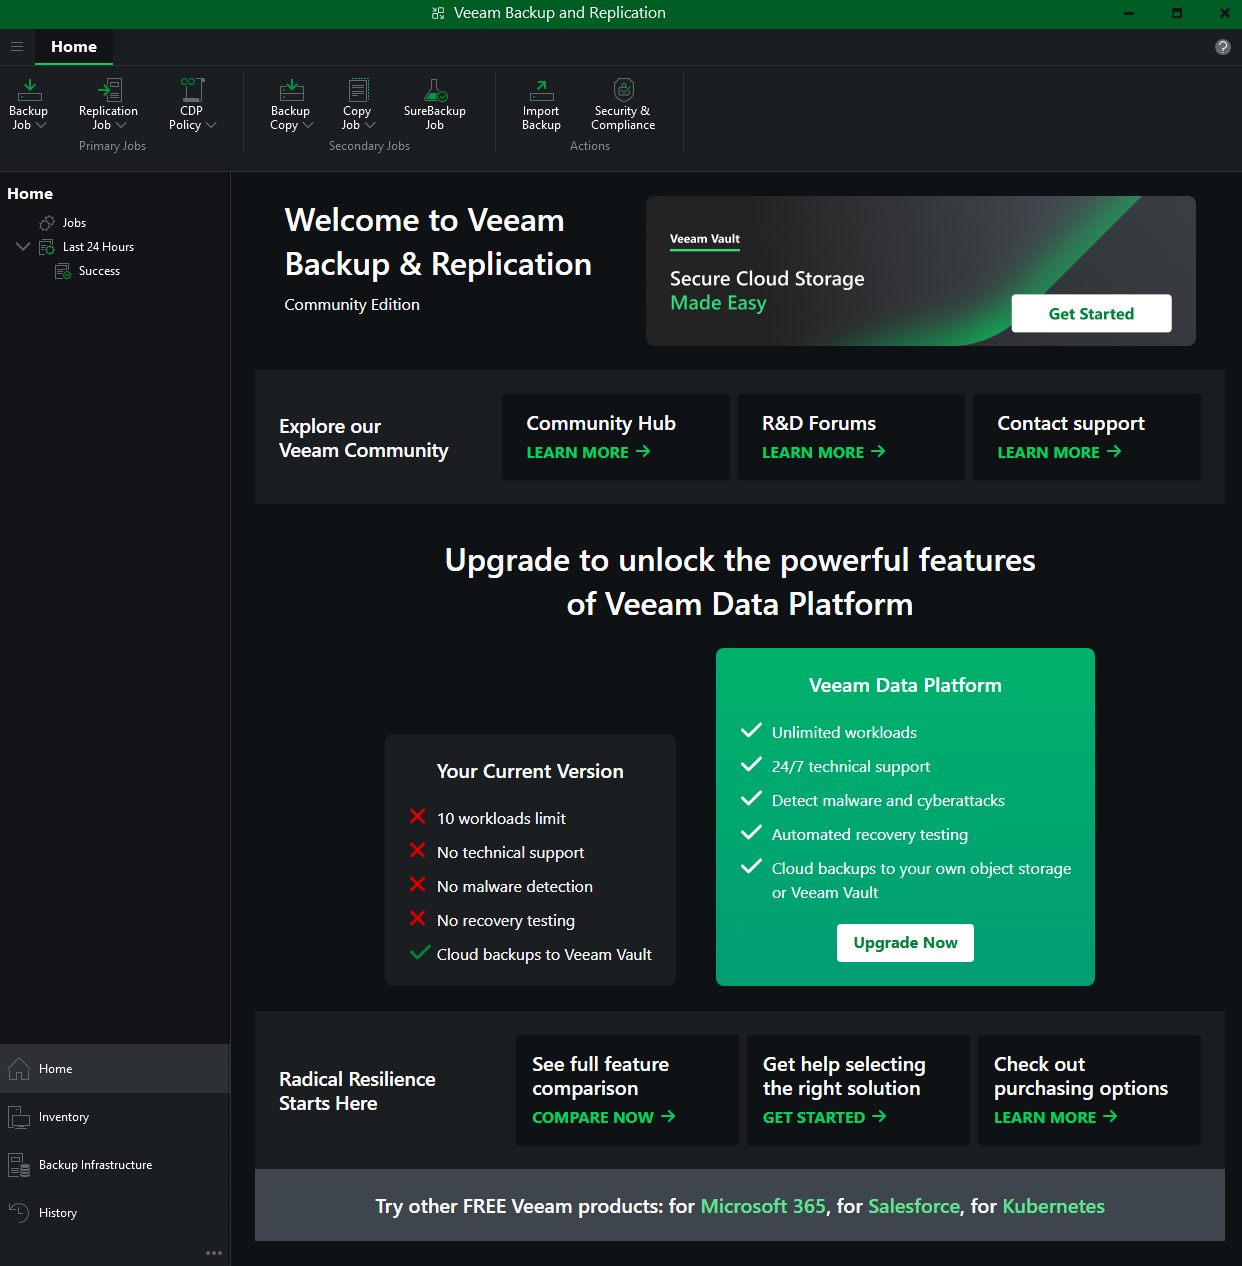
- You will now see the VBR console.
A new feature in VBR 13 is support for dark mode.
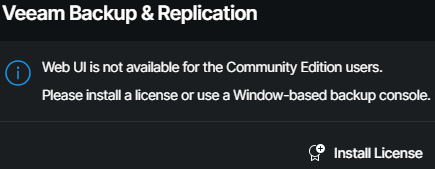
VBR 13 now features a web UI on port 443. Access it at https://localhost/ on your VBR server.

Unfortunately, with the community edition, you can’t use the web UI.
Summary
That’s all it takes to install Veeam Backup & Replication 13 on Windows.
If you want to read more about installing Veeam Backup and Replication, here is the Veeam documentation.
If you want to learn more about the community edition, here is the Veeam page about it.