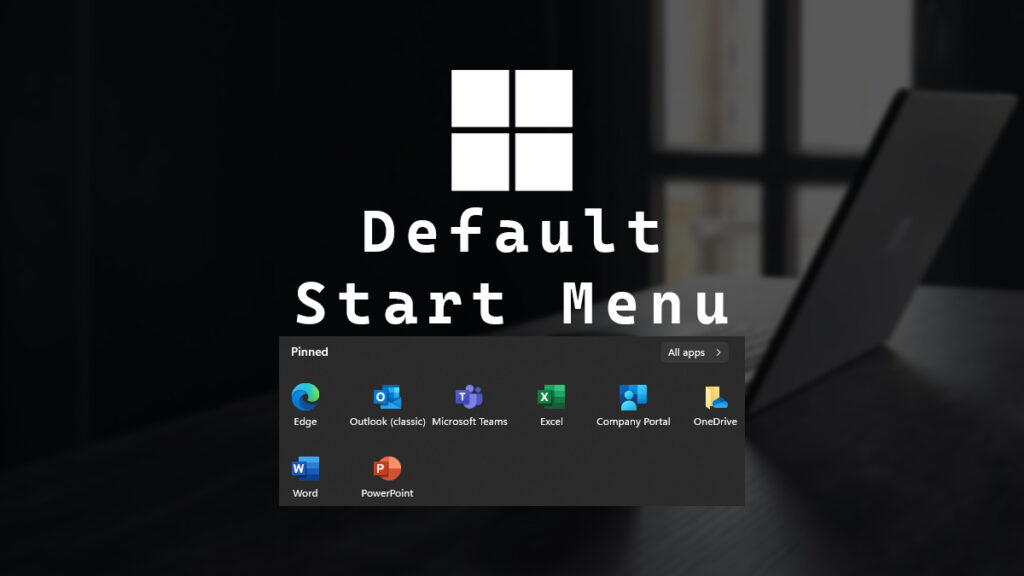
With Windows 11, many visual elements have changed, and one of the most noticeable ones is the Start Menu. With a new star menu comes a new way to manage it. With Windows 10, you can control the start menu with an XML file. Now, with Windows 11, you can control it with a JSON file.
What’s extra interesting is that you still control the taskbar with an XML file. If you want to know how to deploy a default taskbar, my blog post, Intune Deploy Default Taskbar, covers how to do that.
There are a few pitfalls when you control the Windows 11 Start Menu. The first one is that users will no longer be able to pin anything extra to the Start Menu.
Another pitfall is that users can technically reorder the applications you pin in the start menu but the next time they log in, it is reset to the layout you defined.
In this post, I will show you step-by-step how to deploy a Windows 11 default Start Menu layout using Microsoft Intune.
Building the Start Layout
- On a source system, pin the applications to the start menu in the order you want.
- Export the Start Menu layout by running the following PowerShell command
Export-StartLayout -path C:\temp\Win11-Start.json
This is what my initial Start Menu JSON file looks like.
{"pinnedList":[{"desktopAppLink":"%ALLUSERSPROFILE%\\Microsoft\\Windows\\Start Menu\\Programs\\Microsoft Edge.lnk"},{"desktopAppLink":"%ALLUSERSPROFILE%\\Microsoft\\Windows\\Start Menu\\Programs\\Outlook (classic).lnk"},{"packagedAppId":"MSTeams_8wekyb3d8bbwe!MSTeams"},{"desktopAppLink":"%ALLUSERSPROFILE%\\Microsoft\\Windows\\Start Menu\\Programs\\Excel.lnk"},{"packagedAppId":"Microsoft.CompanyPortal_8wekyb3d8bbwe!App"},{"desktopAppLink":"%ALLUSERSPROFILE%\\Microsoft\\Windows\\Start Menu\\Programs\\OneDrive.lnk"},{"desktopAppLink":"%ALLUSERSPROFILE%\\Microsoft\\Windows\\Start Menu\\Programs\\Word.lnk"},{"desktopAppLink":"%ALLUSERSPROFILE%\\Microsoft\\Windows\\Start Menu\\Programs\\PowerPoint.lnk"}]}
Code language: JSON / JSON with Comments (json)
By default JSON is compressed which can make reading it a bit harder. Here is the same JSON but in an expanded view.
{
	"pinnedList": [
		{
			"desktopAppLink": "%ALLUSERSPROFILE%\\Microsoft\\Windows\\Start Menu\\Programs\\Microsoft Edge.lnk"
		},
		{
			"desktopAppLink": "%ALLUSERSPROFILE%\\Microsoft\\Windows\\Start Menu\\Programs\\Outlook (classic).lnk"
		},
		{
			"packagedAppId": "MSTeams_8wekyb3d8bbwe!MSTeams"
		},
		{
			"desktopAppLink": "%ALLUSERSPROFILE%\\Microsoft\\Windows\\Start Menu\\Programs\\Excel.lnk"
		},
		{
			"packagedAppId": "Microsoft.CompanyPortal_8wekyb3d8bbwe!App"
		},
		{
			"desktopAppLink": "%ALLUSERSPROFILE%\\Microsoft\\Windows\\Start Menu\\Programs\\OneDrive.lnk"
		},
		{
			"desktopAppLink": "%ALLUSERSPROFILE%\\Microsoft\\Windows\\Start Menu\\Programs\\Word.lnk"
		},
		{
			"desktopAppLink": "%ALLUSERSPROFILE%\\Microsoft\\Windows\\Start Menu\\Programs\\PowerPoint.lnk"
		}
	]
}
Code language: JSON / JSON with Comments (json)
For whatever reason, on Windows 11, you can’t use the UseDesktopApplicationID parameter anymore. Due to this, the exported JSON file will use lnk shortcut paths instead of the application ID.
You can use the lnk pathing without any issue. However, if the path to the lnk changes, you may encounter problems. I don’t like this extra variable, so I will switch them to use their respective app IDs instead.
To get the app IDs, you can run the following PowerShell command Get-StartApps
For each desktopAppLink in my start menu JSON file, I will replace them with desktopAppId
After those changes, I now have a Start Menu compressed JSON file that looks like this.
{"pinnedList":[{"desktopAppId":"MSEdge"},{"desktopAppId":"Microsoft.Office.OUTLOOK.EXE.15"},{"packagedAppId":"MSTeams_8wekyb3d8bbwe!MSTeams"},{"desktopAppId":"Microsoft.Office.EXCEL.EXE.15"},{"packagedAppId":"Microsoft.CompanyPortal_8wekyb3d8bbwe!App"},{"desktopAppId":"Microsoft.SkyDrive.Desktop"},{"desktopAppId":"Microsoft.Office.WINWORD.EXE.15"},{"desktopAppId":"Microsoft.Office.POWERPNT.EXE.15"}]}
Code language: JSON / JSON with Comments (json)
This is the expanded JSON view for the same file.
{
	"pinnedList": [
		{
			"desktopAppId": "MSEdge"
		},
		{
			"desktopAppId": "Microsoft.Office.OUTLOOK.EXE.15"
		},
		{
			"packagedAppId": "MSTeams_8wekyb3d8bbwe!MSTeams"
		},
		{
			"desktopAppId": "Microsoft.Office.EXCEL.EXE.15"
		},
		{
			"packagedAppId": "Microsoft.CompanyPortal_8wekyb3d8bbwe!App"
		},
		{
			"desktopAppId": "Microsoft.SkyDrive.Desktop"
		},
		{
			"desktopAppId": "Microsoft.Office.WINWORD.EXE.15"
		},
		{
			"desktopAppId": "Microsoft.Office.POWERPNT.EXE.15"
		}
	]
}
Code language: JSON / JSON with Comments (json)- Save any tweaks you made to the Start Menu JSON file.
Intune Deployment
We need to configure Microsoft Intune to deploy the custom Start Menu Layout.
- Login to Microsoft Intune admin center
- Click on Devices
- Click on Configuration
- Click on Create > New Policy.
- Set the Platform to Windows 10 and later and set the Profile type to Settings catalog.
- Give your Profile a name and click Next.
I’m going to call mine Win 11 Default Start Menu.
- Click on Add settings.
- Search for Start Pin, check off Configure Start Pins, and close the settings picker.
- Select the Start Menu JSON file and click Next.
- Set your scope tags as needed and click Next.
- Select your Assignments.
In my setup, I will use the same groups used to target the Microsoft Office and Company Portal installs, which happens when the device is onboarded to Intune, so I don’t need to worry about Microsoft Office or Company Portal not being installed.
I will also use a filter mode of include to only target Windows 11 devices. You can read more about the device filters I like to use and how to create them in my Intune Device Filters blog post.
- Review the draft Windows 11 Default Start Menu Configuration Policy. If all looks good, click Create.
- The Start Menu layout configuration will start deploying to the systems you targeted.
That’s all it takes to deploy a standard Start Menu layout as the default for all users by using Microsoft Intune.
If you want to read more about deploying the Windows 11 Start Menu, here is the Microsoft documentation.


