




Microsoft Entra ID (formerly Azure AD) has an awesome feature called Conditional Access that can add an extra layer of security to your Microsoft 365 tenant. The power of Conditional Access really shines when you position Entra as your IdP (Identity Provider). Conditional Access is one of my favorite features in Entra.
To use Conditional Access policies, you need an Entra ID P1 or P2 license. Without one, your tenant likely has Security Defaults enabled. Security Defaults is a basic version of Conditional Access that does not allow any customizations. It provides protections, such as requiring all users to register for MFA and prompting for MFA when Microsoft deems it necessary.
The power of Conditional Access is that it lets you use identity signals such as user, location, application, and device, to name a few, and make decisions based on those signals, such as allowing or denying access or requiring additional verification.

Conditional Access processes policies using if-then conditions (not top-to-bottom like a firewall). Conditional Access policies take effect after first-factor authentication is completed (such as entering a valid password).
The best way I’ve found to think about Conditional Access is to compare it to airport security when traveling from Canada to the United States. Before you can board your flight, you need to clear security. If we wrote this as a conditional access policy, it would be: if the user is logging in, then MFA is required.
When traveling to the United States from Canada, you complete customs pre-clearance before boarding your flight. After clearing security, you have to clear U.S. customs. Customs checks whether you have a valid passport and whether you pose a risk to the country. You could technically say that to access customs, you need to clear security and have a valid passport. If we wrote this as a conditional access policy, it would be: if a user wants to log in to the VPN portal, then MFA and a compliant device are required. Since the user just performed MFA, the policy won’t prompt for MFA again, and as long as the device is compliant, it allows the user to log in to the VPN portal. At a high level, that’s how Conditional Access policies work.
Here are a few tips when creating and using Conditional Access policies:
- Decide on a policy naming convention.
- Policy names can be up to 256 characters long.
- Policies apply after first factor authentication (like a password).
- Have a working emergency access/break glass account.
- Policies are matched based on if-then conditions.
- Block policies always win.
- It can take up to 15 minutes or more for Entra sign-in logs to update.
- Sign-in error code
53003orAADSTS53003means Condition Access blocked it.
- Sign-in error code
- Use the What If tool to validate or troubleshoot policies.
- Test your policies in report-only mode first.
- It can take up to 15 minutes or more for a new policy or a policy change to take effect.
- You can have up to 240 policies.
Disabling Security Defaults
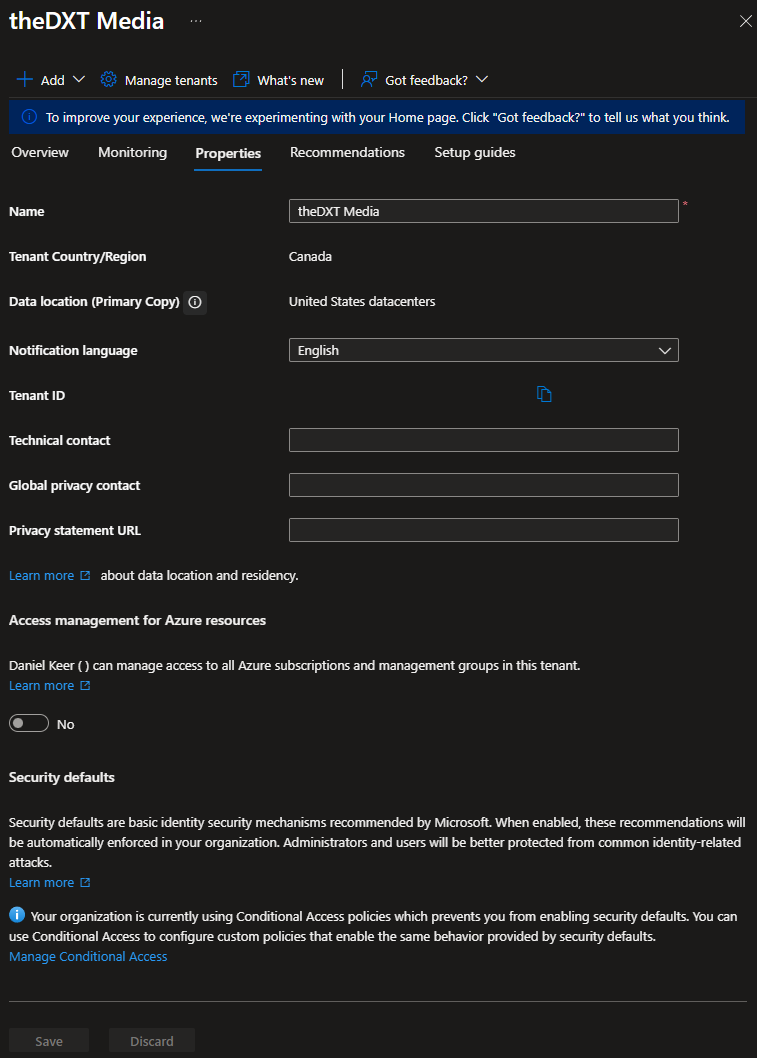
Before you can start using Conditional Access policies, you need to disable Security defaults.
- Login to Microsoft Entra Admin Center.
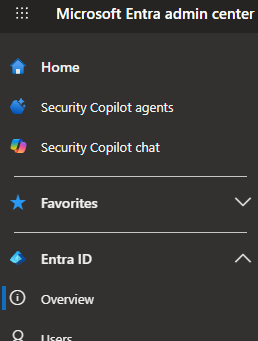
- Click on Entra ID > Overview.
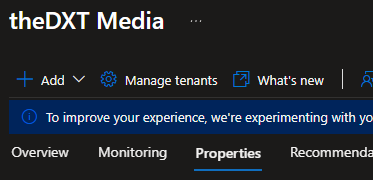
- Click on the Properties tab.
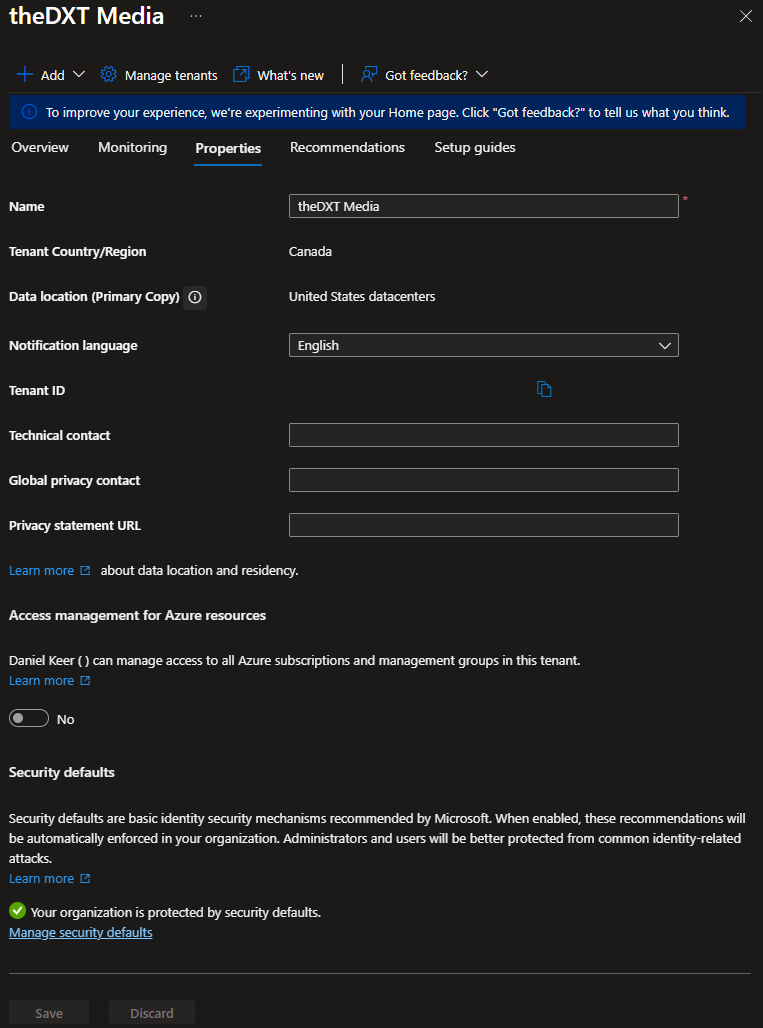
- In the Security defaults section, click on Manage security defaults.
- Set Security defaults to Disabled, provide a reason for disabling it, then click Save.
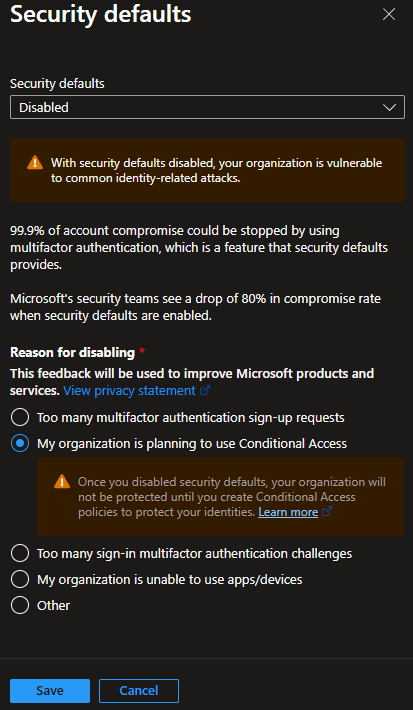
In my example, I will select My organization is planning to use Conditional Access.
- With Security defaults disabled, you should immediately enable Conditional Access policies to protect your tenant.
- Once Conditional Access policies are in place, you cannot enable security defaults.
Accessing Conditional Access Policies
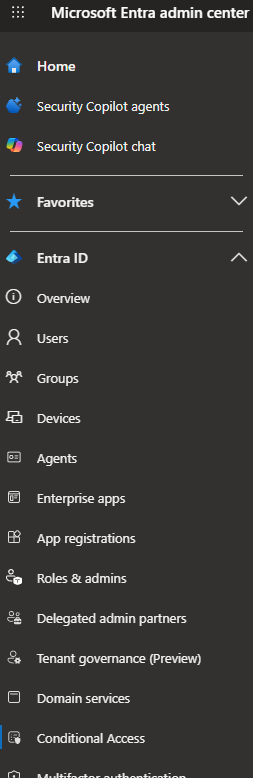
- Login to Microsoft Entra Admin Center.
- Click on Entra ID > Conditional Access.
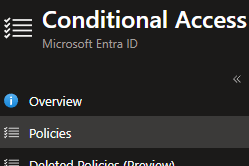
- Click on Policies
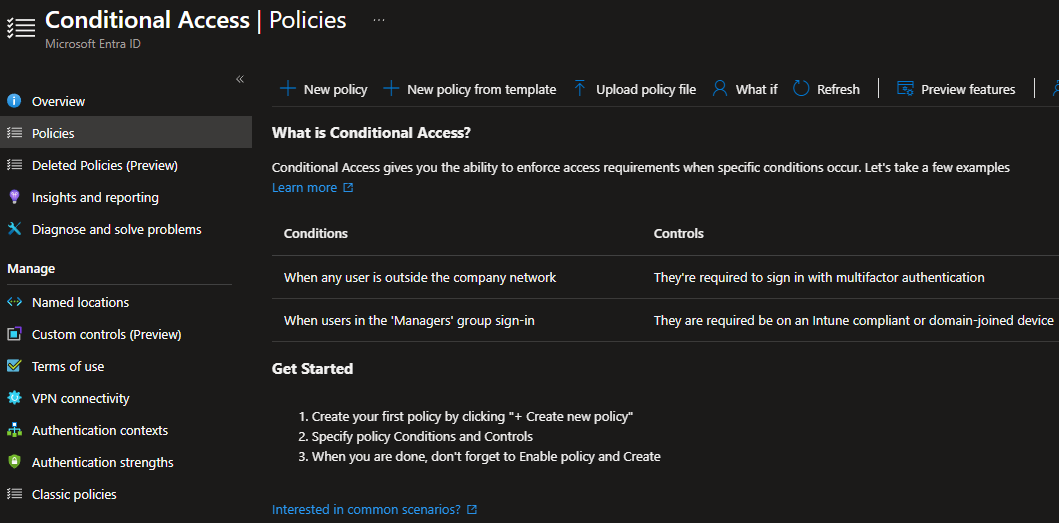
- You can now start creating your Conditional Access policies.
If you want to read more about Microsoft Entra ID Security defaults, here is the Microsoft documentation, and if you want to read more about Microsoft Entra ID Conditional Access, here is the Microsoft documentation.