


Microsoft Entra ID Governance has many cool features, one of them is Entitlement Management. Within Entitlement Management is the Access Packages feature.
Access Packages allow you to configure user self-service access to groups, applications, or SharePoint sites. You can set an Access Package to use a specific approver or a dynamic one, such as the user’s manager. You can also configure access reviews to help address users having access to things they no longer need.
An example use case for an Access Package is configuring it so a user can request Visio and have their manager approve the request. Once approved, the Access Package adds the user to the Visio licensing group, which allocates them a license. If Intune is configured, the user can then install Visio themselves via Company Portal.
You can delegate the setup of Access Packages for a department to someone in that department, allowing them to self-manage how their department members get the access they need for the projects or tasks they are working on.
In this post, I will show you step by step how to create an Access Package.
Prerequisites
To use the basics of Entitlement Management, including Access Packages, you need the following license.
- Microsoft Entra ID P2
If you want to unlock all the advanced features of Entitlement Management and Identity Governance, you need to have one of the following licenses.
- Microsoft Entra ID Governance
- Microsoft Entra Suite
The Process
- Login to the Microsoft Entra admin center.
- Click on ID Governance > Entitlement management.
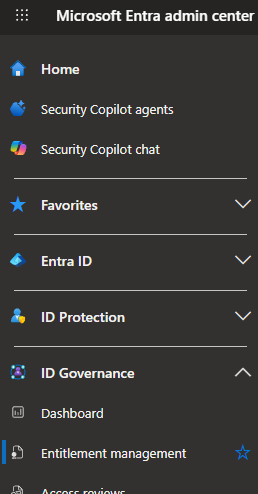
The rest of the process is divided into the following sections.
Catalogs
Before creating an Access Package, we need to create a Catalog. A Catalog is a collection of resources that Access Packages can use. Catalogs help organize resources and can enable delegated management without excessive permissions.
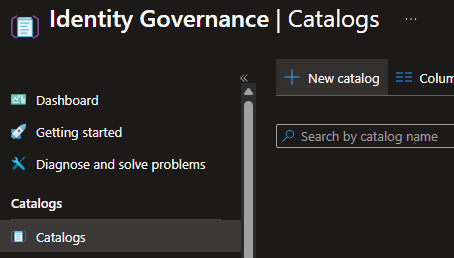
- Click on Catalogs.
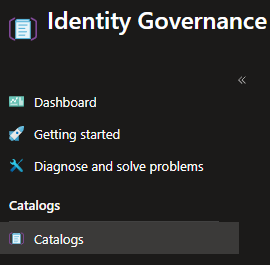
- Click on New catalog.
- Enter a name and description for the catalog.
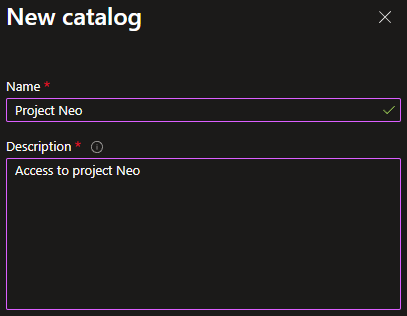
In my example, I will enter the name as Project Neo and the description as Access to project Neo.
- For Enabled for users to request, decide if users can request access to the Access Packages within the Catalog.
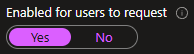
In my example, I will select Yes.
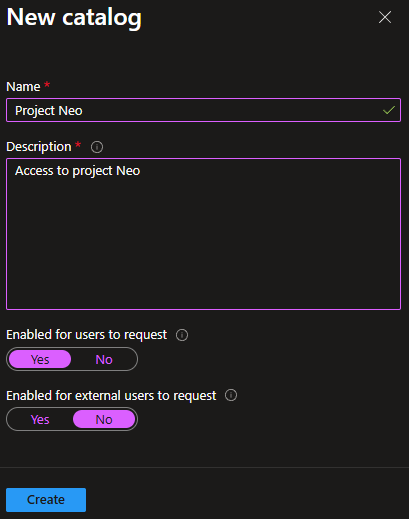
- For Enabled for external users to request, decide if external users can request access to Access Packages within the Catalog.

In my example, I will select No.
- Click Create.
- Click on the Catalog you just created.

In my example, I will click on the Project Neo catalog I just created.
- In the Manage section, click on Resources.
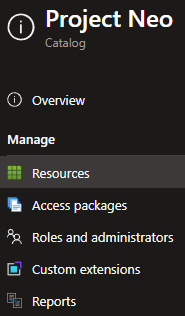
- Click on Add resources.
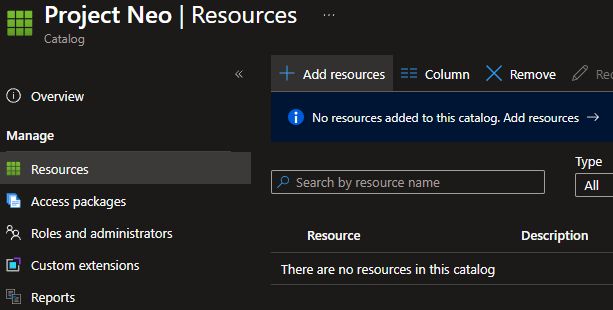
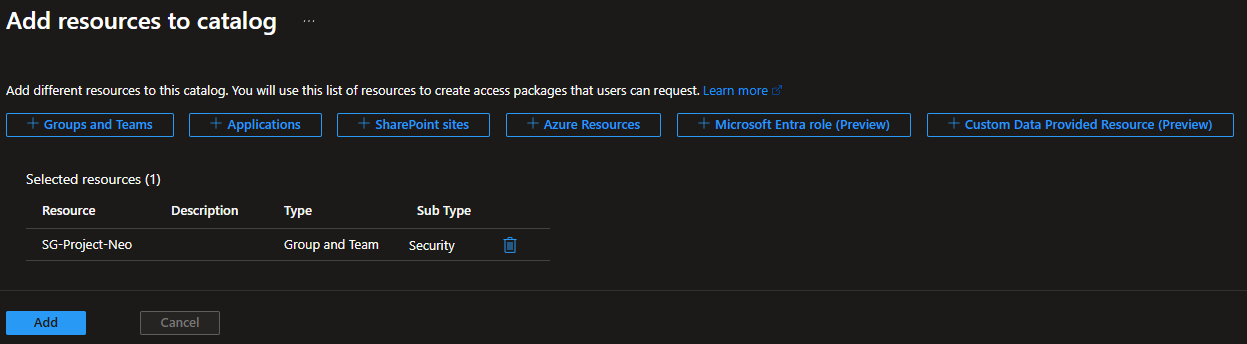
- Click on the type of resource you want to add to the Catalog. A resource can be in more than one catalog.
- Groups and Teams
- The groups need to be cloud groups and can be 365 Groups or Security Groups.
- Applications
- These are Entra Enterprise apps.
- SharePoint sites.
- Azure Resources.
- Microsoft Entra ID Governance or Microsoft Entra Suite license required.
- Microsoft Entra role.
- Microsoft Entra ID Governance or Microsoft Entra Suite license required.
- Custom Data Provided Resource.
- Microsoft Entra ID Governance or Microsoft Entra Suite license required.
- Groups and Teams

In my example, I will add the cloud security group named SG-Project-Neo.
- When you’ve selected all the resources you want in the Catalog click Add.
Access Packages
Once we have created the Catalog, we can create the Access Package within the Catalog so users can request access to the resources in it.
- In the Manage section, click on Access packages.
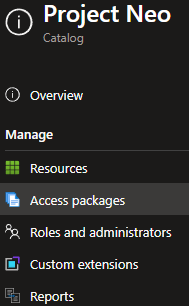
- Click on New access package.
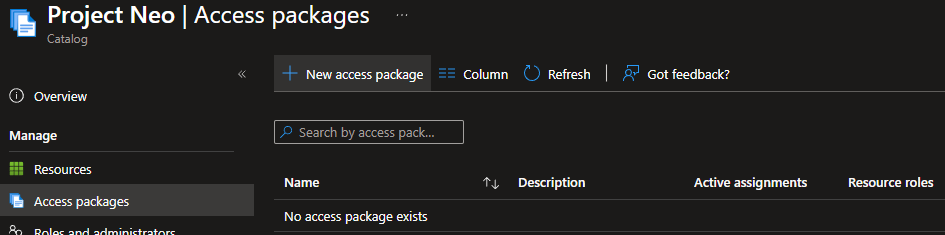
Access Package – Basics
- Enter a name and description for the Access Package. When ready, click Next: Resource roles.
The name and description of the Access Package will be visible to users.
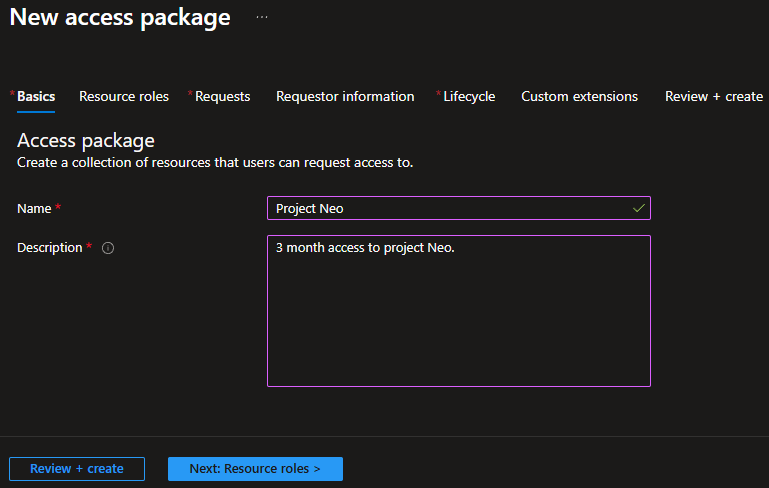
In my example, I will enter the name as Project Neo and the description as 3 month access to project Neo.
Access Package – Resource roles
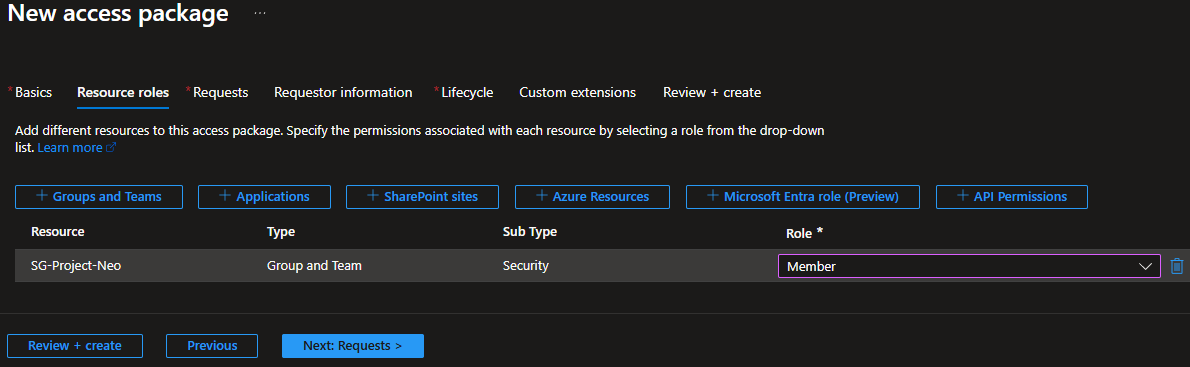
Now we can add the resources from the Catalog to the Access Package so users can request access to them.
- Add the resources that this Access Package should grant access to.
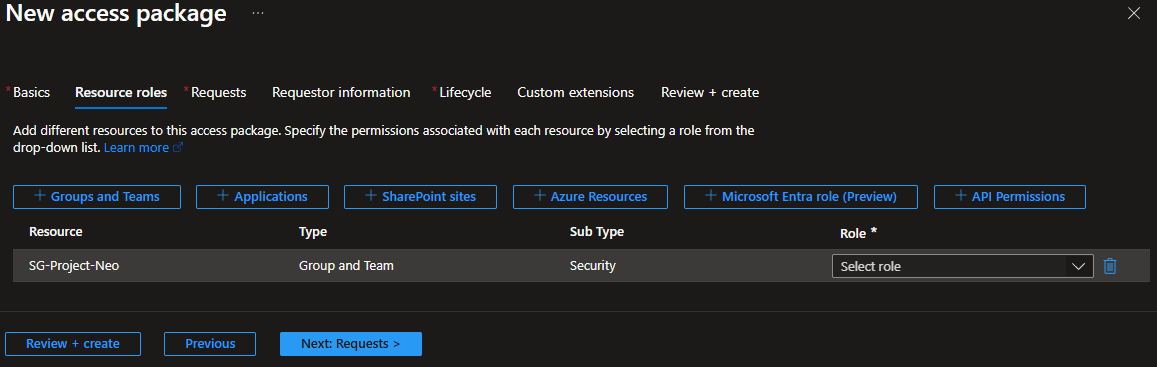
In my example, I will select the security group named SG-Project-Neo.
- Select what role the user should get for the resource you added.
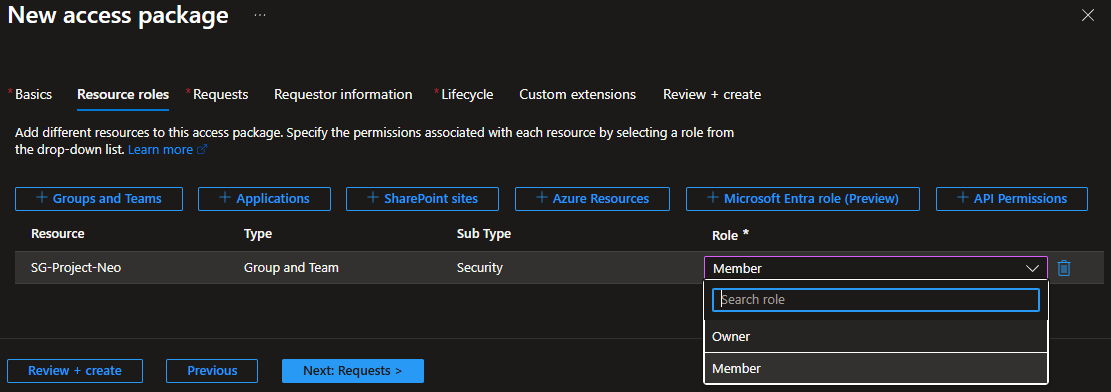
In my example, I will select the role member.
- When ready, click Next: Requests.
Access Package – Requests
Now we need to configure how Access Package requests are handled.
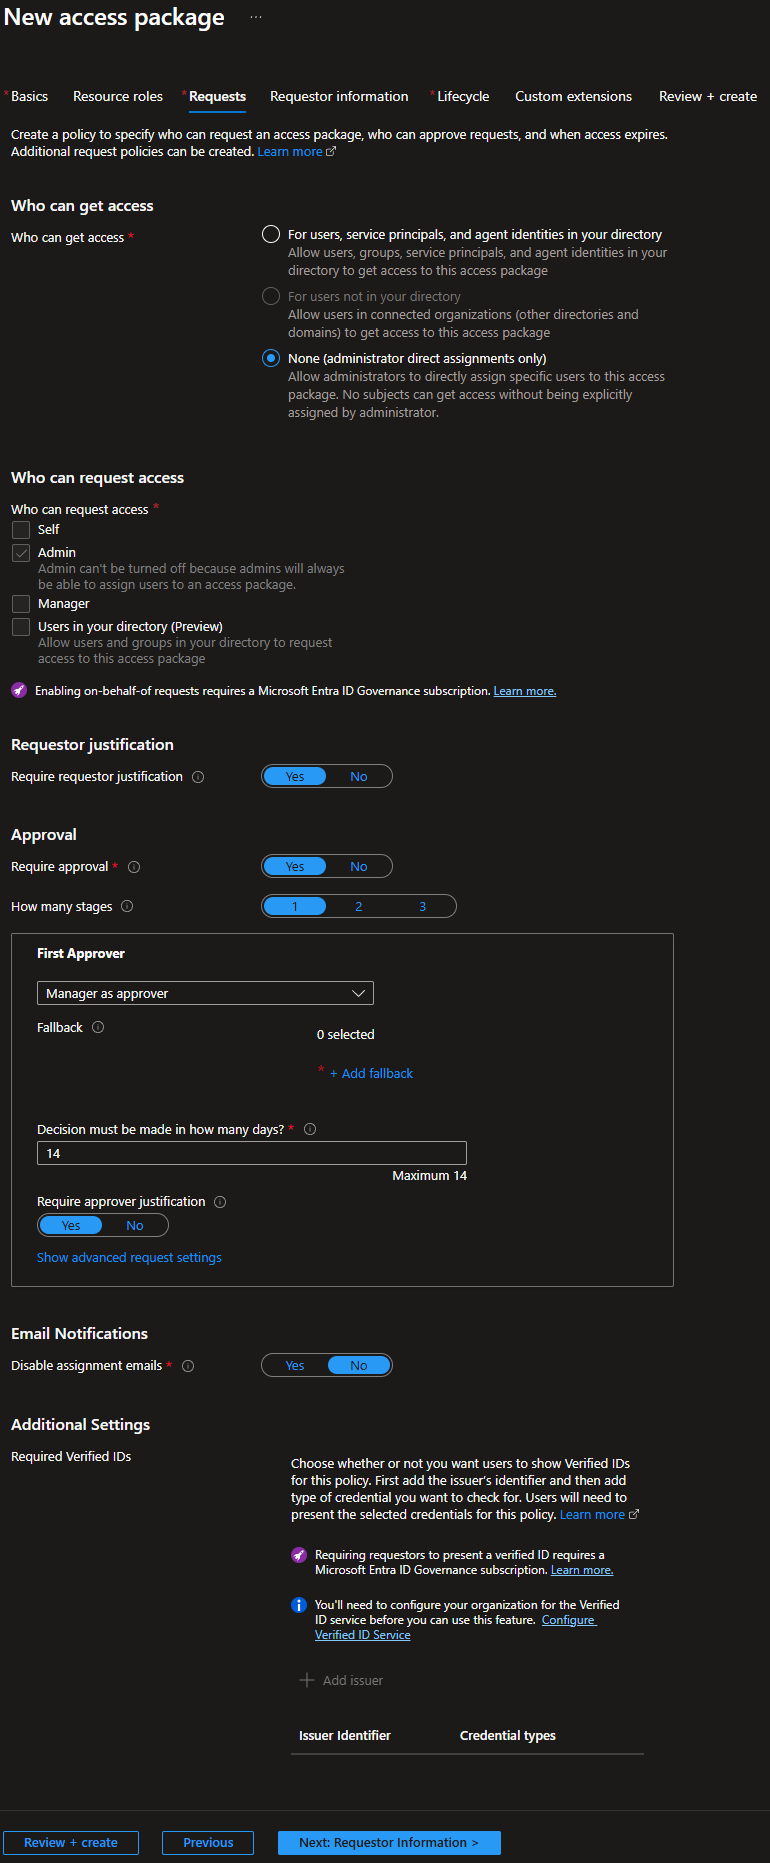
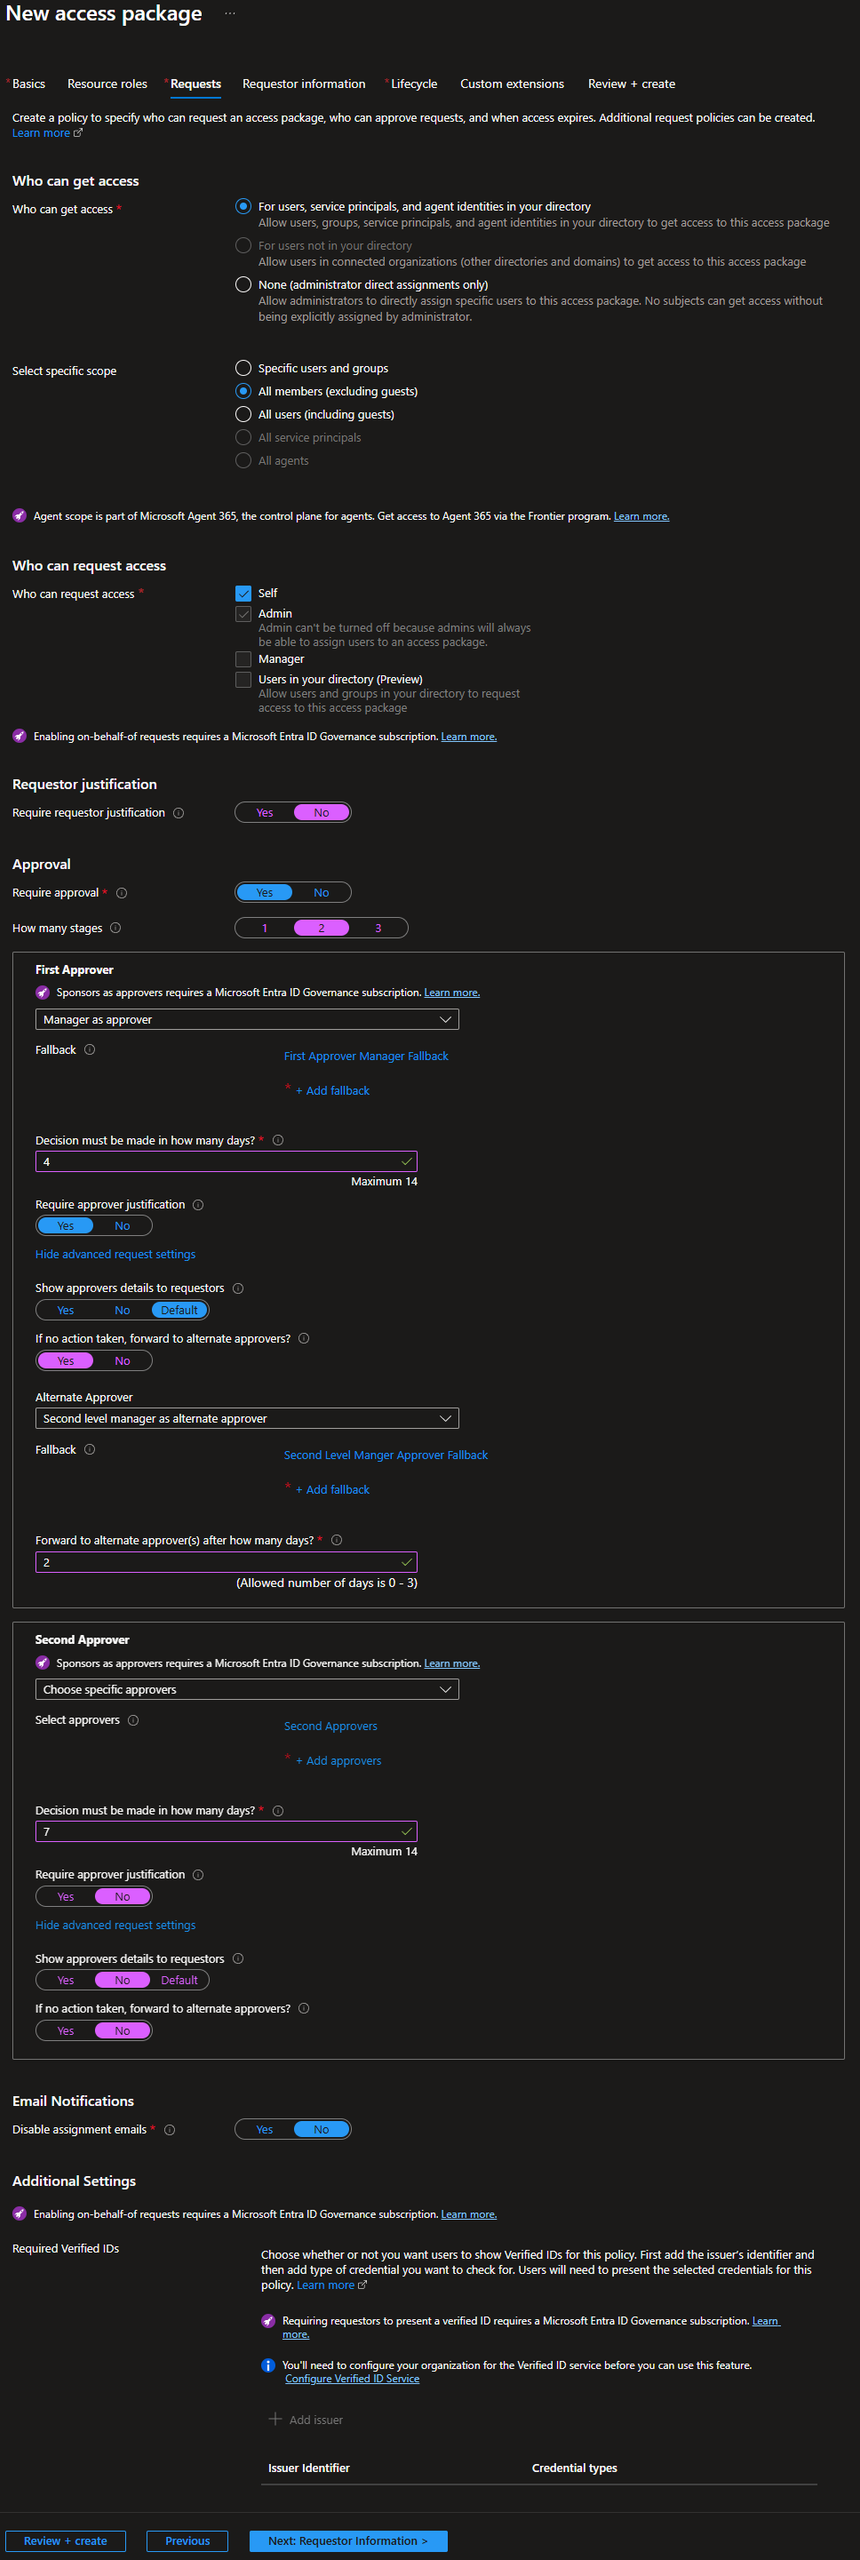
- For Who can get access, decide whether users or external users can request access or if only administrators can grant access.
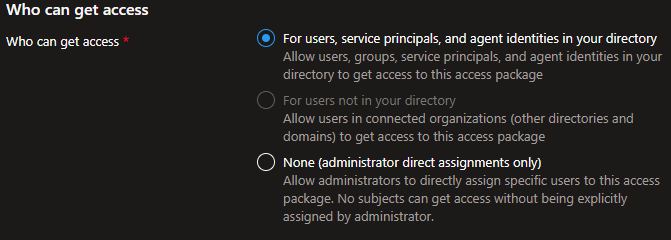
In my example, I will select For users, service principals, and agent identities in your directory.
- For Select specific scope, decide who can see and request access to the Access Package.
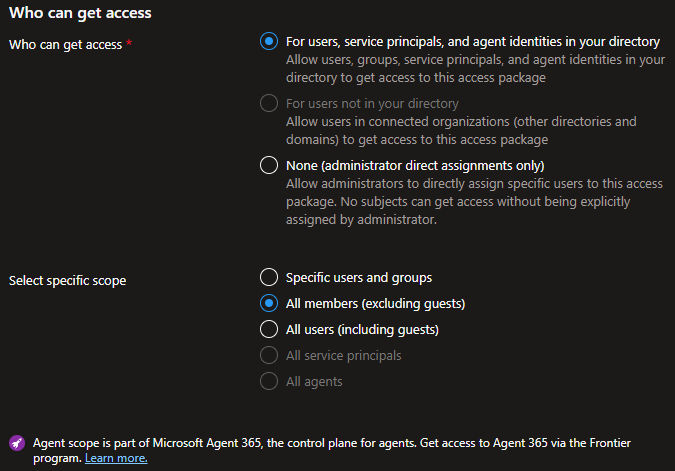
In my example, I will select All members (excluding guests).
- For Who can request access, decide which types of people can request access: Self, Admin, Manager, or Users in your directory.
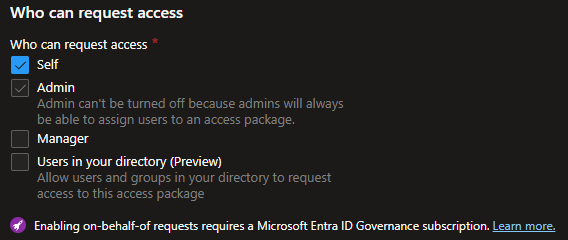
In my example, I will select Self.
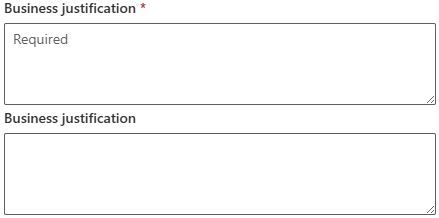
- For Require requestor justification, decide whether you want your users to provide a reason for requesting access to the Access Package.

In my example, I will set Require requestor justification to No.
Users will always see the Business justification box when requesting access to an Access Package regardless of the require requestor justification setting. The setting only controls if input is required.
- For Require approval, decide if you want someone to approve the Access Package request before the user is granted access.
When an Access Package requires approval, you can have the user’s manager approve it, or you can set a static approver.

In my example, I will set Require approval to Yes.
- For How many stages, select the number of approvals required before a user is granted access to the Access Package.
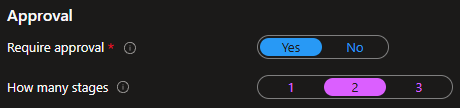
In my example, I want to require two approvals. I will set Require approval to Yes and set the approval stages to 2.
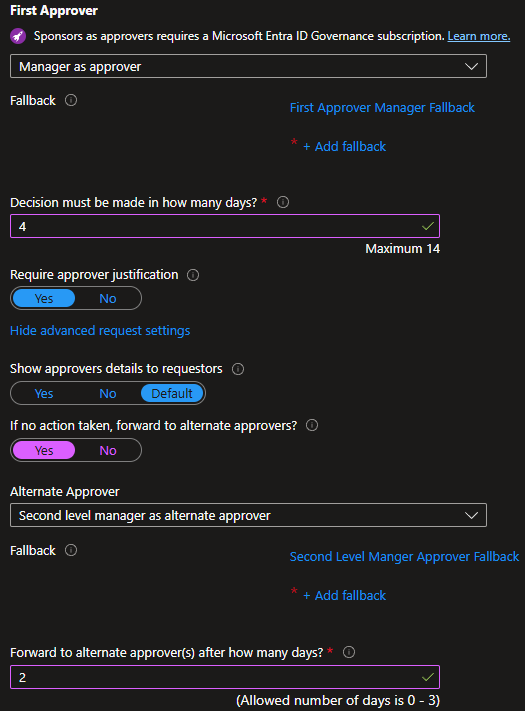
- For the First Approver, select who should approve the initial Access Package request: Manager as approver, specific approvers, or Sponsors as approvers.
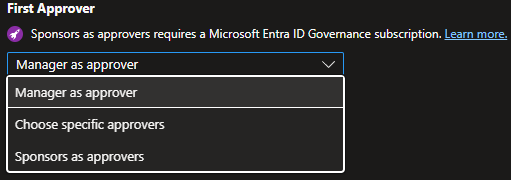
In my example, I will set the First Approver to the Manager.
When setting a manager or sponsor as an approver, you need to set a Fallback approver in case the Manager or Sponsor information is not populated. Specific approvers don’t need a fallback approver.
- For Fallback, select specific users, a security group, or a 365 Group.
- If you select a 365 Group, the email notifications are sent directly to all group members, not to the group mailbox.
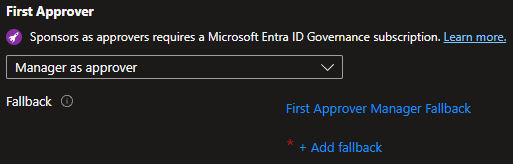
In my example, I will select the group named First Approver Manager Fallback.
- For Decision must be made in how many days, enter how long an Access Package request waits for approval before it is automatically rejected.
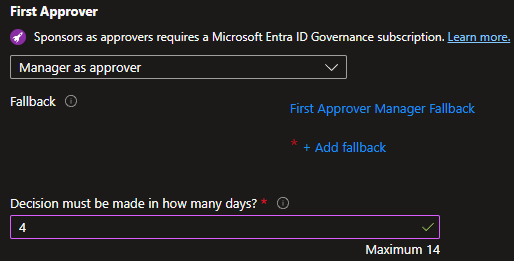
In my example, I will set this to 4 days.
- For Require approver justification, decide if you want the approver to be required to enter a reason why they approved or rejected the request.
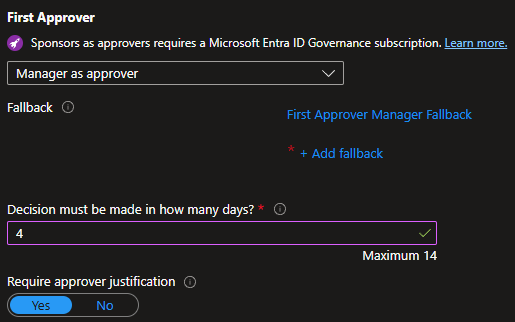
In my example, I will set this to Yes.
- Click on Show advanced request settings.
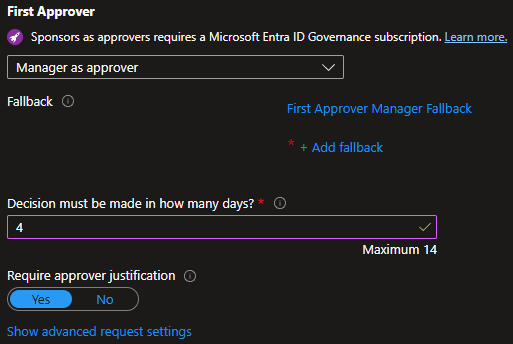
- For Show approvers details to requestors, decide whether you want to show who the first approvers are to the user requesting the Access Package.
The default setting is to show the approver details.
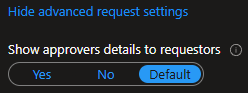
In my example, I will leave this set to default.
- For If no action taken, forward to alternate approvers, decide whether you want the first approval to route to someone else if the first approvers don’t action the request fast enough.
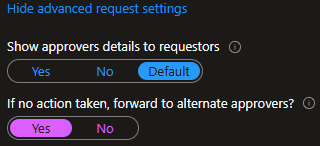
In my example, I will set this to Yes.
- For Alternate Approver, decide whether you want to use Second level manager as an alternate approver or Choose specific alternate approvers.
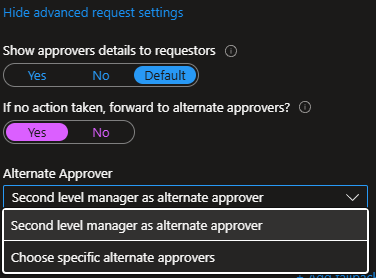
In my example, I will set this to Second level manager as alternate approver.
When setting second level manager as an approver, you need to set a Fallback approver in case the Manager information is not populated. Specific approvers do not need a fallback.
- For Fallback, select specific users, a security group, or a 365 Group.
- If you select a 365 Group, the email notifications are sent directly to all group members, not to the group mailbox.
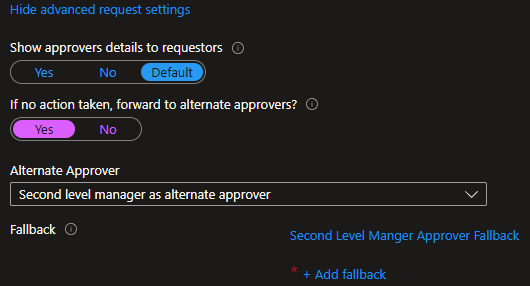
In my example, I will select the group named Second Level Manager Approver Fallback.
- For Forward to alternate approver(s) after how many days, enter how many days before the request is sent to the alternate approvers.
The number of days must be less than the maximum number of days of the initial first approval.
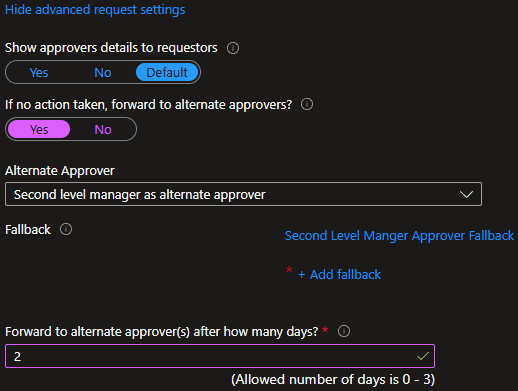
In my example, I will set this to 2 days.
- We have completed setting up the first approver.
Below is an image of my first approver settings.
- For the Second Approver, select Choose specific approvers or Sponsors as approvers.
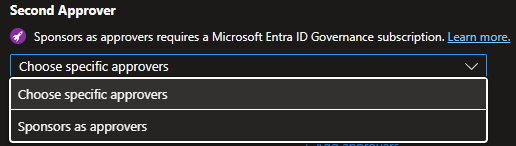
In my example, I will select specific approvers.
- For Select approvers, click Add approvers, then select the users or groups to use as the second approvers.
- If you select a 365 Group, the email notifications are sent directly to all group members, not to the group mailbox.
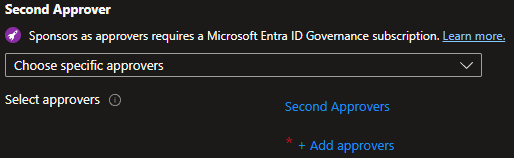
In my example, I will select the group named Second Approvers.
- For Decision must be made in how many days, enter how many days a request waits for a second approval before it is automatically rejected.
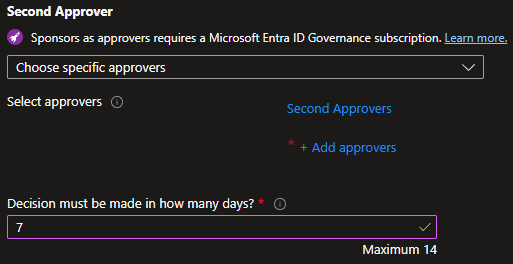
In my example, I will set this to 7 days.
- For Require approver justification, decide if you want the second approver to be required to enter a reason why they approved or rejected the request.
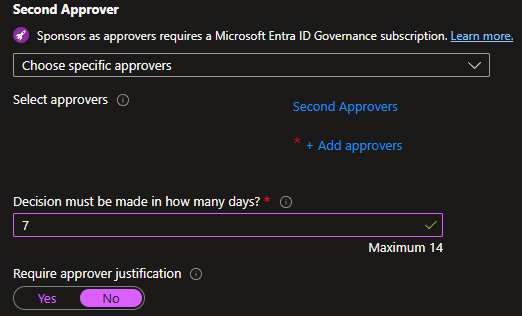
In my example, I will set this to No.
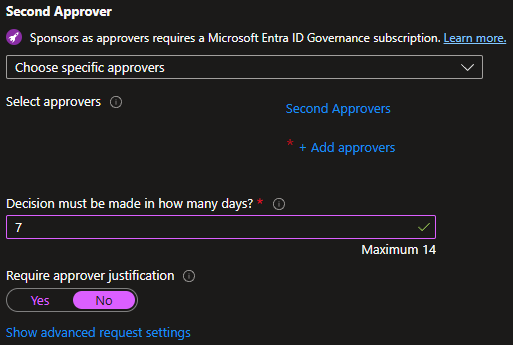
- Click on Show advanced request settings.
- For Show approvers details to requestors, decide whether you want to show who the second approvers are to the first approvers or the user requesting the Access Package.
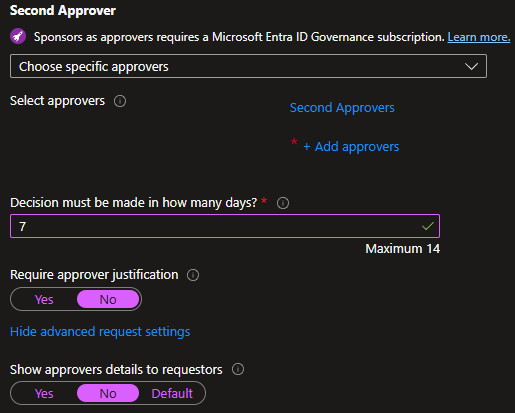
In my example, I will set this to No.
- For If no action taken, forward to alternate approvers, decide whether you want the second approval to route to someone else if the second approvers don’t action the request fast enough.
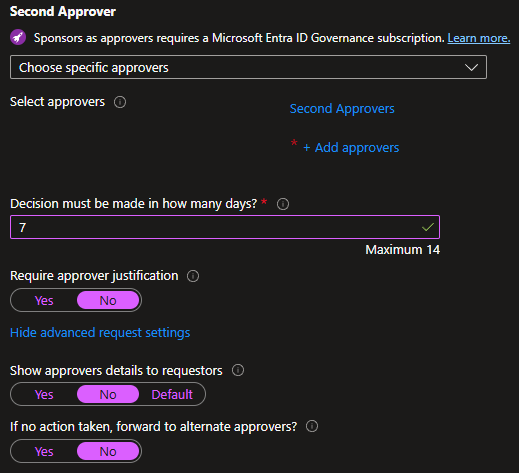
In my example, I will set this to No.
- For Disable assignment emails, decide if email notifications should be sent when an Access Package is approved, denied, or expires.

In my example, I will set this to No to keep everyone involved informed.
- Depending on your Entra license, you can configure Required Verified IDs.
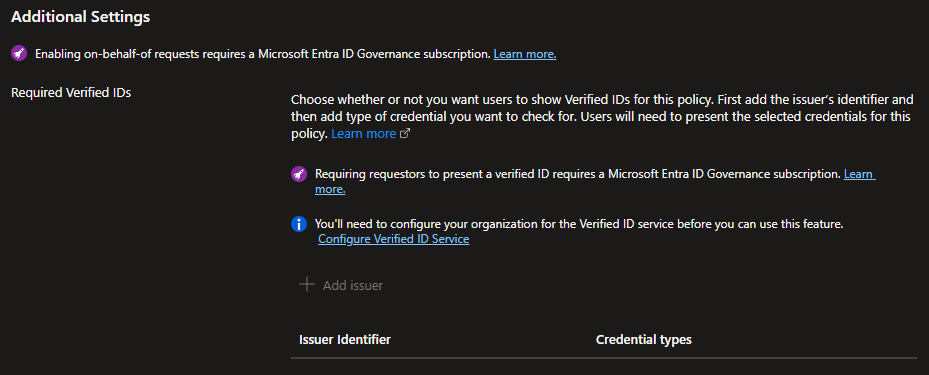
In my example, I will skip that section as I don’t have the license for it.
- Once you’ve configured all the approval settings, click Next: Requestor Information.
Access Package – Requestor information
Now we can configure the Requestor information to gather data from the user when they request access to an Access Package. The information can be in the form of questions or attributes.
Requestor information is optional.
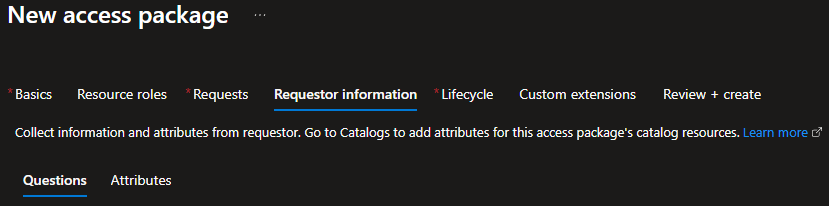
In my example, I will request information from the user through questions.
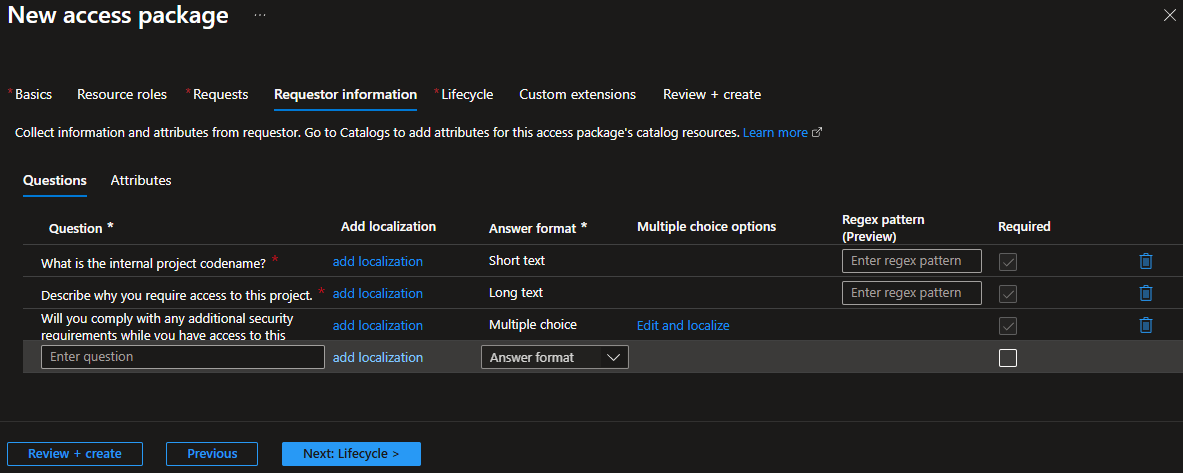
- In the Question box, enter the question you want to ask the user.

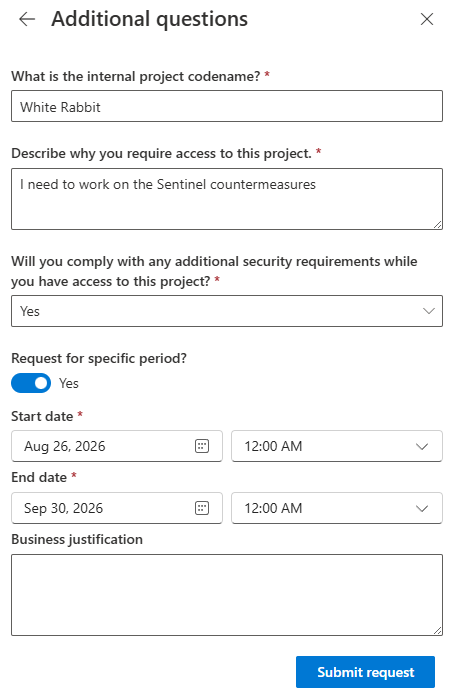
In my example, I will add a question to ask the user if they know the internal project codename.
If you support multiple languages, click on add localization to add different wording for the question in other languages.
- For Answer format, select Short text, Multiple choice, or Long text.
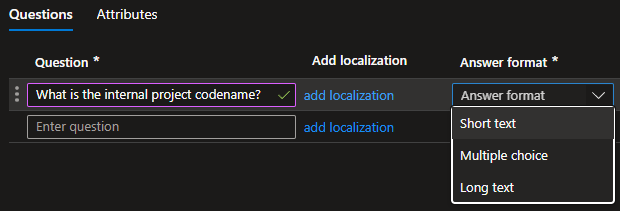
In my example, I will select Short text.
- For Regex pattern, enter any regex you want to use to validate the user input.

In my example, I will leave this blank.
- For Required, select the box to require a response before the user can submit their Access Package request.

In my example, I will select Required.
- Add any additional questions you want to ask the user.

In my example, I will add another question asking the user to explain why they need access, set the answer format to Long text, and mark it as Required.
- If the answer format is Multiple choice, click Edit and localize to add options.

- On the View/edit question screen, enter the multiple choice option in the Answer values field.
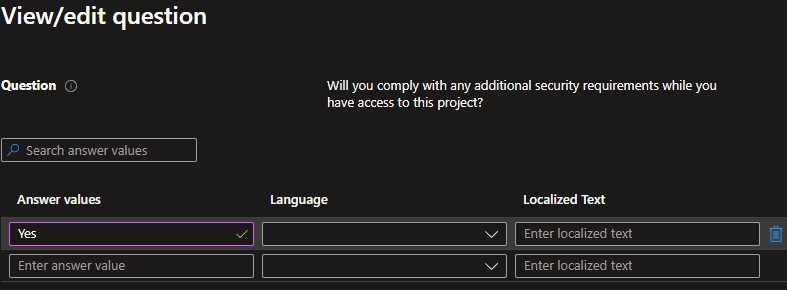
In my example, I will enter Yes.
- For Language, select the language for the localized text.
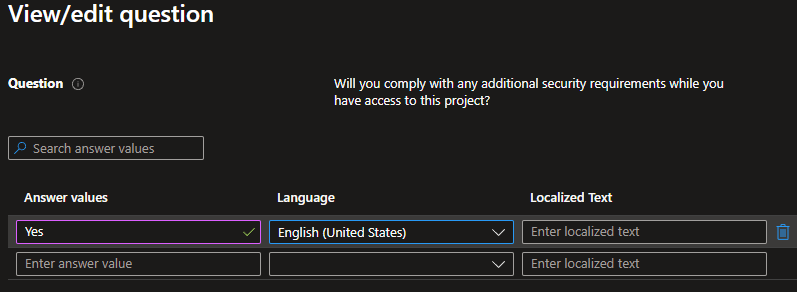
In my example, I will select English (United States).
- For Localized Text, enter the text that will be presented to the user in the selected language.
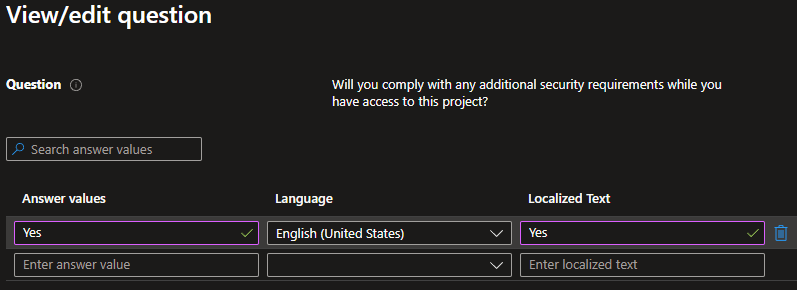
In my example, I will enter Yes.
- Add any additional multiple choice options. When ready, click Save.
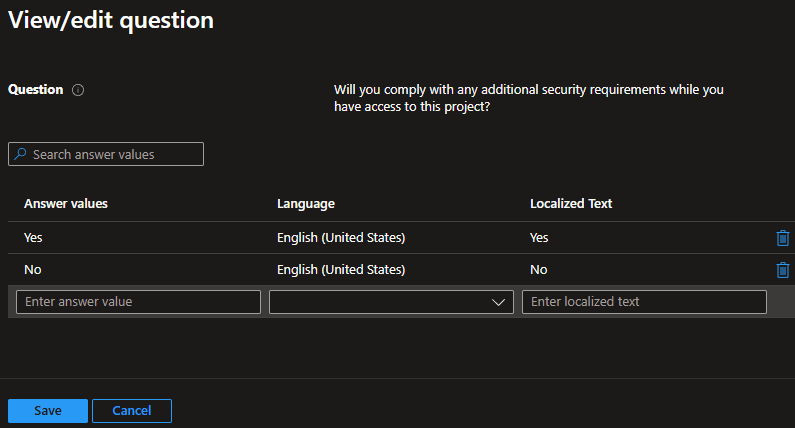
In my example, I will add another option for No.
- Once you have completed adding all the questions, click Next: Lifecycle.
Access Package – Lifecycle
Now we can configure the Lifecycle of the Access Package, including how long a user can have access, if they can extend it, and access reviews.
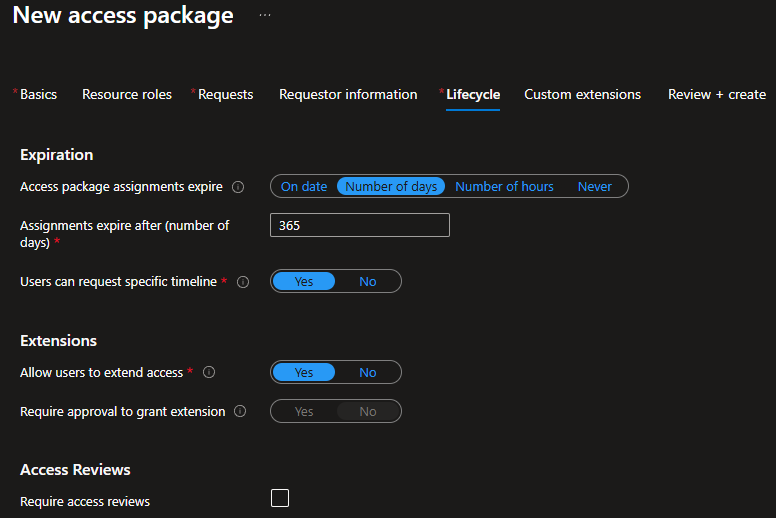
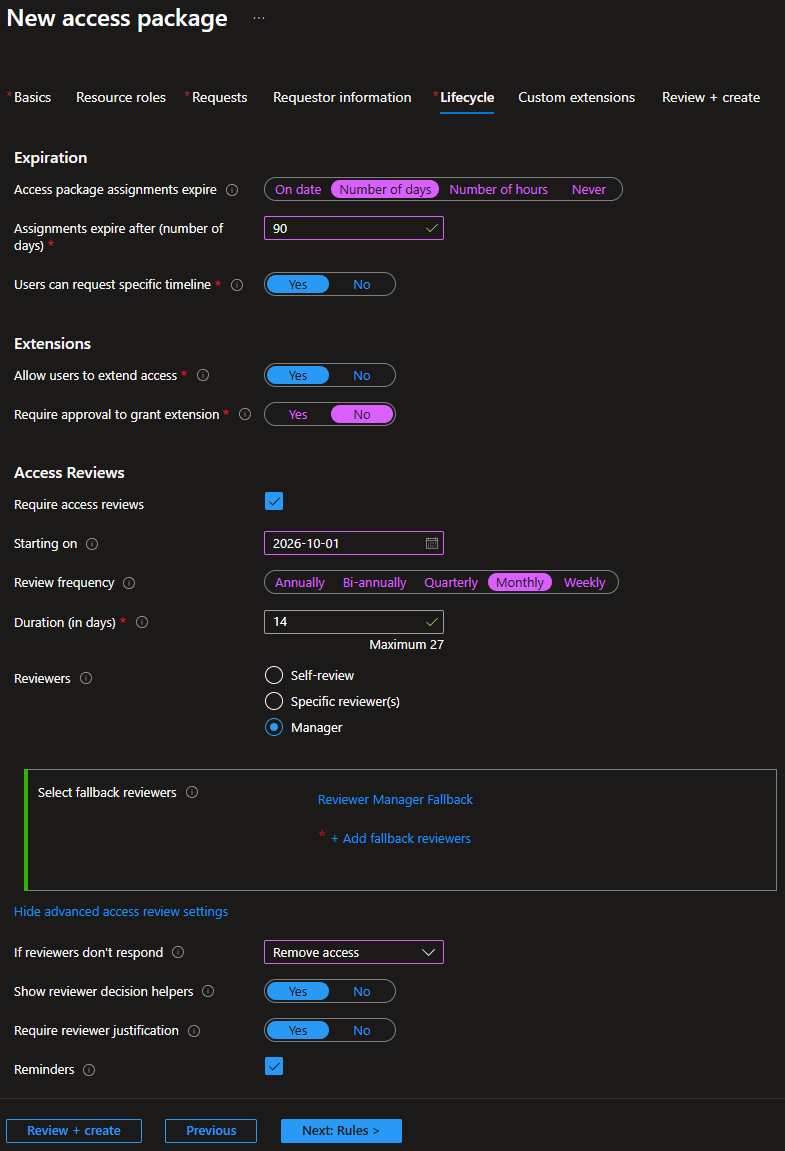
- For Access package assignments expire, decide whether access should expire on a specific date, after a number of days, hours, or never.

In my example, I will select number of days.
- For Assignments expire after, enter the date, number of days, or number of hours after which access to the Access Package should expire.

In my example, I will enter 90 days.
- For Users can request specific timeline, this shows a date selector allowing users to specify when their access starts and how long they need it.
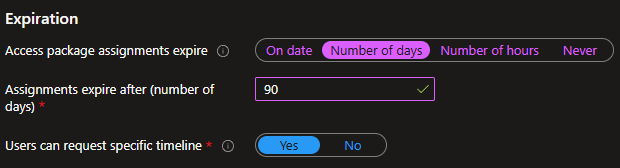
In my example, I will set this to Yes.
If the Users can request specific timeline option is set to Yes, when a user requests access to the Access Package, they can enable a toggle to request access for a specific period of time.
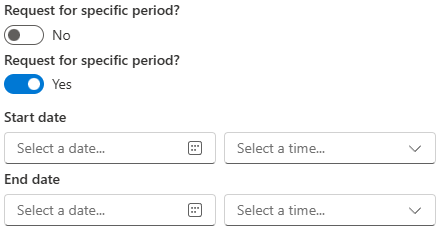
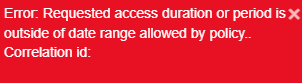
Currently, there is no option to make this a required field or clearly inform the user of the maximum period they can enter. If the user enters a period longer than the expiry period, they will get an error.
If a user does not enter specific period dates, the expiry date countdown begins once the user has access to the Access Package.
- For Allow users to extend access, decide whether you want users to be able to extend their access.
If you have emails enabled for the Access Package, this will send the user an email 14 days before their Access Package access expires and 1 day before their Access Package access ends.
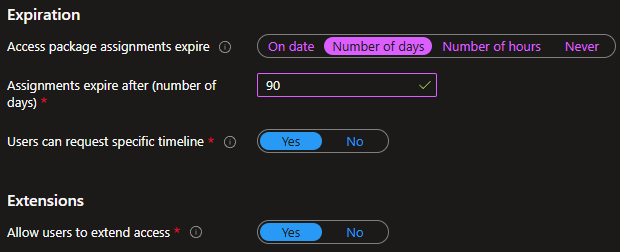
In my example, I will set this to Yes.
- For Require approval to grant extension, decide whether you want the user to go through the approval process again to extend their access.
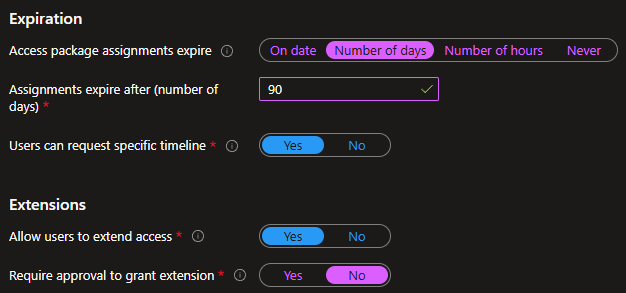
In my example, I will set this to No.
We also have the option to configure Access Reviews.
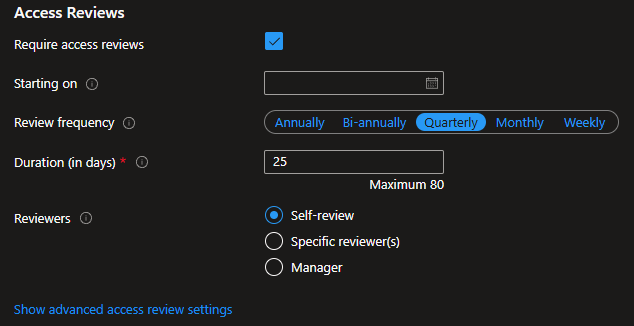
- Select the box for Require access reviews to enable access reviews on the Access Package.

In my example, I will select Require access reviews.
- For Starting on, select the current or future date when you want the Access Reviews to begin.
Once you’ve created the Access Package, you cannot change the starting on date.
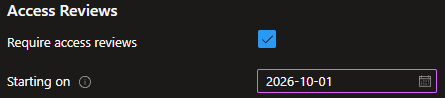
In my example, I will set this to October 1, 2026.
- For Review frequency, set how often you want access reviews performed: Annually, Bi-annually, Quarterly, Monthly, or Weekly.
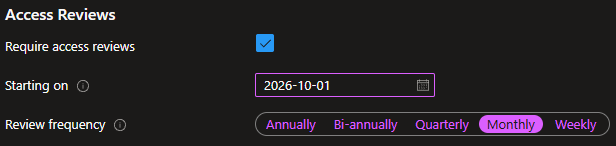
In my example, I will select Monthly.
- For Duration (in days), enter how many days reviewers have to complete the review.
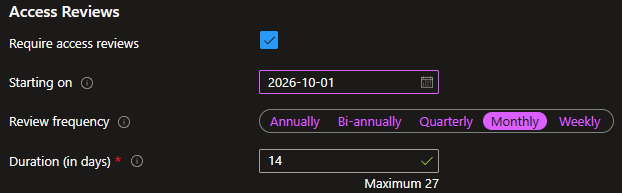
In my example, I will set the duration to 14 days.
- For Reviewers, decide who performs the review and select self-review, specific reviewers, or manager.
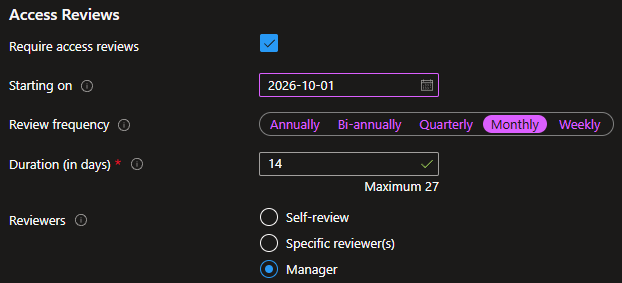
In my example, I will select Manager.
When setting manager as the reviewer, you need to set a Fallback approver in case the Manager information is not populated. If you set the reviewer to self-review or to specific reviewers, you don’t need to configure a fallback reviewer.
- For Select fallback reviewers, select specific users, a security group, or a 365 Group.
- If you select a 365 Group, the email notifications are sent directly to all group members, not to the group mailbox.
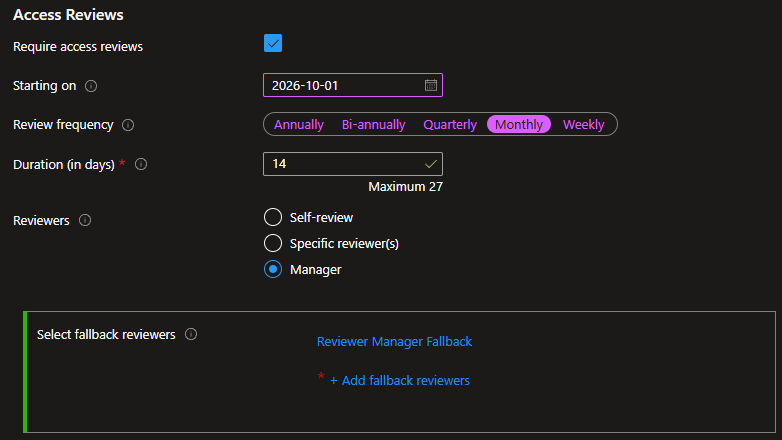
In my example, I will select the group named Reviewer Manager Fallback.
- Click on Show advanced access review settings.
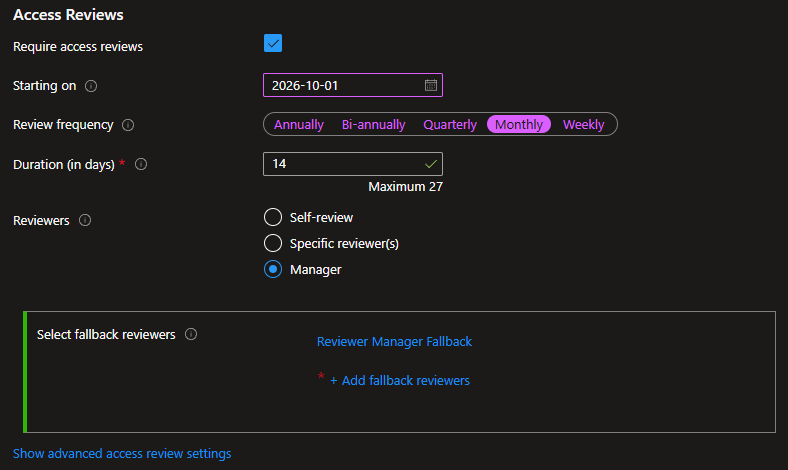
- For If reviewers don’t respond, select No change, Remove access, or Take recommendations.
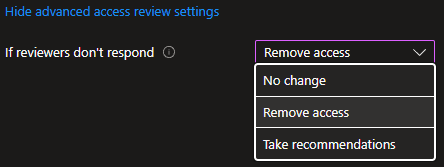
In my example, I will set this to remove access. If a reviewer does not complete the review within 14 days, the user’s access to the Access Package will be removed.
- For Show reviewer decision helpers, decide whether you want to provide the reviewers with additional information about the user, such as whether the user has logged in recently.
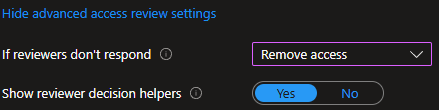
In my example, I will set this to Yes.
- For Require reviewer justification, decide whether you want to require the reviewers to provide a reason for removing or retaining the user’s access.
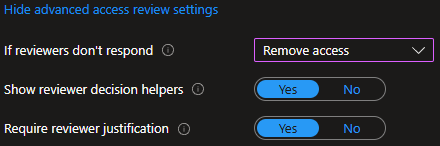
In my example, I will set this to Yes.
- For Reminders, select the box to send review email reminders to the reviewers.
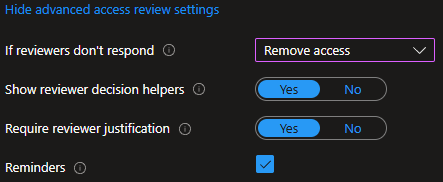
In my example, I will select reminders.
- Once you have completed configuring the Lifecycle options, click Next: Rules.
Access Package – Custom extensions
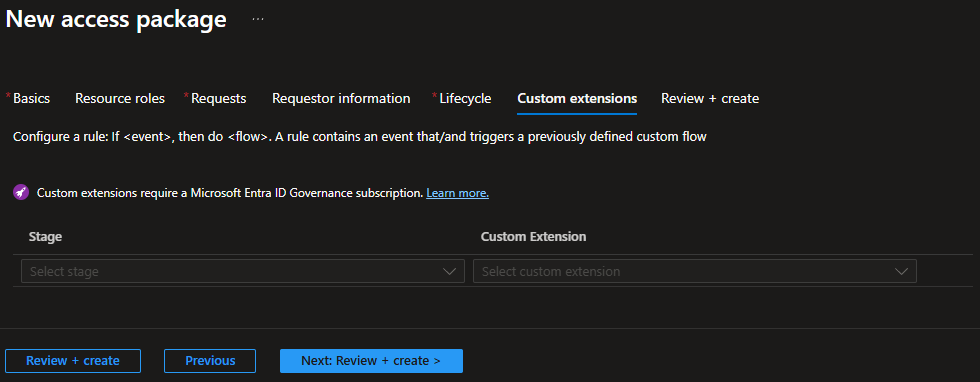
If you have a Microsoft Entra ID Governance or Microsoft Entra Suite license, you can configure custom extensions.
Custom extensions are optional.
- Configure any custom extensions. When ready, click Next: Review + create.
Access Package – Review and Create
- Review everything you’ve just configured. If everything looks good, click Create.
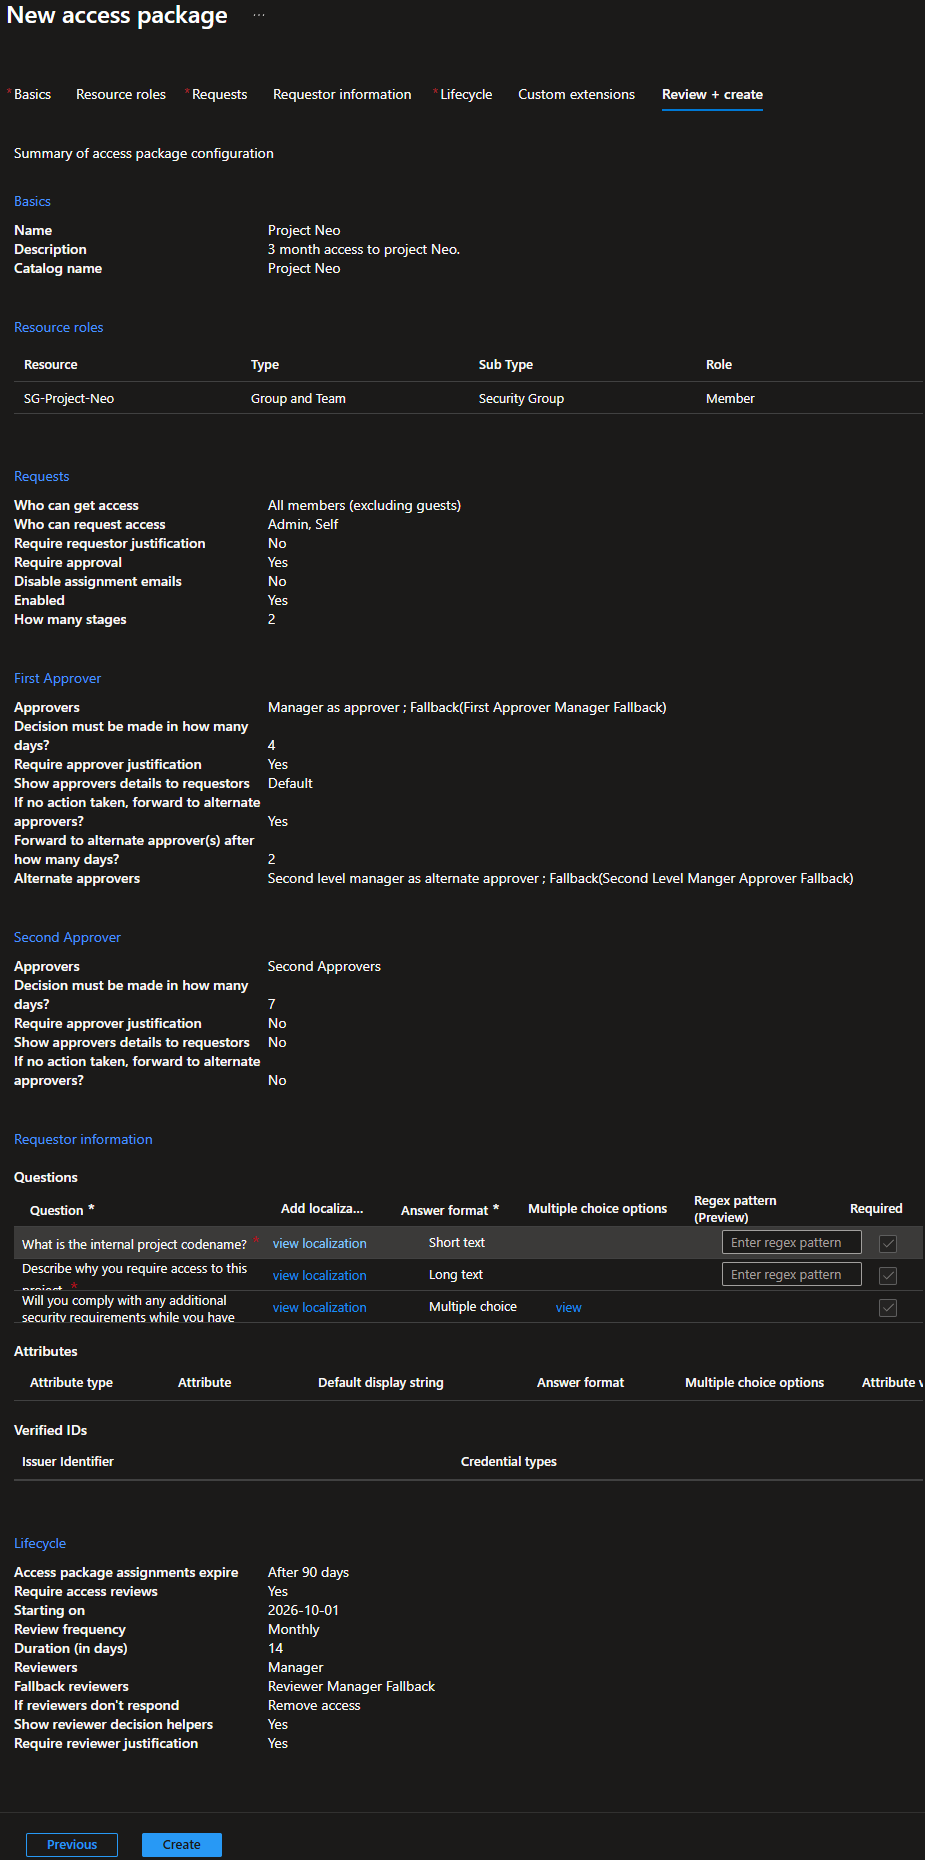
- Once the Access Package is created, all the settings we configured are saved as the Initial Policy.
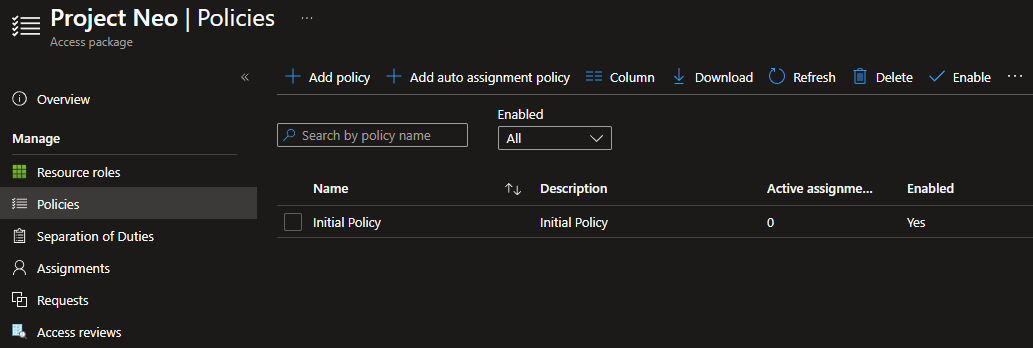
- If needed, create any additional policies.
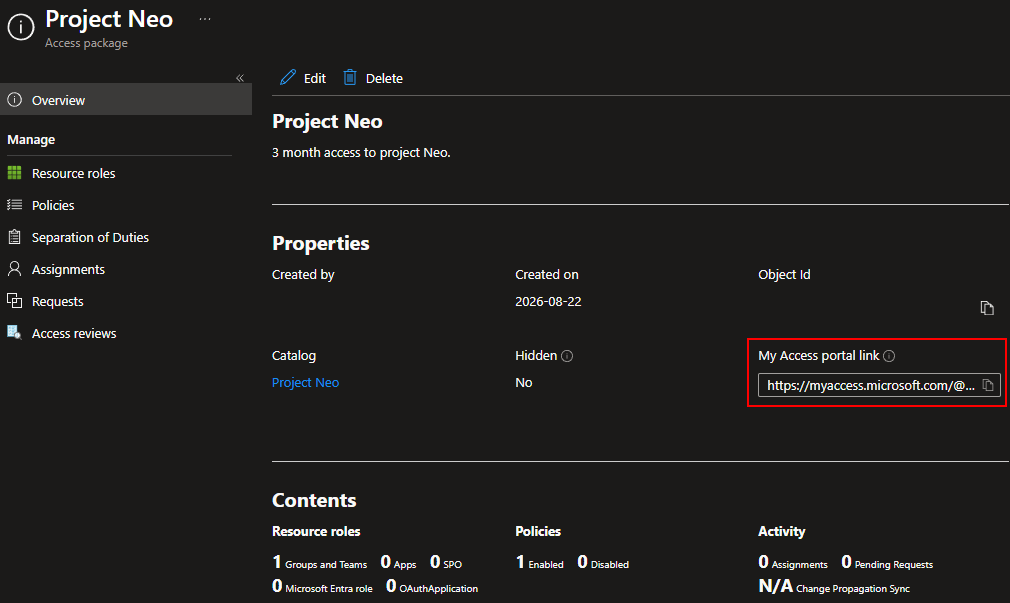
If you go to the Overview page of the Access Package, you can get a direct link to the Access Package from the My Access portal link.
User Access Request
Once an Access Package is created, users can request access by using the Access Package’s My Access portal link or going to https://myaccess.microsoft.com/
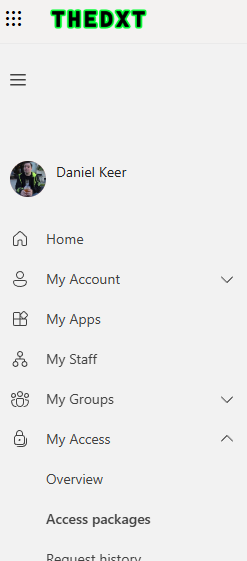
- The user clicks on My Access > Access packages.
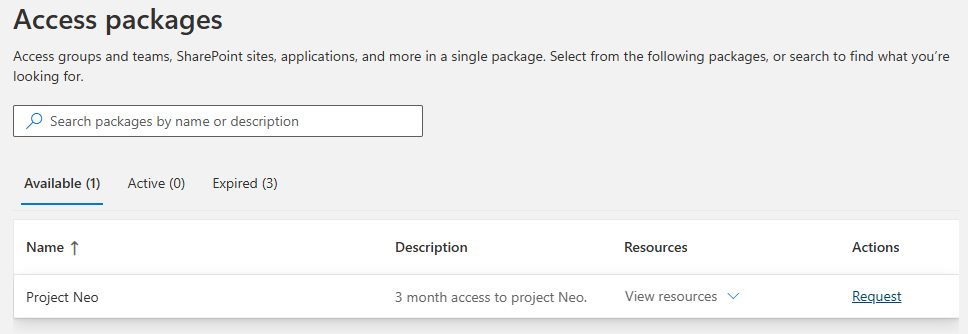
- The user finds the Access Package they want. In the Actions column, they click Request.
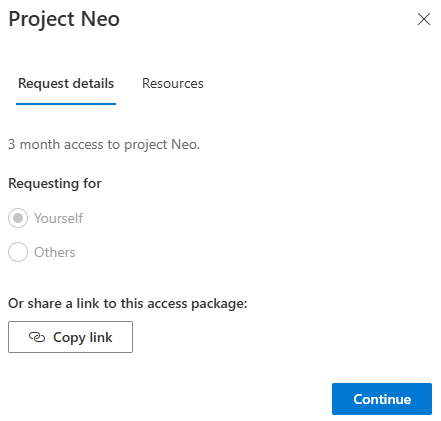
- Under Request details, the user clicks Continue.
- The user fills in the required details, then clicks Submit request.
- The user’s access request now follows the rules of the Initial Policy of the Access Package.
That’s all it takes to configure a Microsoft Entra ID Governance Entitlement Management Access Package.
If you want to read more about Access Packages, here is the Microsoft documentation.
If you want to see the entire workflow of the Access Package, my blog post, Microsoft Entra ID Governance Access Package Workflow, shows the process from the user, approver, and admin perspectives.