In this post, I will show you step by step how to grant additional users or groups access to the Omnissa Horizon admin console.
The Process
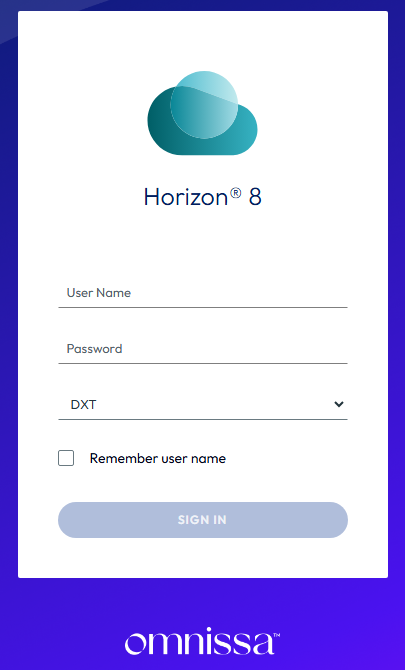
- Log in to the Horizon admin console.
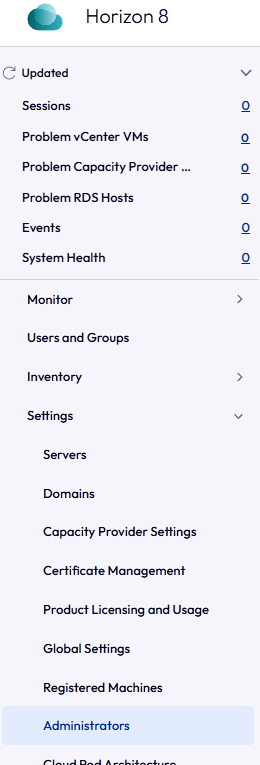
- Click Settings > Administrators.
- On the Administrators and Groups tab, click Add.

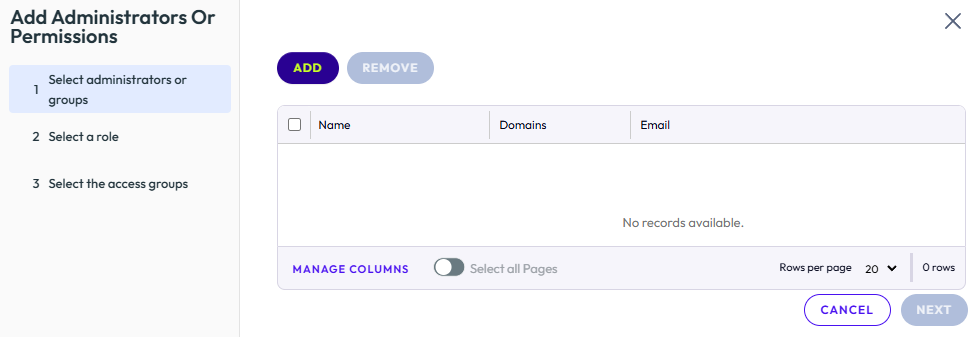
- On the Add Administrators or Permissions window, click Add.
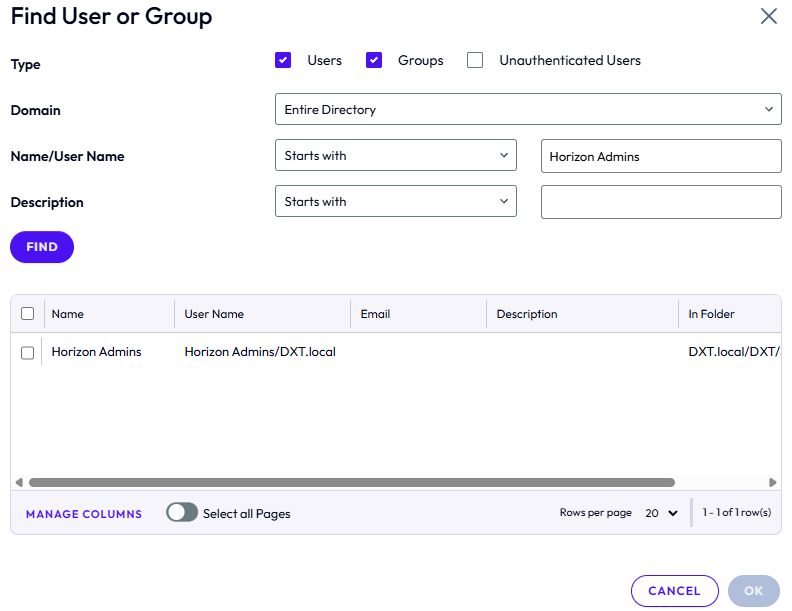
- On the Find User or Group window, search for the desired user or group.
In my example, I will search for the AD security group named Horizon Admins.
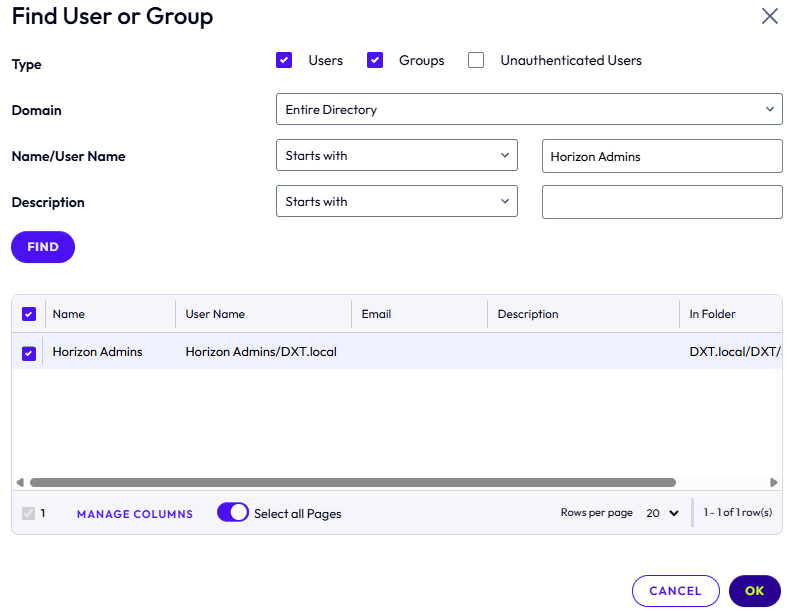
- Select the group or user and click OK.
In my example, I will select the Horizon Admins group.
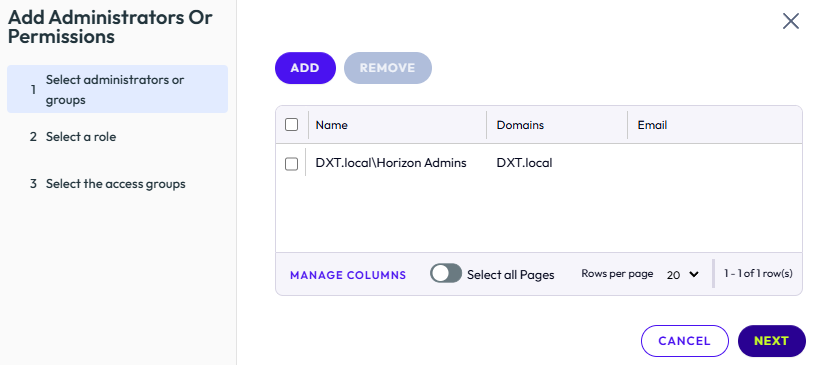
- Repeat the search to add more users or groups, then click Next.
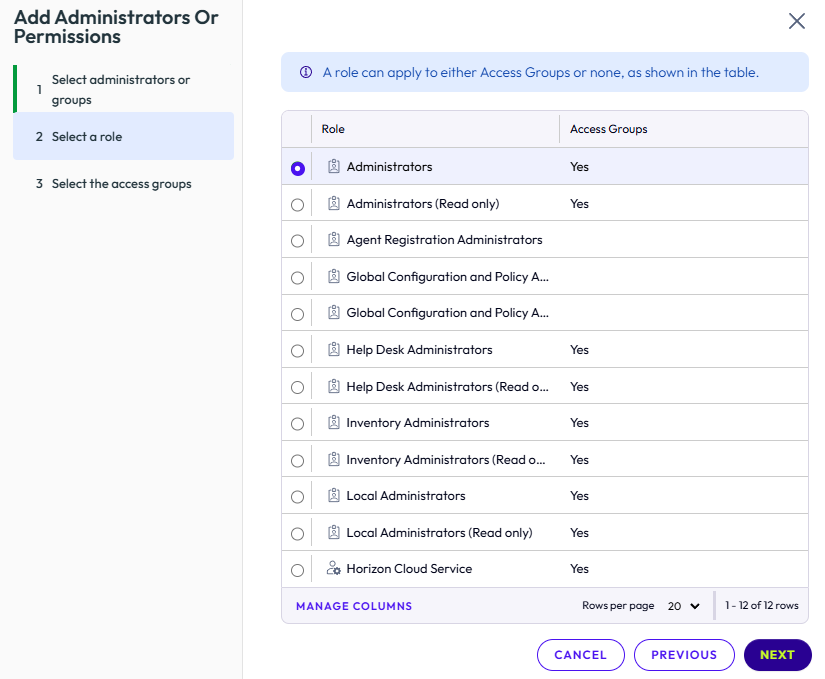
- Select the appropriate role for the users or groups you added and click Next.
In my example, I will select Administrators.
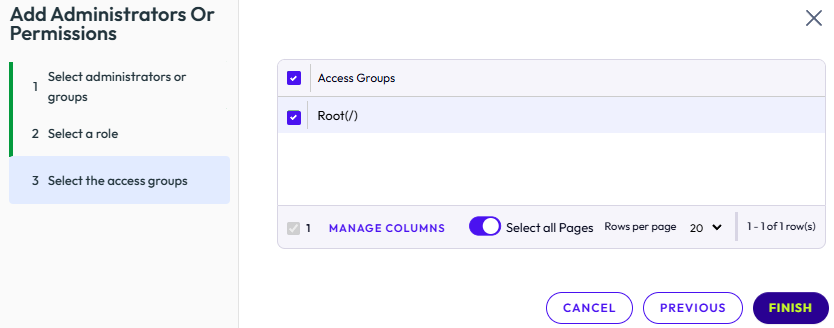
- Select the access groups as needed, then click Finish.
If you haven’t configured any access groups, select Root.
In my example, I will select Root.
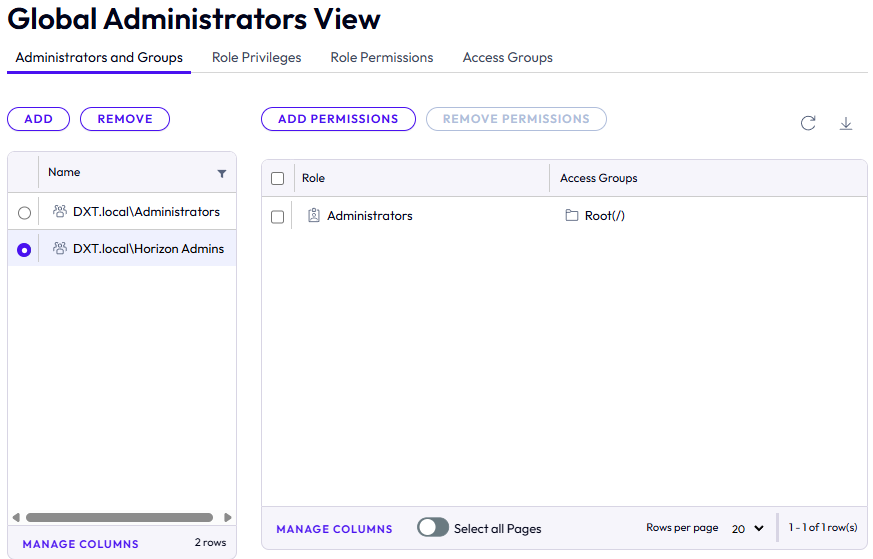
- Confirm that the new user or group appears in the Administrators and Groups tab.
That’s all it takes to add new users or groups to the Omnissa Horizon admin console.
If you want to read more about managing permissions in the Omnissa Horizon admin console, here is the Omnissa documentation.