



Microsoft Entra ID has a feature called Protected Actions. When you configure Protected Actions, you can use them with Conditional Access policies to add extra layers of security before the protected action executes.
The following actions can be configured with Protected Actions:
- Conditional Access policy management
- Named Location management
- Protected Actions management
- Cross-tenant Access policy management
- Hard deletions of soft-deleted items
In this post, I will show you step by step how to configure Microsoft Entra ID Protected Actions with Conditional Access.
The Process
- Login to the Microsoft Entra admin center.
- Click on Entra ID > Conditional Access.
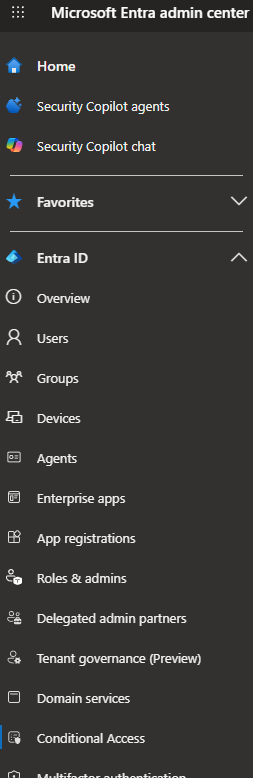
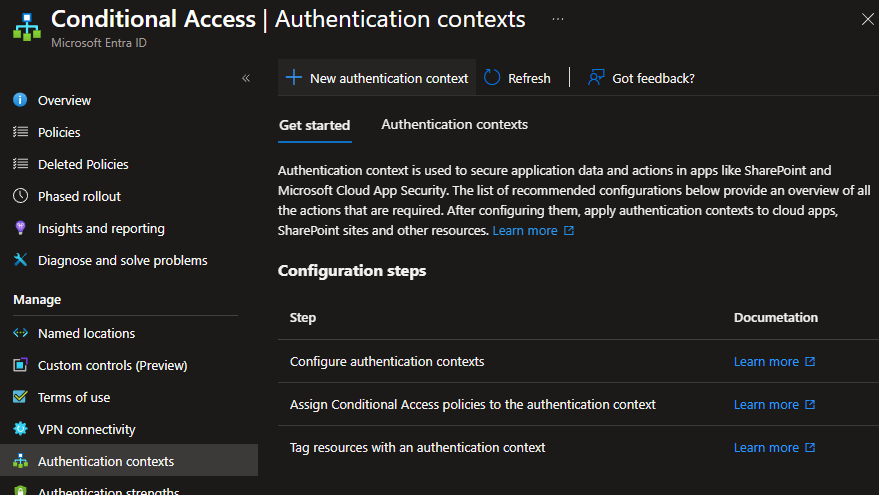
- Click on Authentication contexts.
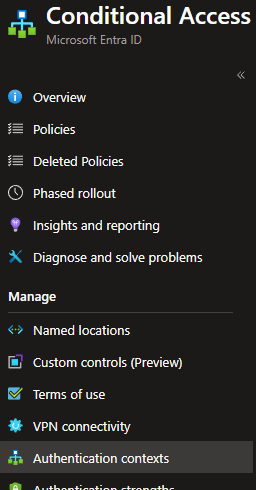
- Click on New authentication context.
- Enter a name for the Protected Action Authentication context.
- Select Publish to apps.
- Pick an ID.
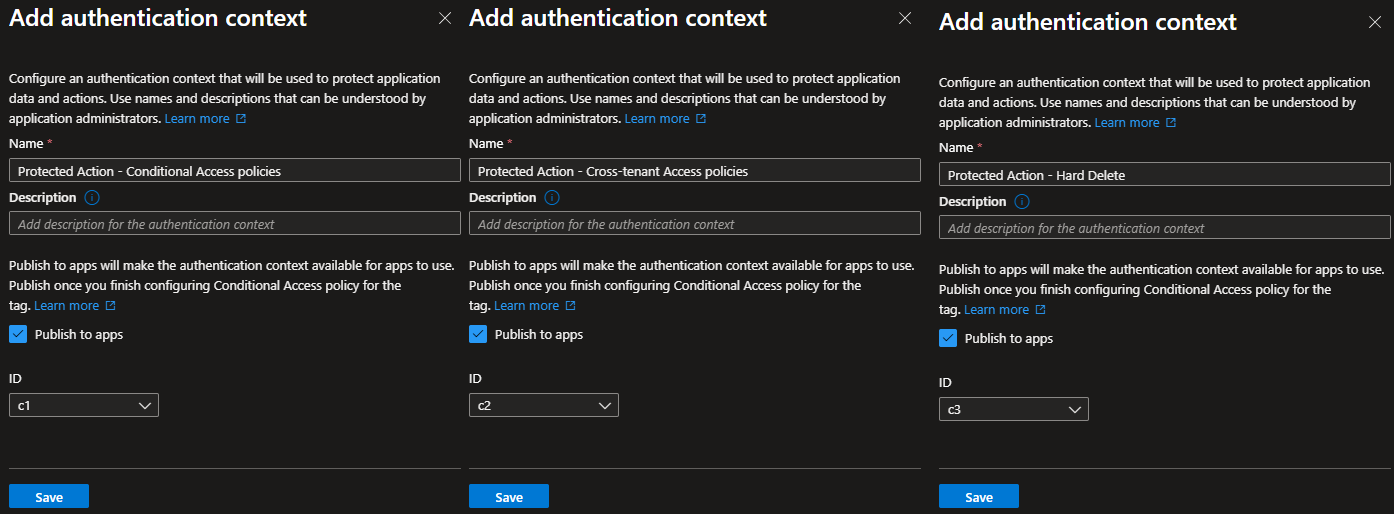
In my example, I will create three authentication contexts: one for Conditional Access policy management, one for Cross-tenant Access policy management, and one for Hard Delete.
Once we have created the authentication contexts, we need to build a Conditional Access policy that uses them.
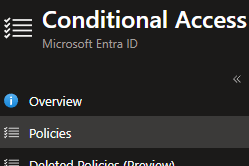
- Click on Policies.
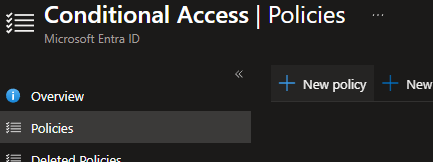
- Click on New policy.
- Next, we need to configure the Conditional Access policy.
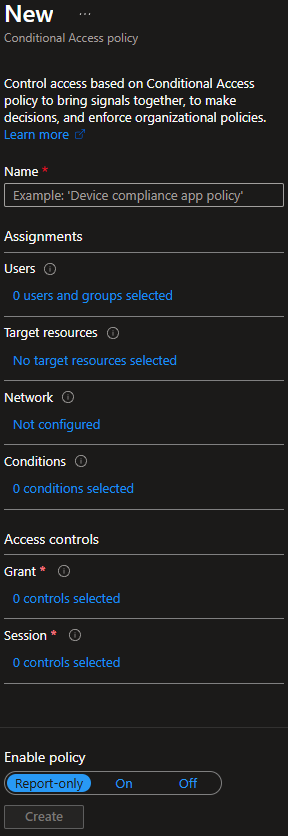
- For Name, enter the name you want to use for your Conditional Access policy.

In my example, I will call it Protected Actions.
- For Users, select the users that you want to apply the policy to and select any users you want to exclude.
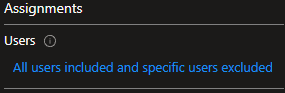
In my example, I will select all users and exclude my break-glass accounts.
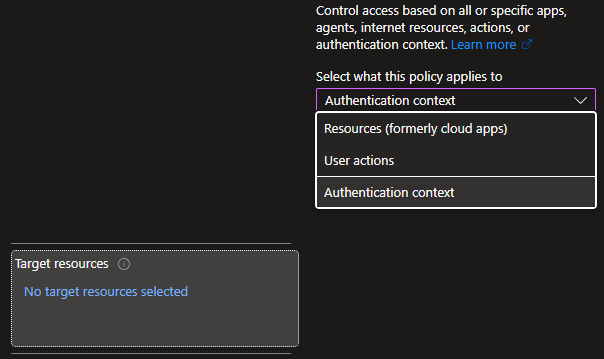
- For Target resources, select Authentication context.
- Select the Authentication contexts you want to target with the policy.
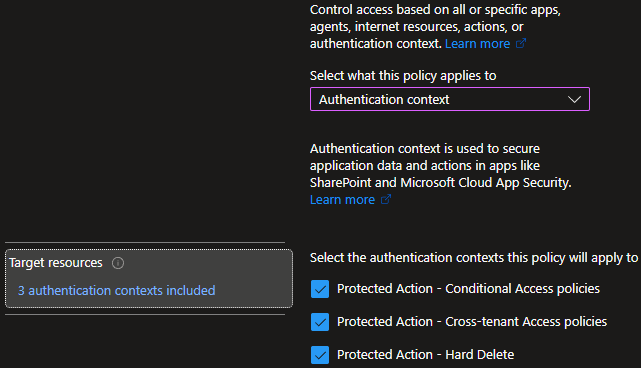
In my example, I will select all the Protected Action authentication contexts.
- For Grant, select what action you want the policy to take.
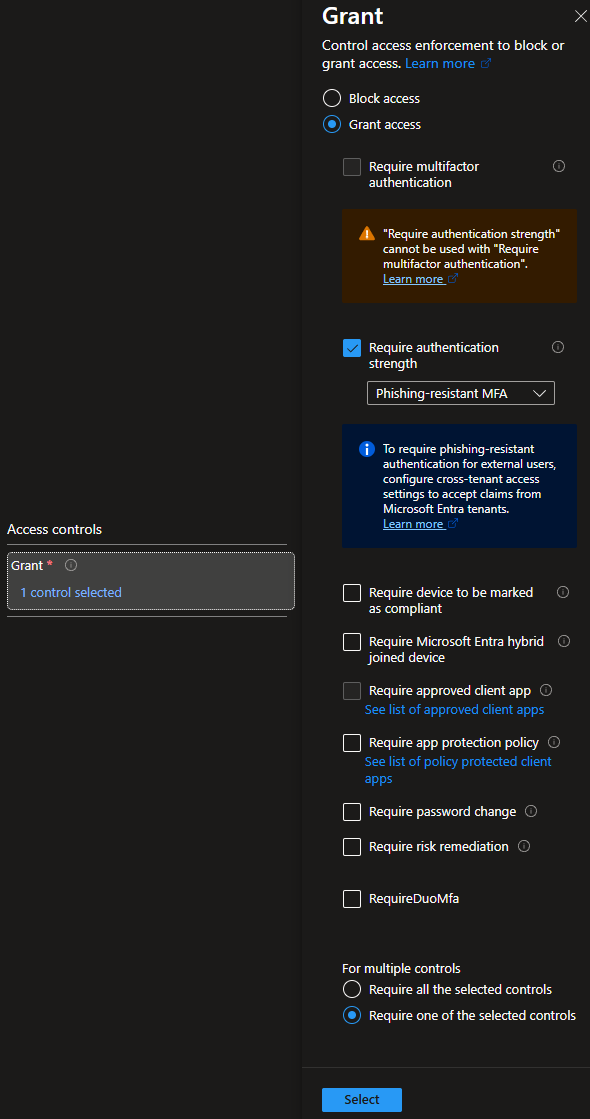
In my example, I will select Grant access, and Require authentication strength with Phishing-resistant MFA.
- For Session, decide if you want to apply any session restrictions.
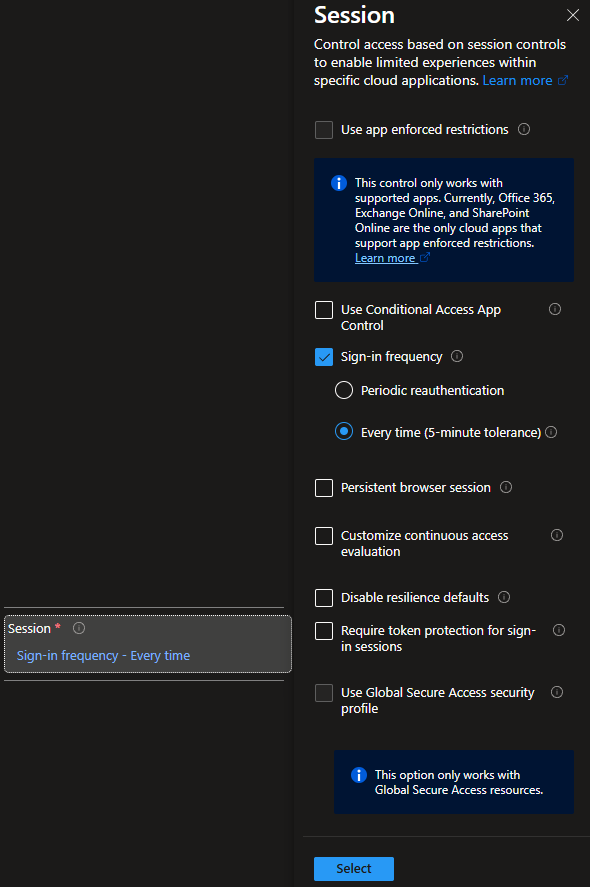
In my example, I will select Sign-in frequency and set it to Every time (5-minute tolerance) to require users to complete MFA again before performing any protected actions.
- After you configure everything in the Conditional Access policy, click Create.
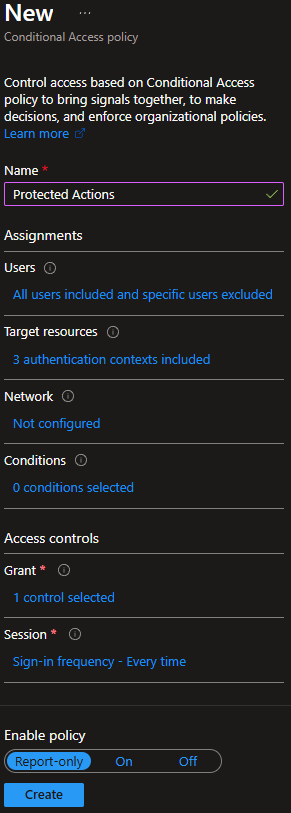
Now that the Conditional Access policy is built, the next step will be to assign protected actions to the authentication context linked in the policy.
- Click on Entra ID > Roles & admins.
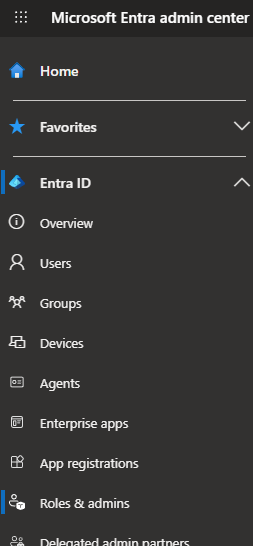
- Click on Protected actions.
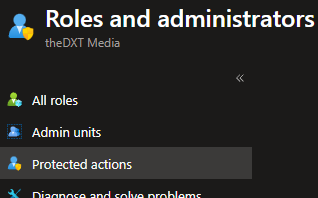
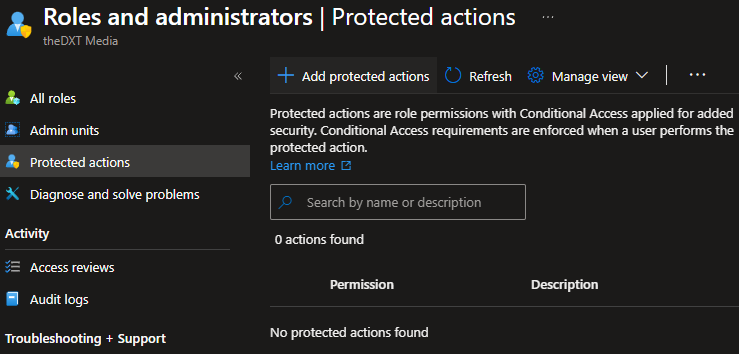
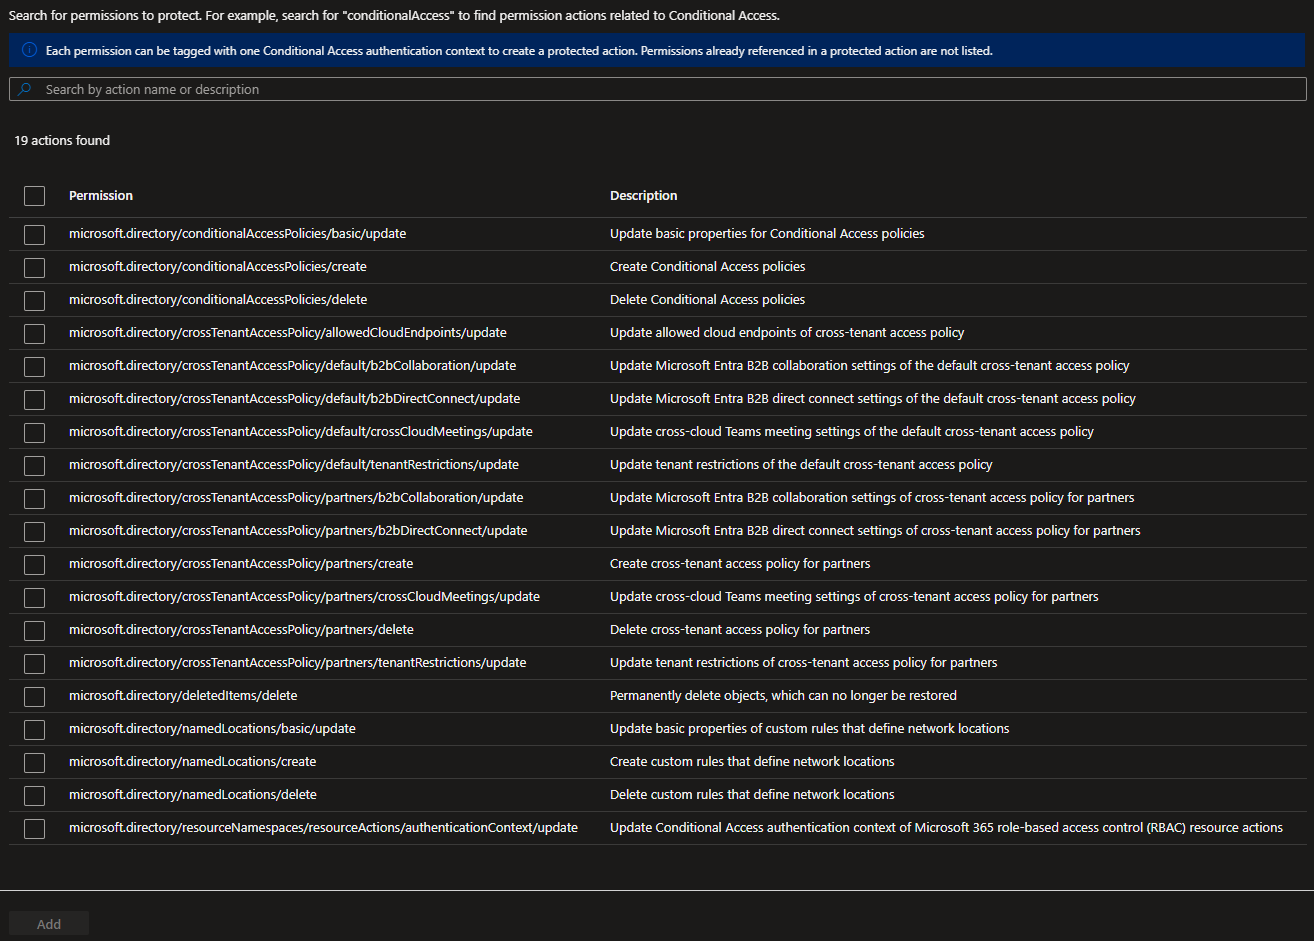
- Click on Add protected actions.
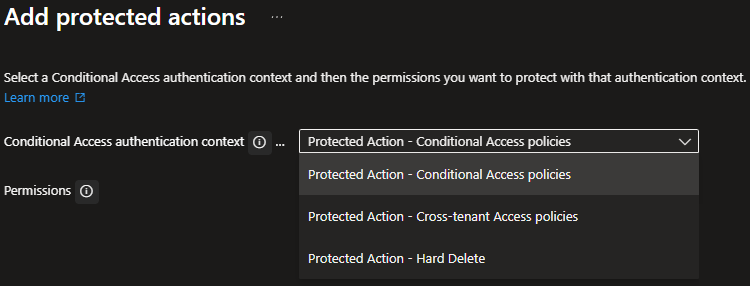
- Select the Conditional Access authentication context that you want to add protected actions to.
- Click on Select permissions.
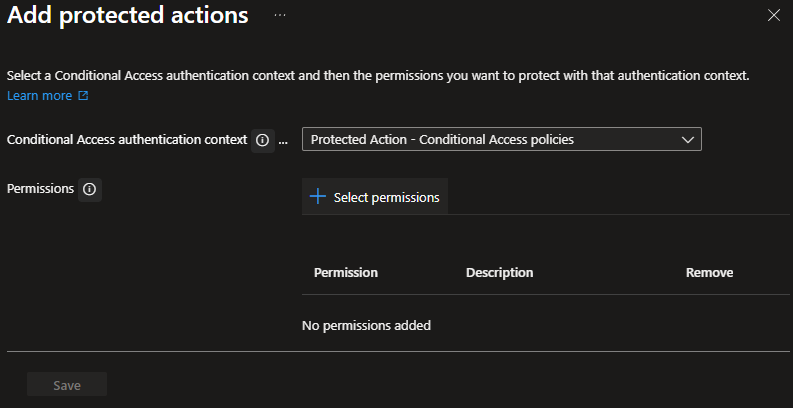
- Select the permissions you want to add to the authentication context, then click Add.
You can add each protected action to only one Authentication context.
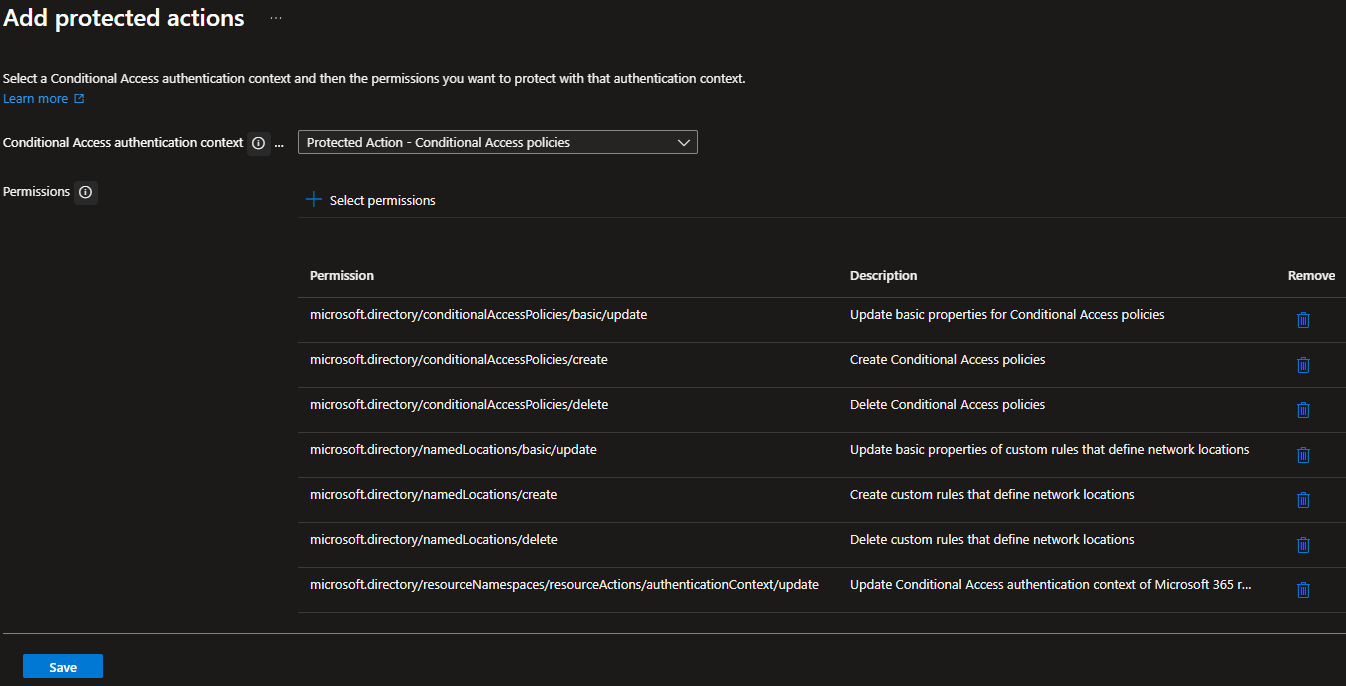
- In my example, the Protected Action – Conditional Access policies authentication context will have the following permissions:
microsoft.directory/conditionalAccessPolicies/basic/updatemicrosoft.directory/conditionalAccessPolicies/createmicrosoft.directory/conditionalAccessPolicies/deletemicrosoft.directory/namedLocations/basic/updatemicrosoft.directory/namedLocations/createmicrosoft.directory/namedLocations/deletemicrosoft.directory/resourceNamespaces/resourceActions/authenticationContext/update
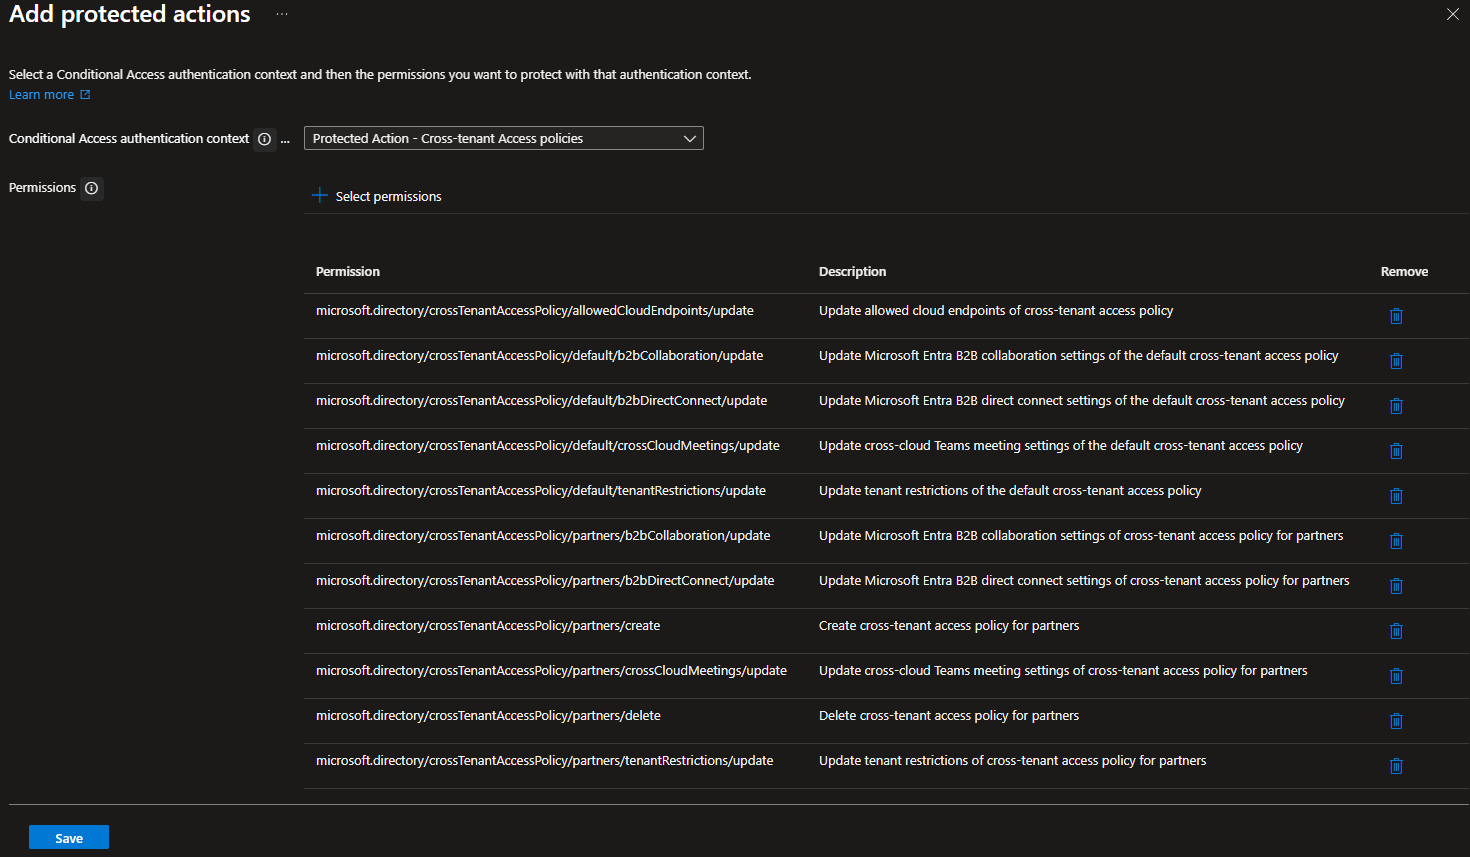
- In my example, the Protected Action – Cross-tenant Access policies authentication context will have the following permissions:
microsoft.directory/crossTenantAccessPolicy/allowedCloudEndpoints/updatemicrosoft.directory/crossTenantAccessPolicy/default/b2bCollaboration/updatemicrosoft.directory/crossTenantAccessPolicy/default/b2bDirectConnect/updatemicrosoft.directory/crossTenantAccessPolicy/default/crossCloudMeetings/updatemicrosoft.directory/crossTenantAccessPolicy/default/tenantRestrictions/updatemicrosoft.directory/crossTenantAccessPolicy/partners/b2bCollaboration/updatemicrosoft.directory/crossTenantAccessPolicy/partners/b2bDirectConnect/updatemicrosoft.directory/crossTenantAccessPolicy/partners/createmicrosoft.directory/crossTenantAccessPolicy/partners/crossCloudMeetings/updatemicrosoft.directory/crossTenantAccessPolicy/partners/deletemicrosoft.directory/crossTenantAccessPolicy/partners/tenantRestrictions/update
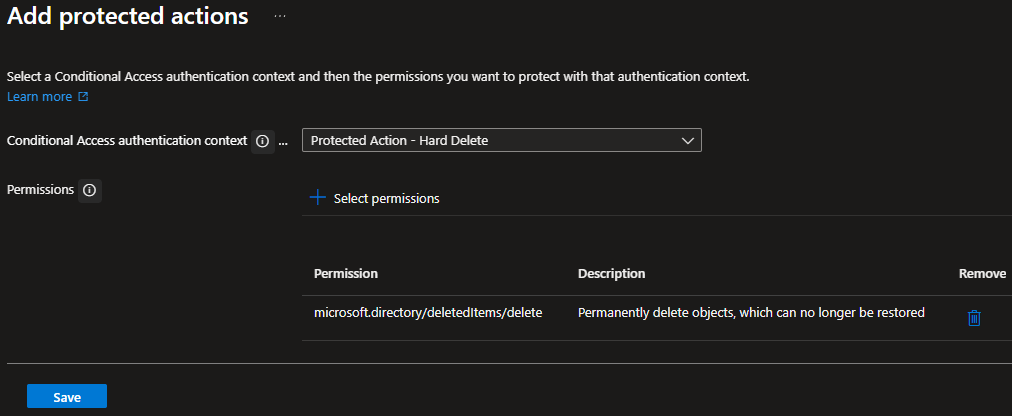
- In my example, the Protected Action – Hard Delete authentication context will have the following permission:
microsoft.directory/deletedItems/delete
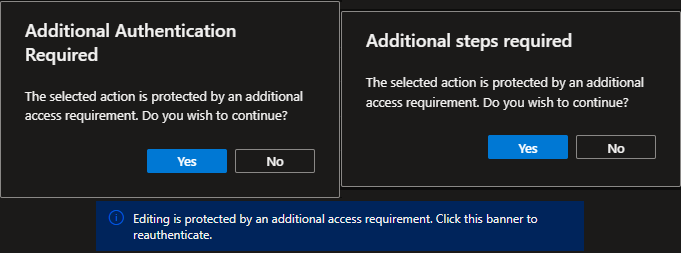
- Test the new Conditional Access policy.
Even in report-only mode, attempting a protected action will show messages about the additional authentication requirements.
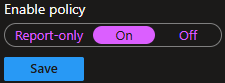
- Once you’ve completed testing the Conditional Access policy, set Enable policy to On and click Save.
That’s all it takes to configure Microsoft Entra ID Protected Actions with Conditional Access.
You can take Protected Actions a step further and configure a block policy to ensure the actions can only be performed on a certain network and/or system.
If you want to read more about Protected Actions, here is the Microsoft documentation.