The Omnissa DEM (Dynamic Environment Manager) application profiler is a tool you can use to determine what you need to capture to make sure the user’s application settings and data are saved and roam with the user.
In this post, I will show you step by step how to install the Omnissa DEM Application Profiler.
Prerequisites
- A Windows VM running Windows 10 or 11 Professional or Enterprise edition.
If you plan to capture an application that will run on a terminal server, you should install Windows Server 2016 or newer to capture everything correctly.
The Process
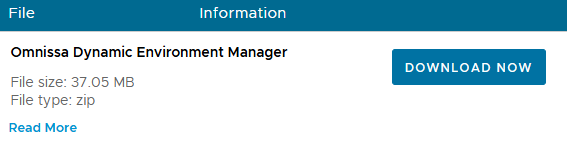
- Download the Omnissa Dynamic Environment Manager from Omnissa Customer Connect.
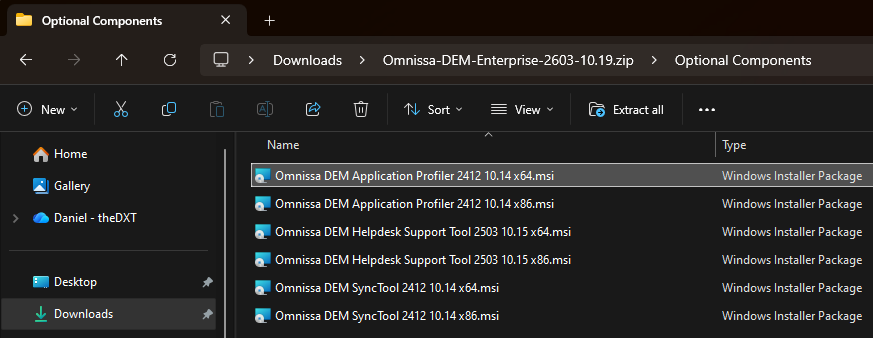
- Extract the Omnissa DEM Application Profiler MSI from the Optional Components folder in the Omnissa DEM zip file.
It’s common for the Omnissa DEM Application Profiler installer version to not match the DEM version you are using. Just make sure you use the one included with the DEM version you are using.
- Connect to your Windows VM.
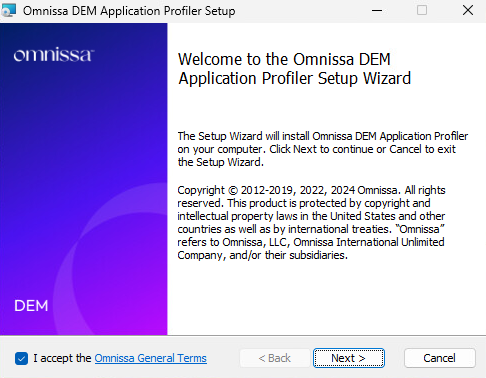
- Run the Omnissa DEM Application Profiler Setup as an Administrator.
- If you agree to the Omnissa General Terms, select I accept and click Next.
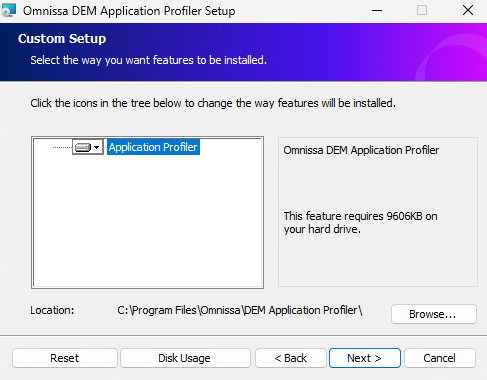
- On the Custom Setup screen, make any necessary changes and click Next.
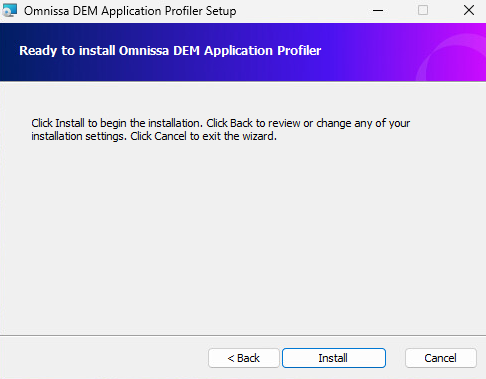
- Click Install to start the installation.
- Wait while the setup wizard completes the installation of the Omnissa DEM Application Profiler.

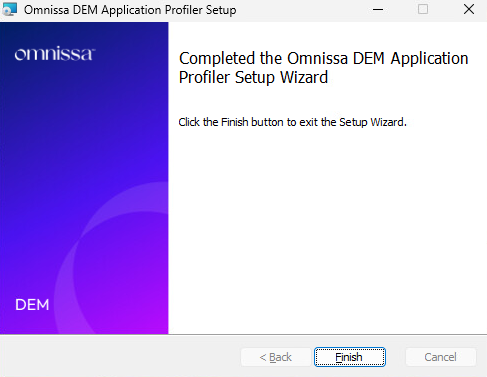
- Click Finish to complete the installation and close the setup wizard.
Typically, when it’s time to profile an application, a snapshot is created on the Omnissa DEM Application Profiler VM before the application is installed giving you a clean slate to revert to after you’ve completed profiling your application.
That’s all it takes to install the Omnissa DEM Application Profiler.
If you want to read more about the Omnissa DEM Application Profiler installation, here is the Omnissa documentation.