In this post, I will show you, step by step, how to configure the locked.properties file for Omnissa Horizon (formerly VMware Horizon) to work with the Omnissa UAG (Unified Access Gateway).
The Omnissa Horizon locked.properties file is a key component of Horizon’s functionality and security.
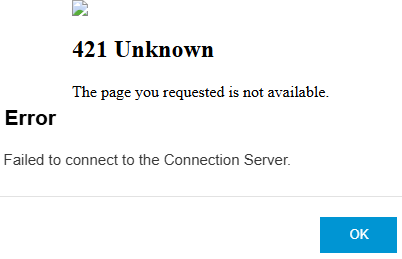
When the locked.properties file is not configured correctly, Horizon may not start or may be less secure. It can also result in the 421 Unknown error message or the Failed to connect to the Connection Server error message.
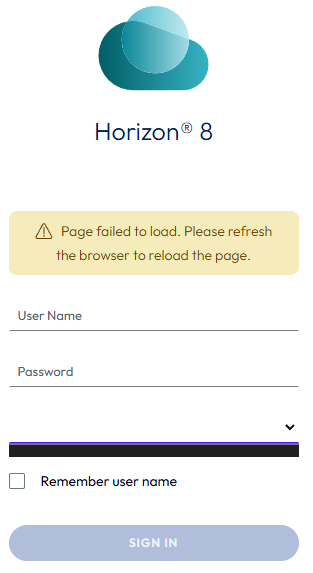
An incorrectly configured locked.properties file can cause the Horizon admin page to fail to load and can display the error message Page failed to load. Please refresh the browser to reload the page, and the domain name may not populate.
Prerequisites
- A UAG configured to use Horizon.
If you need to configure your UAG to work with Horizon, my blog post Configure Omnissa UAG with Omnissa Horizon covers how to do so.
- Hostnames and FQDNs (or IPs) of your UAG.
- Hostnames and FQDNs (or IPs) of your Horizon connection server.
- FQDN that end users connect to.
The Process
- Connect to your Horizon connection server.
- Browse to
C:\Program Files\Omnissa\Horizon\Server\sslgateway\conf\
On the VMware branded version of Horizon, the path will be C:\Program Files\VMware\VMware View\Server\sslgateway\conf.
- Open the
locked.propertiesfile in Notepad.
If you need to create the locked.properties file, my blog post Omnissa Horizon locked.properties Settings covers how to make the locked.properties file.
- Configure the
balancedHostsetting.
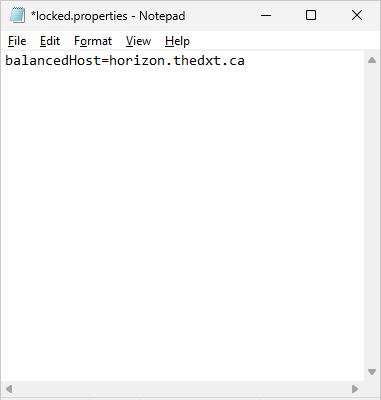
The value for the balanced host setting should be the external FQDN URL that users connect to. You should configure this value regardless of whether a load balancer is in use.
In my example, to connect to Horizon, users use the FQDN horizon.thedxt.ca. I will add the line balancedHost=horizon.thedxt.ca to the locked.properties file.
If your users connect to more than one FQDN or load balancer, you can enter multiple balancedHost entries by adding .Number to it.
Example
balancedHost.1=horizon.thedxt.ca
balancedHost.2=horizon-test.thedxt.ca
- Configure the
portalHostsetting.
The value for the portal host setting should be the FQDN and hostname of your UAG and Horizon connection server.
Ideally, you should be using FQDNs. If you do need to use IPs, you’ll need to list them as portalHost entries. In the case of a .local domain, you should use the IP instead of the FQDN.
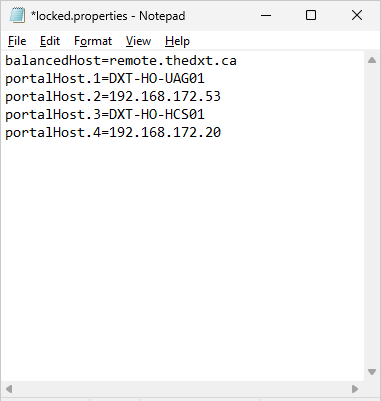
In my example, my domain is dxt.local, so I will use the IP rather than the FQDN. My UAG has the hostname DXT-HO-UAG01 and IP 192.168.172.53, and my Horizon connection server has the hostname DXT-HO-HCS01 and IP 192.168.172.20.
I will add the following portal host lines to my locked.properties file.
portalHost.1=DXT-HO-UAG01
portalHost.2=192.168.172.53
portalHost.3=DXT-HO-HCS01
portalHost.4=192.168.172.20
- Save the
locked.propertiesfile. - Open Services.
- Restart the Omnissa Horizon Connection Server service.
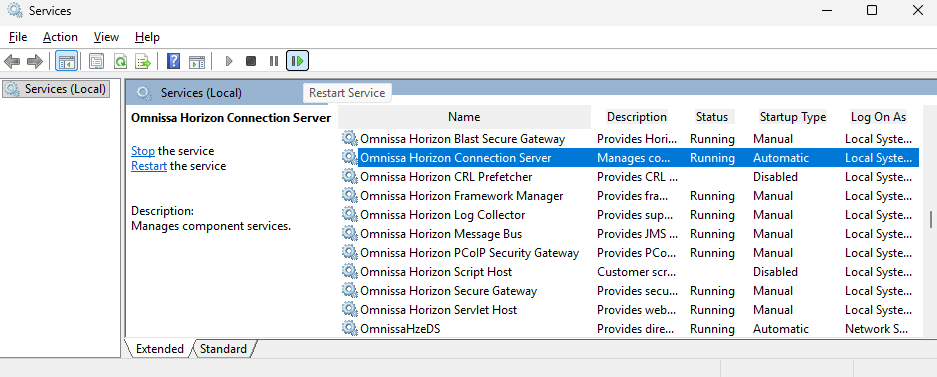
In VMware branded versions of Horizon, the service will be named VMware Horizon View Connection Server.
- Once Horizon starts back up, the settings will be applied.
If you run into an issue, check the debug log files located in C:\ProgramData\Omnissa\Horizon\logs.
For VMware branded versions of Horizon, the debug log files are located in C:\ProgramData\VMware\VDM\logs.
If you want to read more about configuring the balancedHost and portalHost settings in the locked.properties file, here is an Omnissa Knowledge Base article about it.
If you want to read about all the other settings in the locked.properties file, my blog post Omnissa Horizon locked.properties Settings contains all the details I could find.