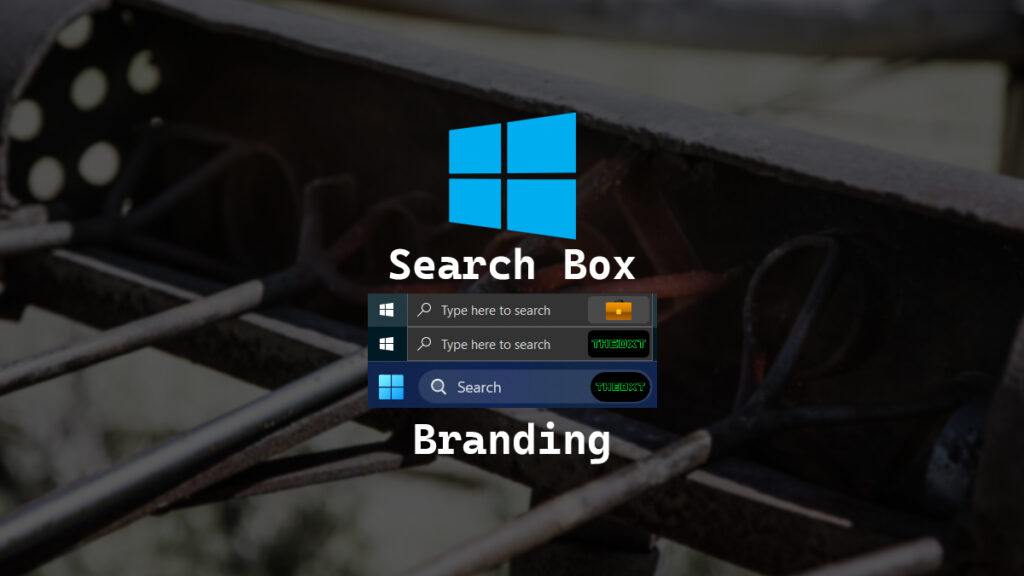
A while back I saw someone’s computer that had a company logo in the Windows taskbar; it looked super slick. I wanted to duplicate the same thing in my setup.
The documentation on what causes a company logo to show up in the search box in the Windows taskbar and the Windows start menu is kind of lacking however, after playing around I figured it out. It’s the custom default theme in Microsoft 365 that will cause the organization logo to show up on Windows devices connected to a Microsoft 365 tenant be it joined or just registered devices.
In this post, I will show step-by-step how to add a custom default theme to your Microsoft 365 tenant that will also apply to the search box in the taskbar of Windows devices. This works on Windows 10 and Windows 11.
The Process
- Login to the Microsoft 365 admin center
- Click on Settings > Org settings
- Click Organization profile
- Click on Custom themes
- Click Add theme
If you already have some themes you’ll need to edit the one named Default theme. If you have no themes when you click Add theme it will create the Default theme.
- Click on Logos
- Upload the logo you want to use. The logo should be 200 x 48 pixels and be less than 10kb.
- Click on Colors to make it look nice with your logo and branding.
The Navigation bar color gets applied in other places such as the search box in the start menu. I’d recommend making that match your brand colors otherwise it will just show your logo with a black background on all computers and might not look as good as it could.
- Once you are all done click save.
It will take time for the settings to deploy everywhere, typically the web theme is fairly quick but the deployment of the company logo on the search box in the taskbar and the start menu is a lot slower, it could take 48 hours or more.
If you want to read more about the theme customizations in Microsoft 365 you can do so by reading the Microsoft documentation here.


